A review of my theme bags revealed I needed to up my game in handle making. One designer has a video on the Internet of a worker making beautiful shaped handles. Seriously! Look…

I searched my favorite leather forum and see Al Stohlman’s books are referenced – a TON! So I picked up his volume two “The Art Of Making Leather Cases” because there are a bunch of handle patterns and tips. It is totally worth the 16 or 20 bucks! Plus half a hide of veg tan…
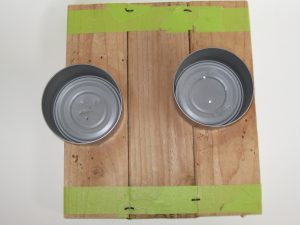
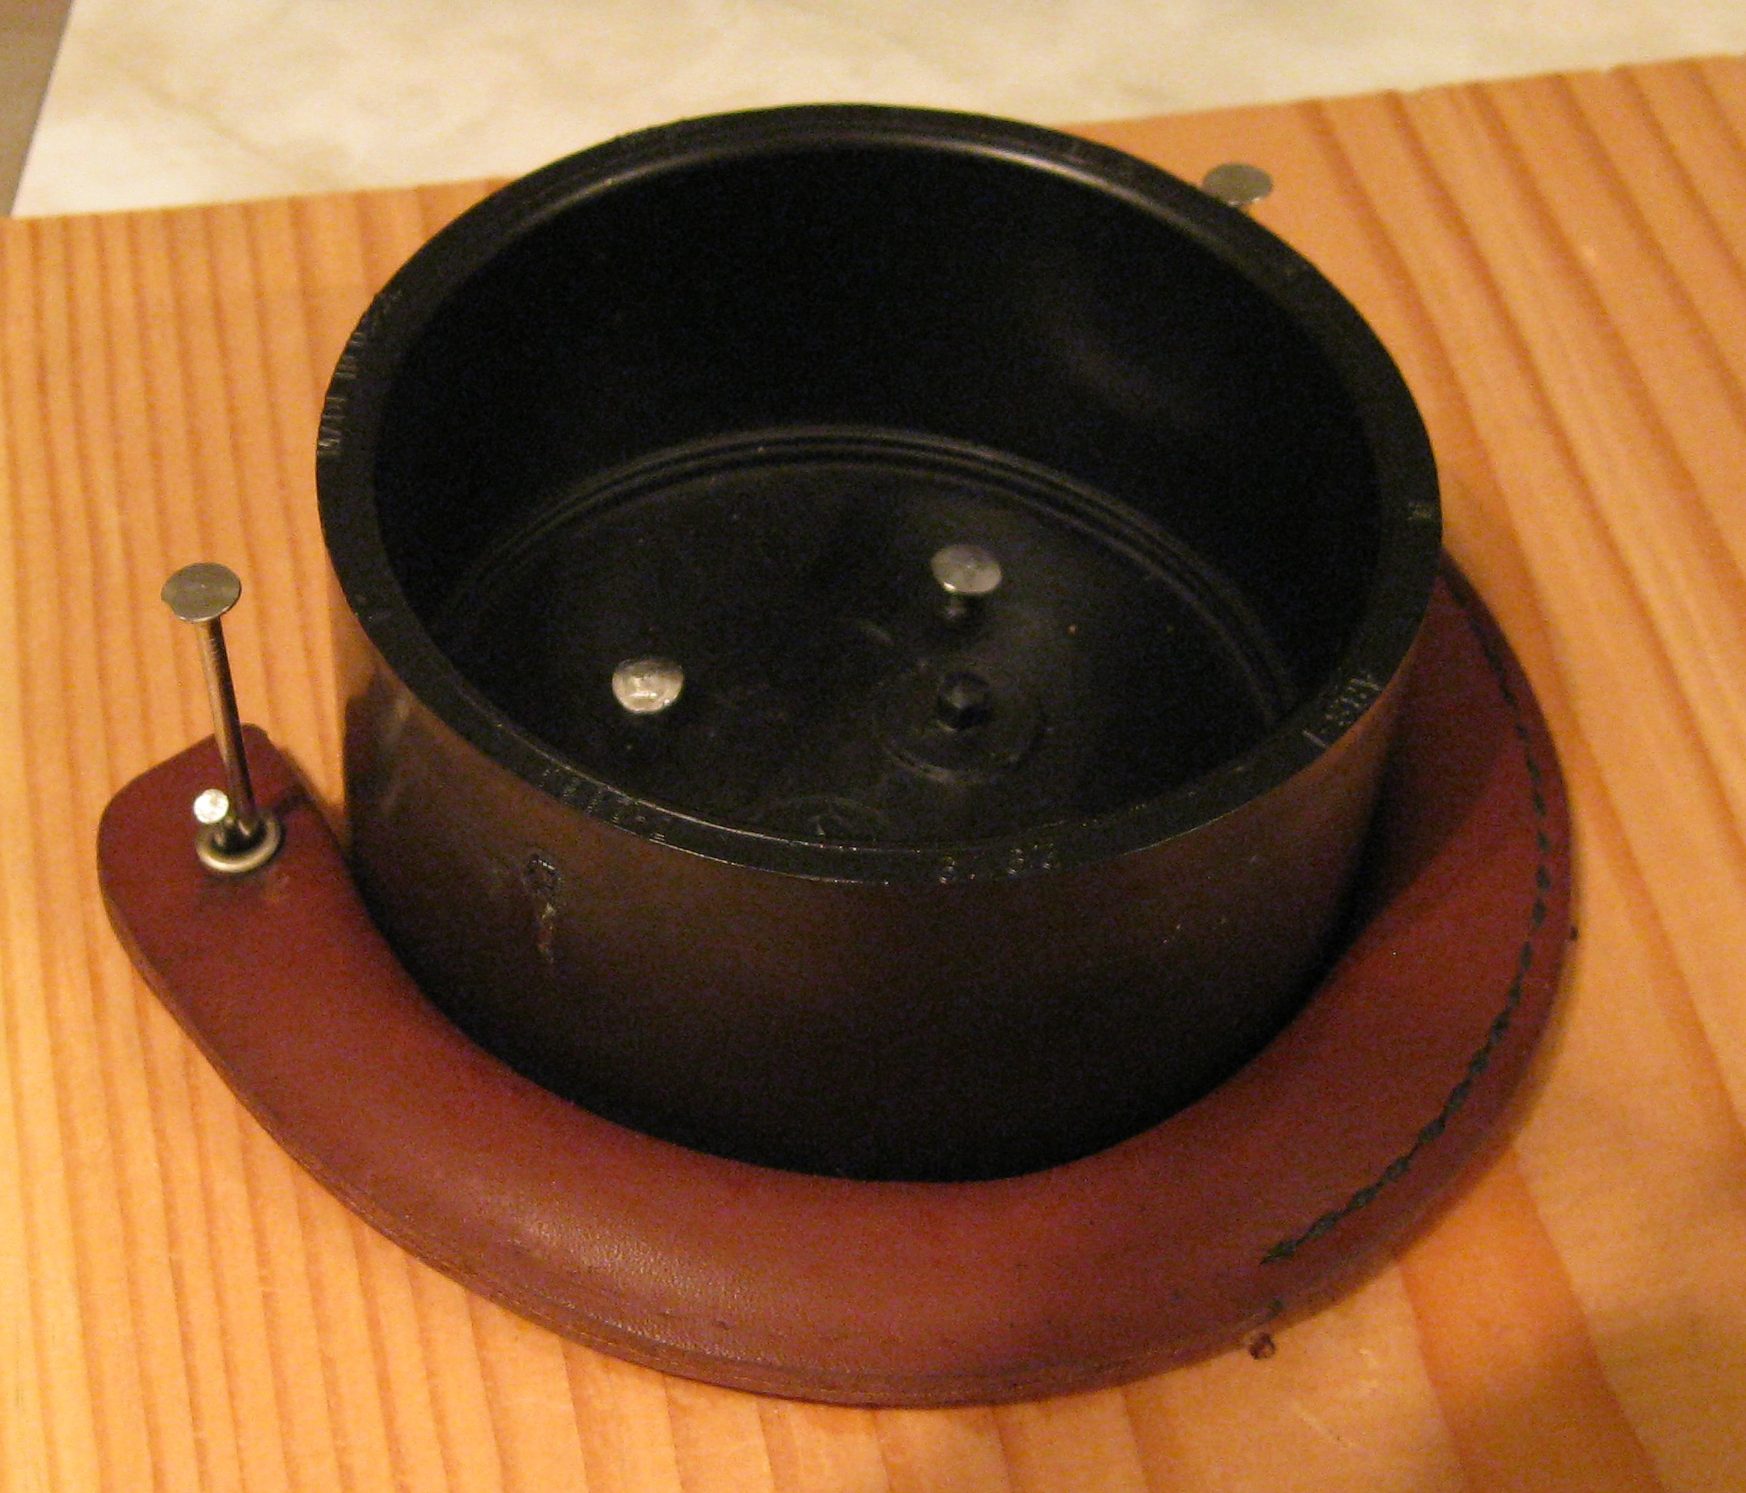
Actually I began the process in October of 2015! Yes, over a year ago and these were the first four. Because I do not have wood-working equipment (or skills) to make a forming block, I made a basic little unit by horseshoe nailing three 12″ sections of a 2″x4″ together and attaching cans to it.
Frustrated and dissatisfied with my results – I got the most encouraging words of all from Alan & Jayne at Shoe School when I said I can’t make those beautiful handles like they do over at “designer house X” Alan challenged me “Why not?” He went on to say that handles are probably the only thing the guy in the video does. Everyday. It is likely he cannot create a bag from concept to final product.
I was inspired; my talent and accomplishments in my little handbag hobby were evident. Like all things – “practice, practice, practice” (thanks for that Mr. Nick! – an art instructor-friend).
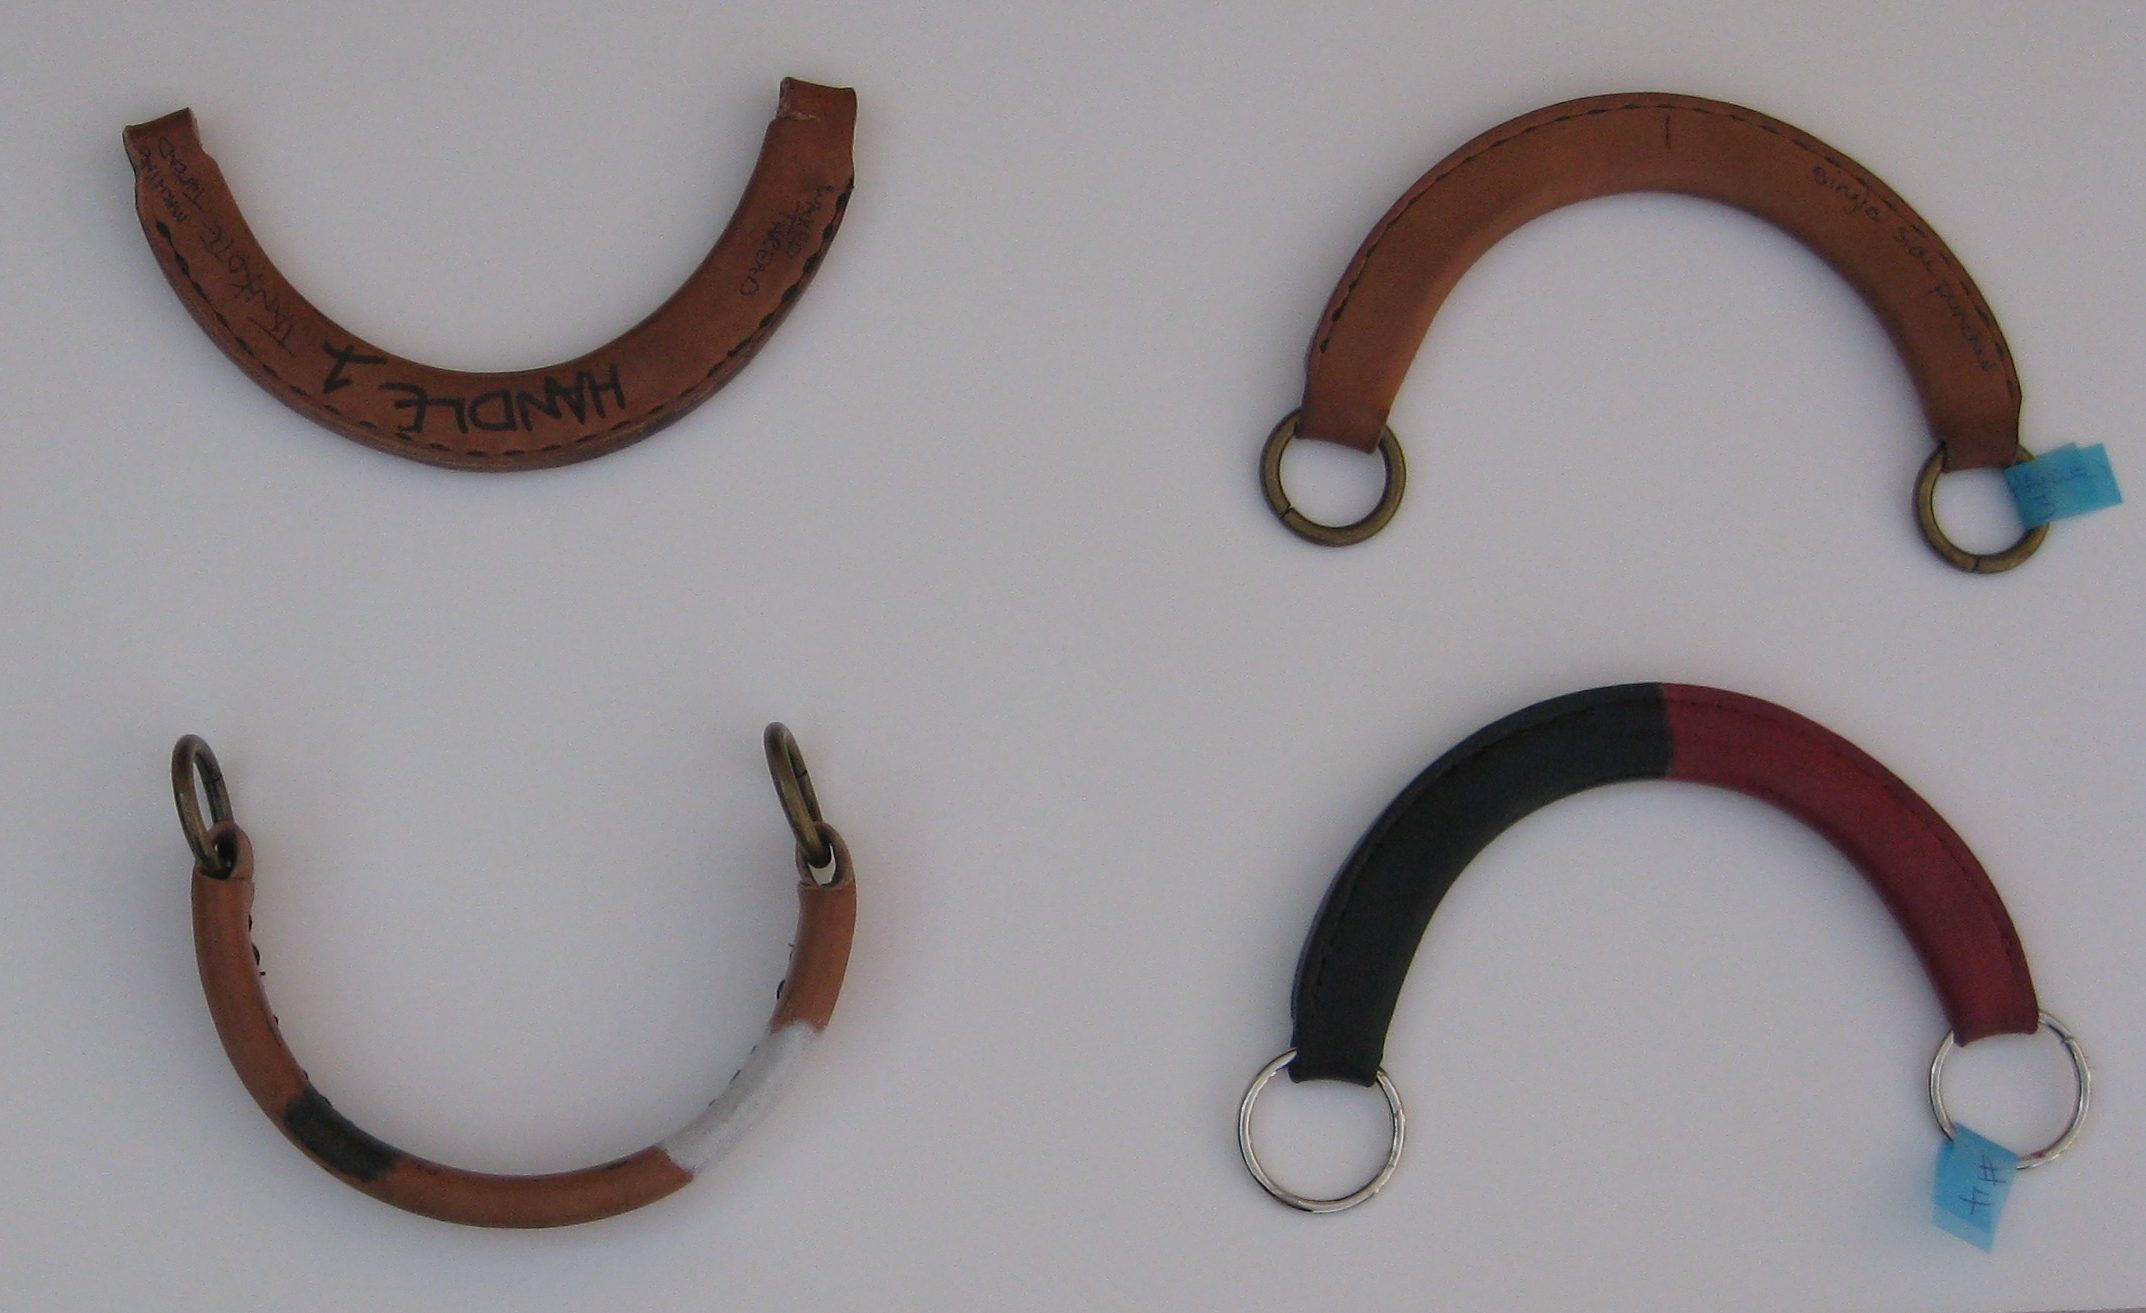
The pattern needed changing – I wanted to rid the end rings (for this particular style) and I ordered a rainbow of colored edge paints and channel pliers from Springfield Leather. Once I figure this out…the possibilities may be endless.
I set out to work and as with each of my projects, I took copious notes on sizes, shapes, bonding techniques, stitching holes, thread and needle choices, and more. I created another five handles on my original forming block (the 2″ x 4″ pieces horseshoe nailed together).
With the fifth, I was that much closer to the final version – the problem? The channels created by putting the 2″ x 4″ pieces together left ridges in the handle.

Along the top edge you can see the ridges set into the leather as it dried on the 2″ x 4″ pieces. A shout out to Alan & Eddie at Channel City Lumbar (Ha!! I sooo did not plan that – channels and Channel!) Let’s just say I certainly got Alan’s attention when I put my forming block on the counter to show hime what I was doing and what changes I wanted to make 🙂
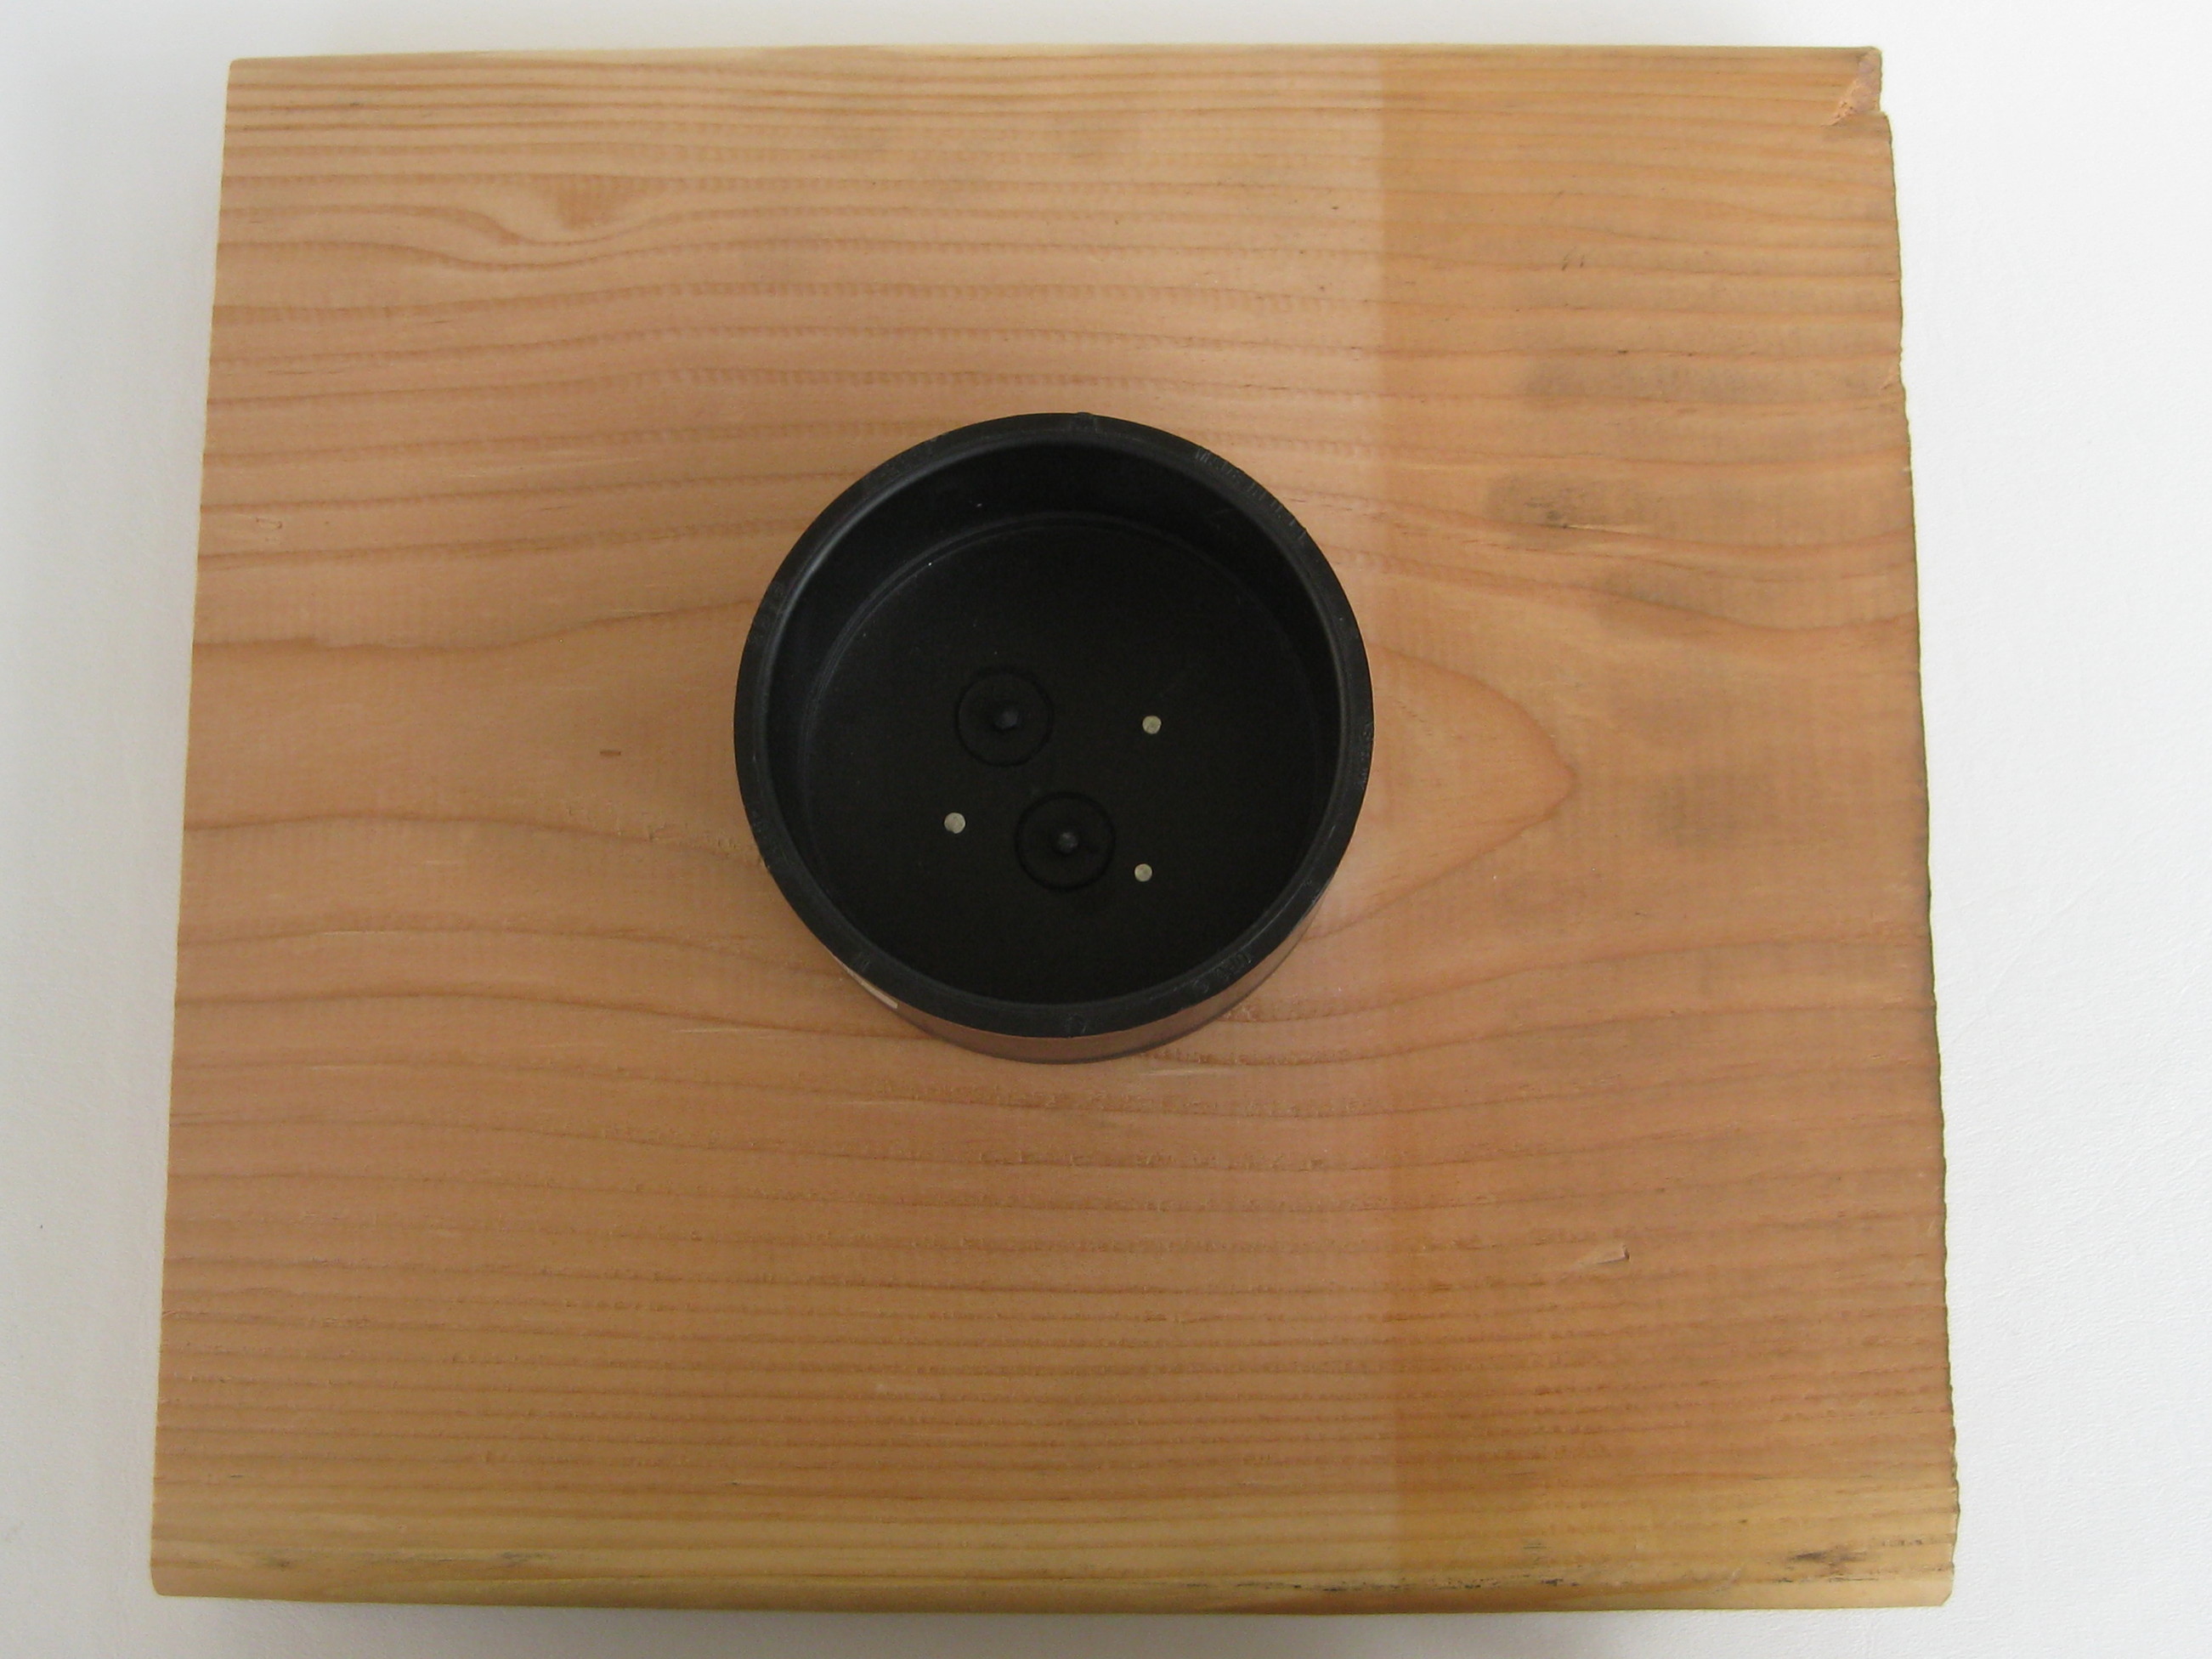
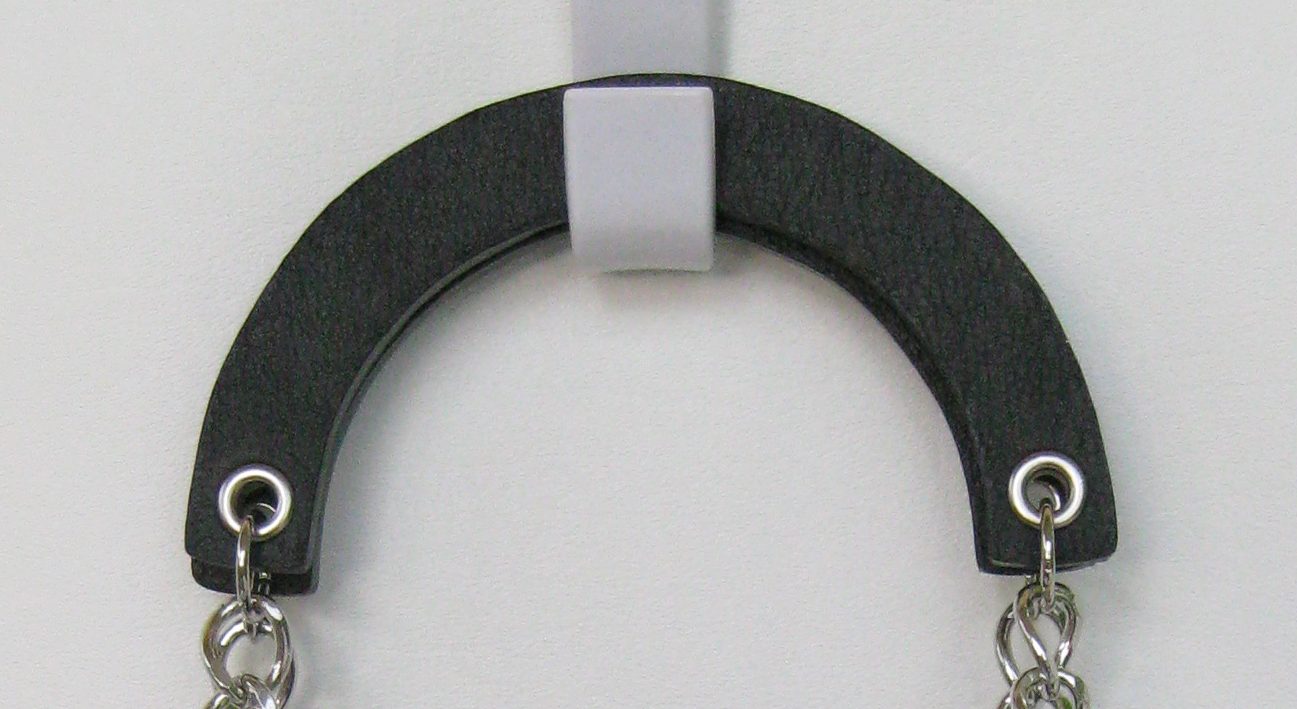
So here is version number six being set on the new forming block.
This is it! The finished handle.
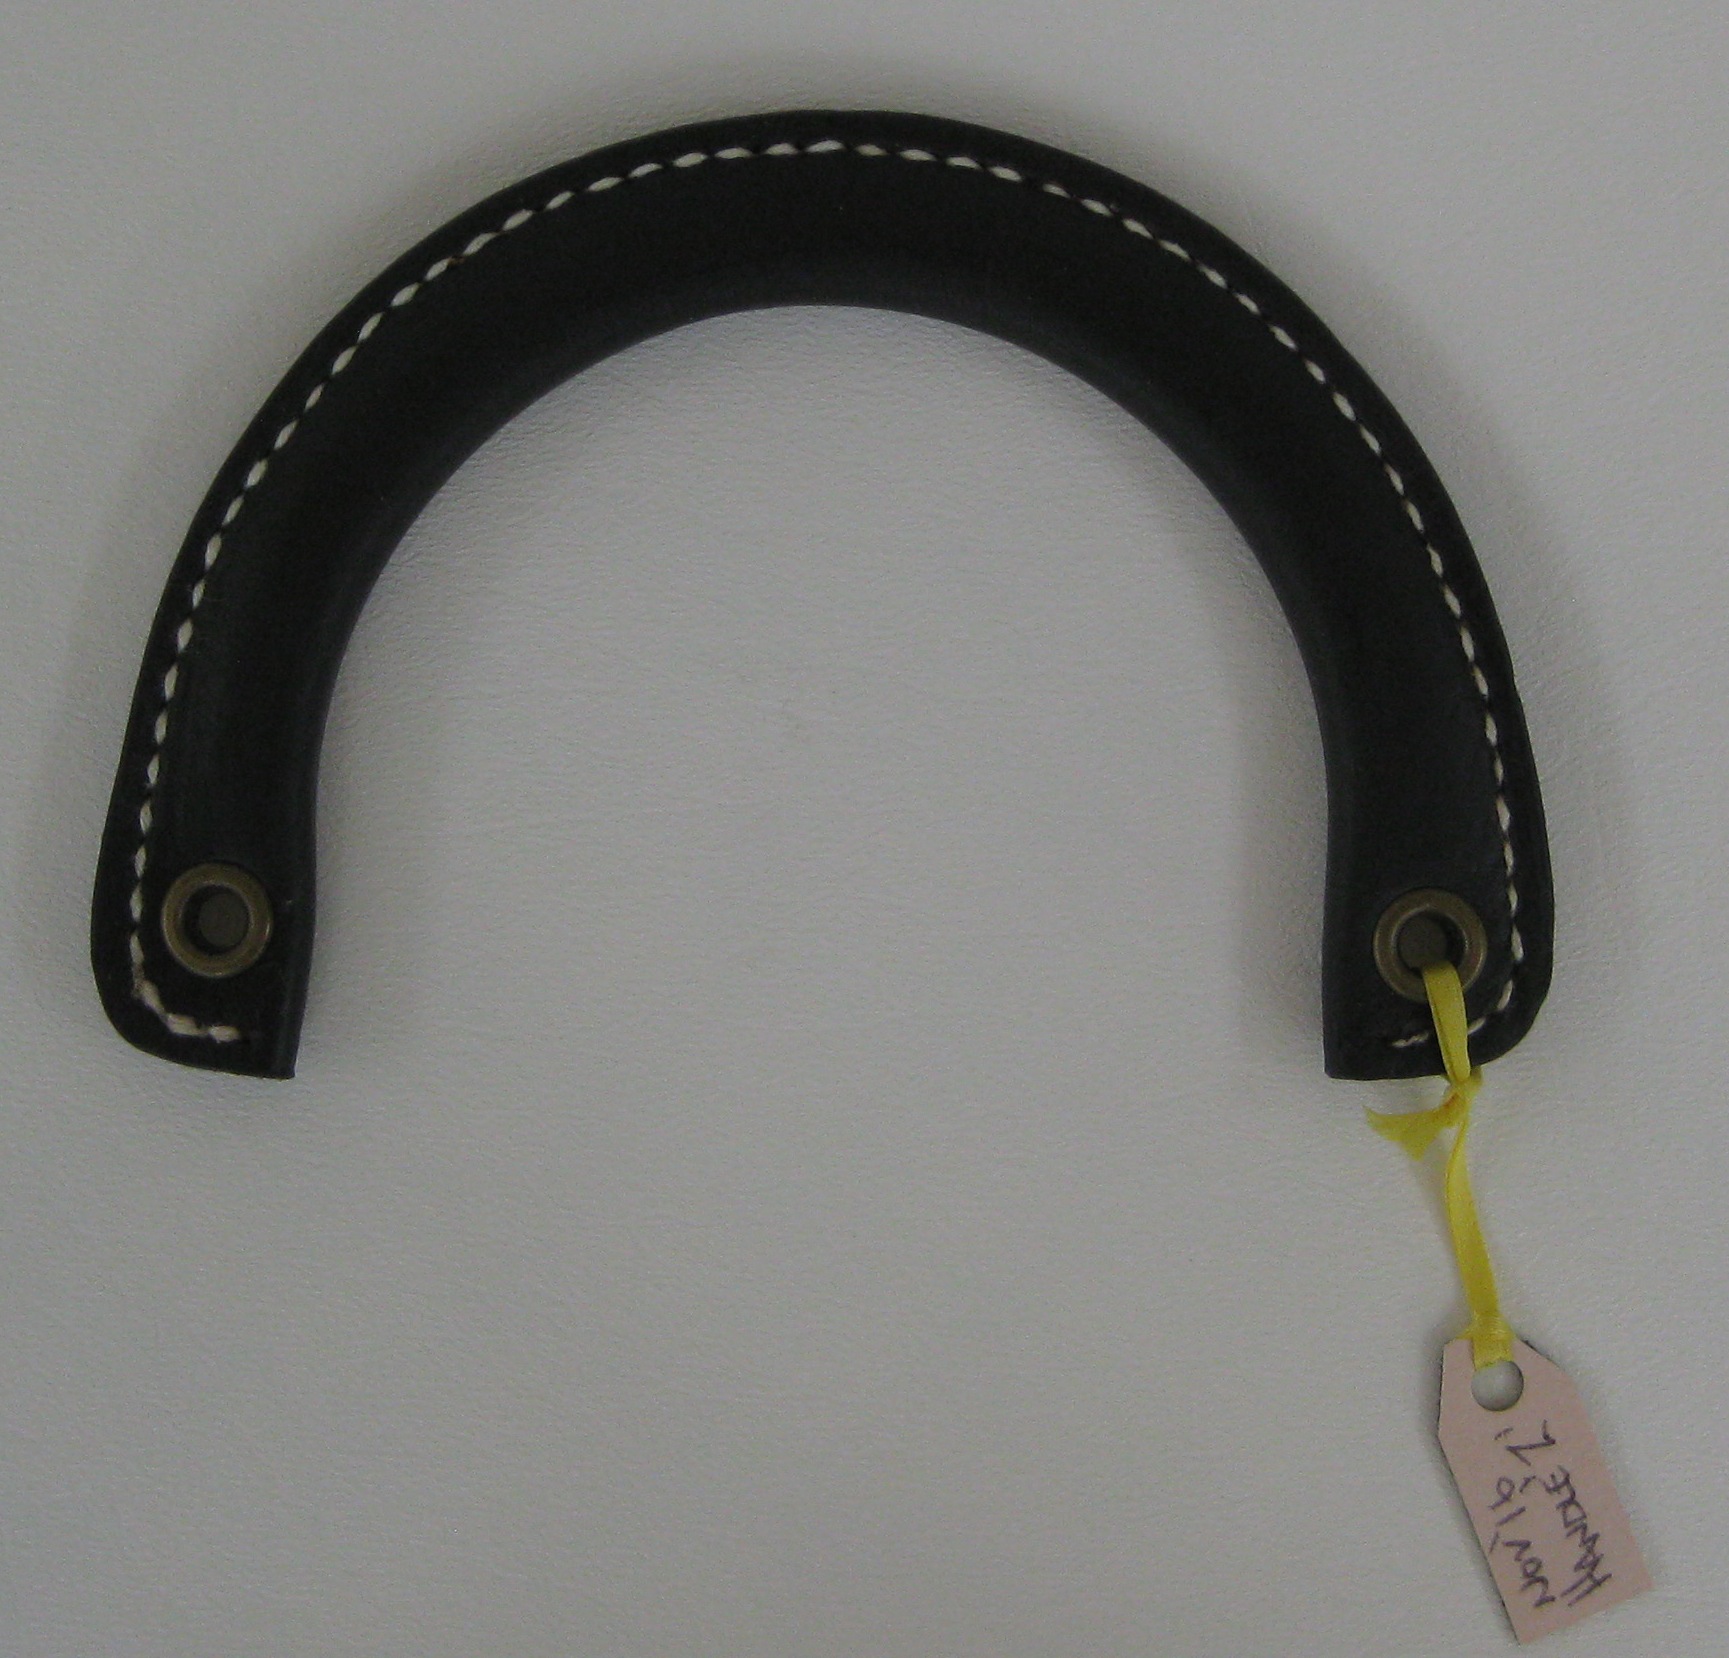
The front and back are the same.
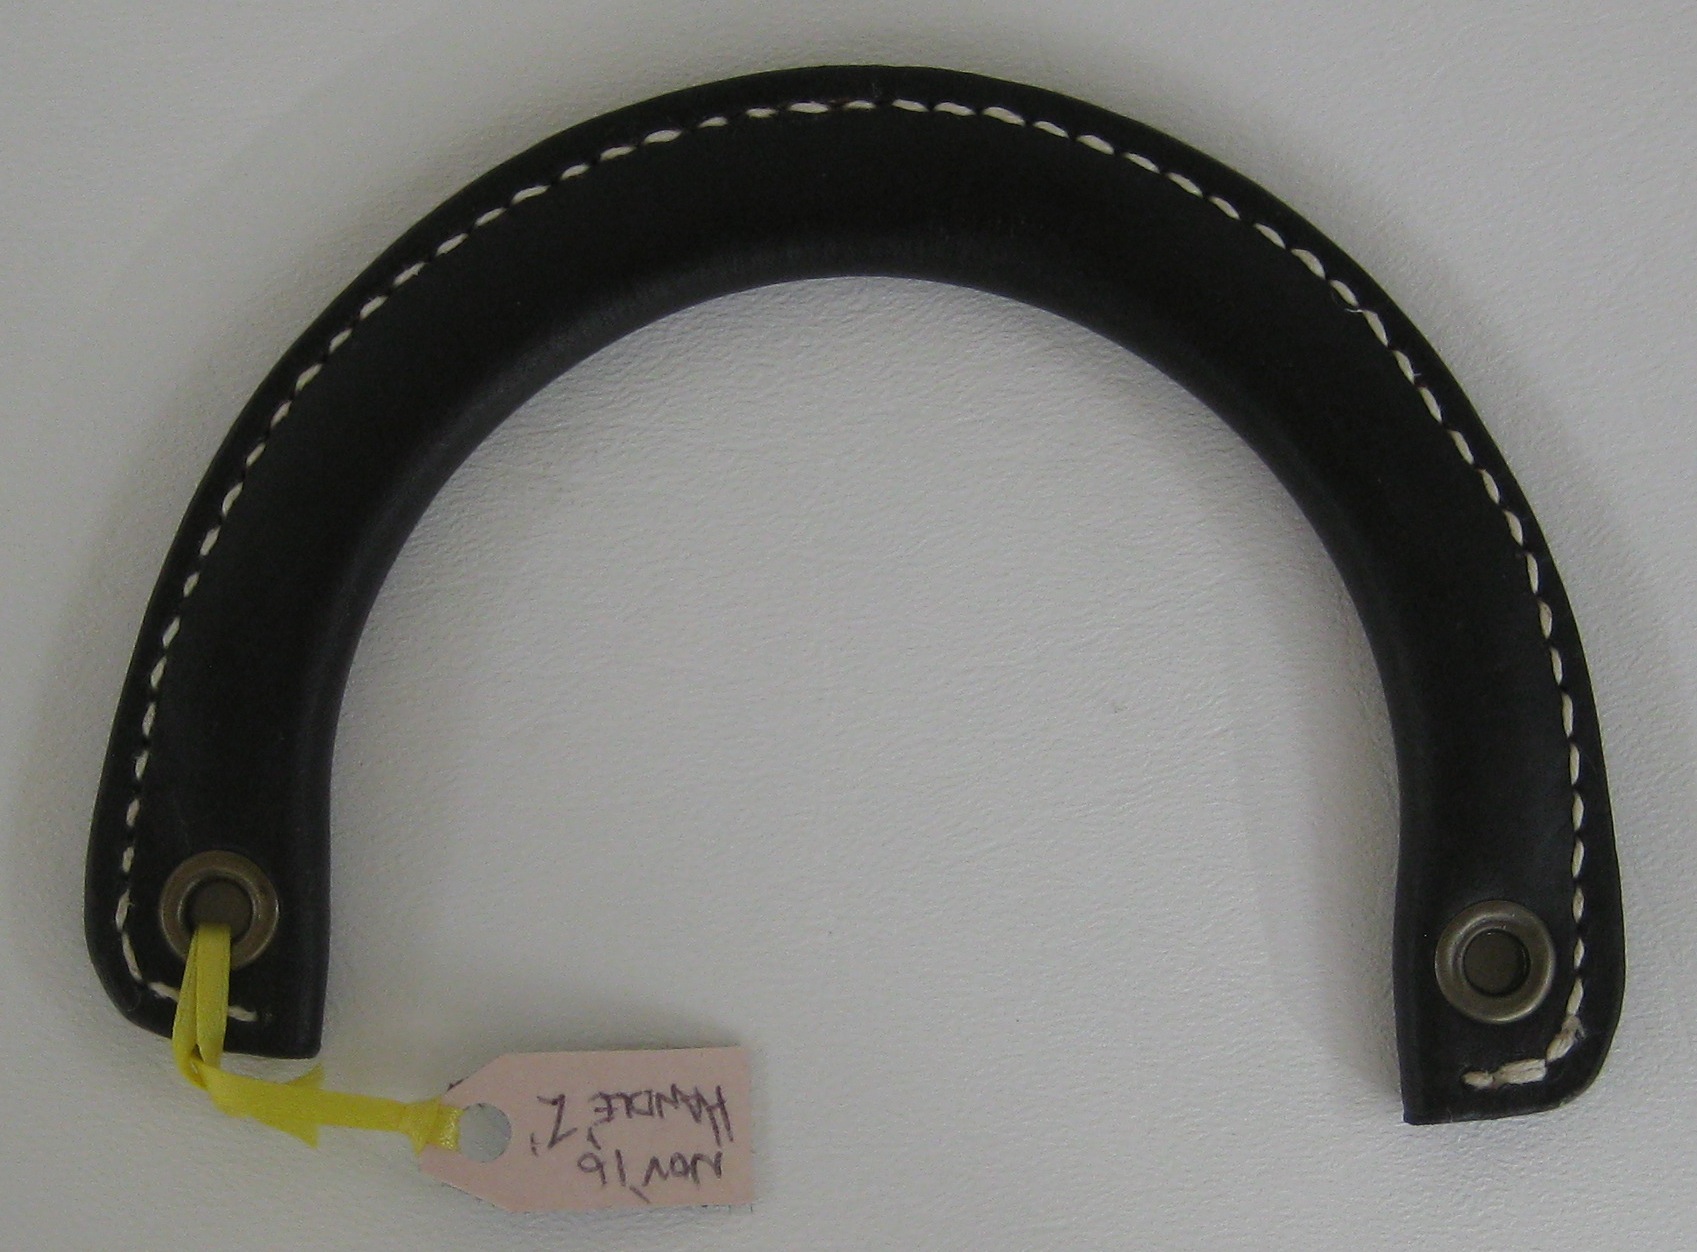
So after one or two more tests on the new forming block, I think I will be ready to go.