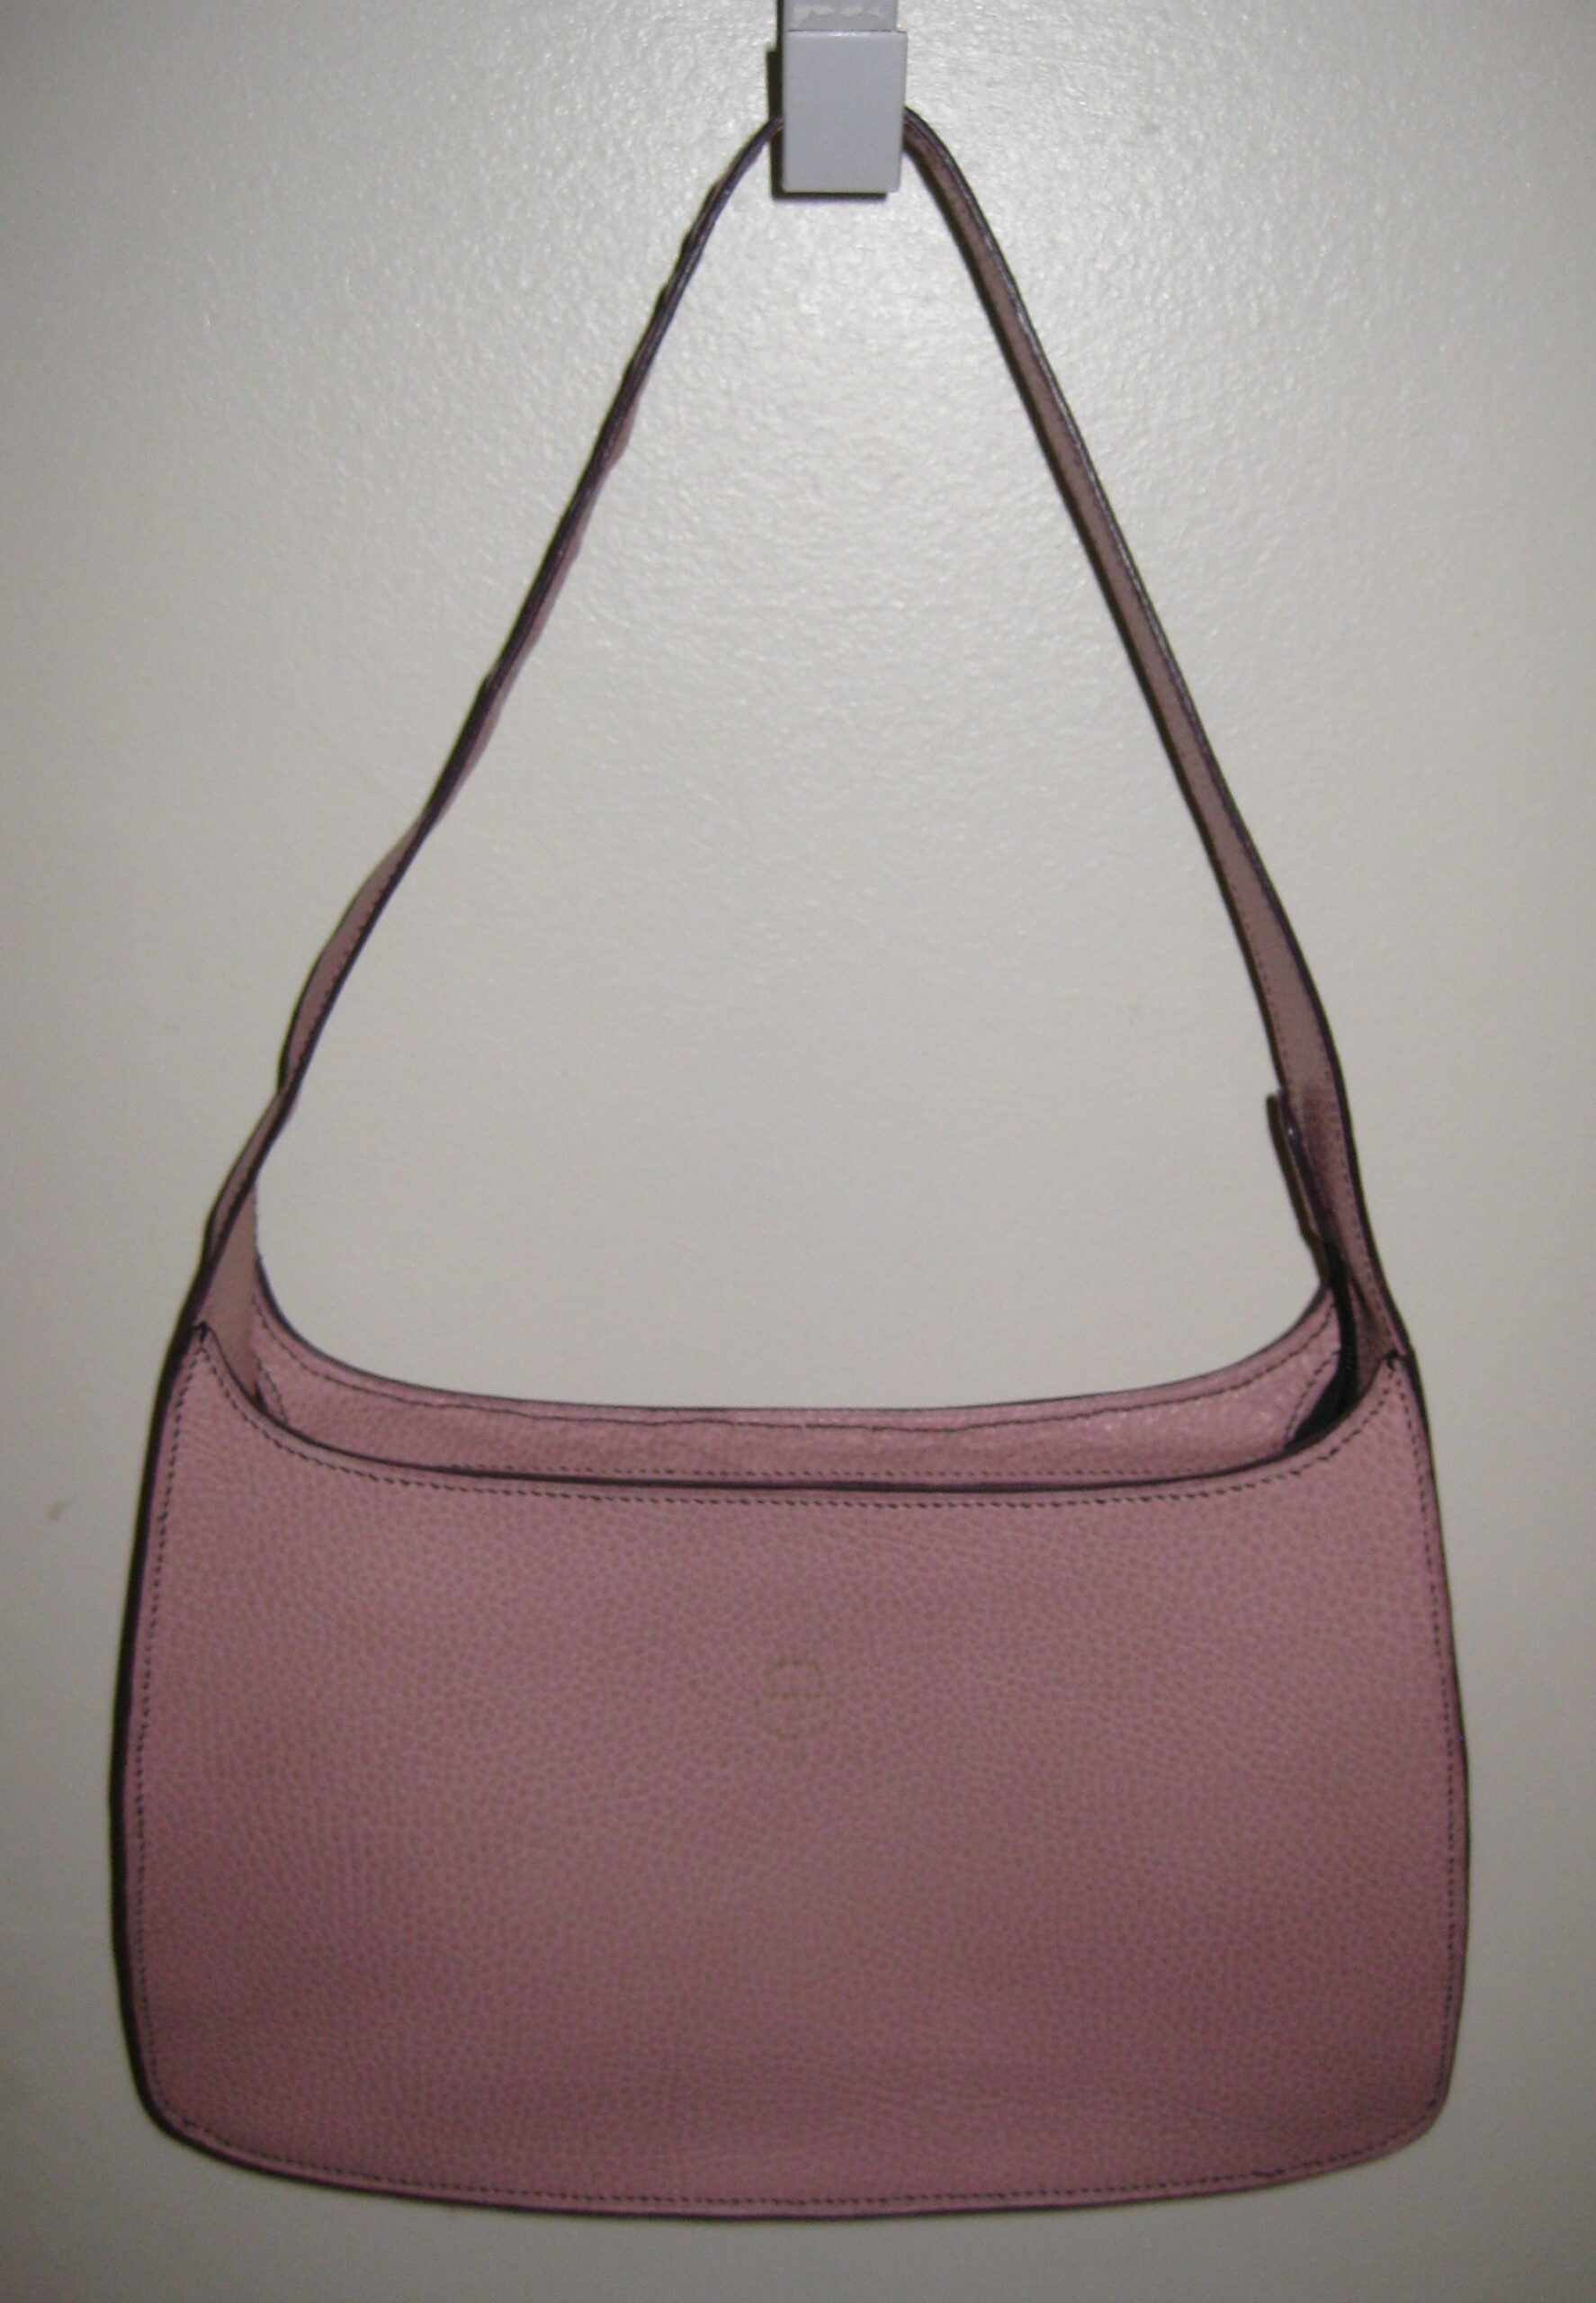
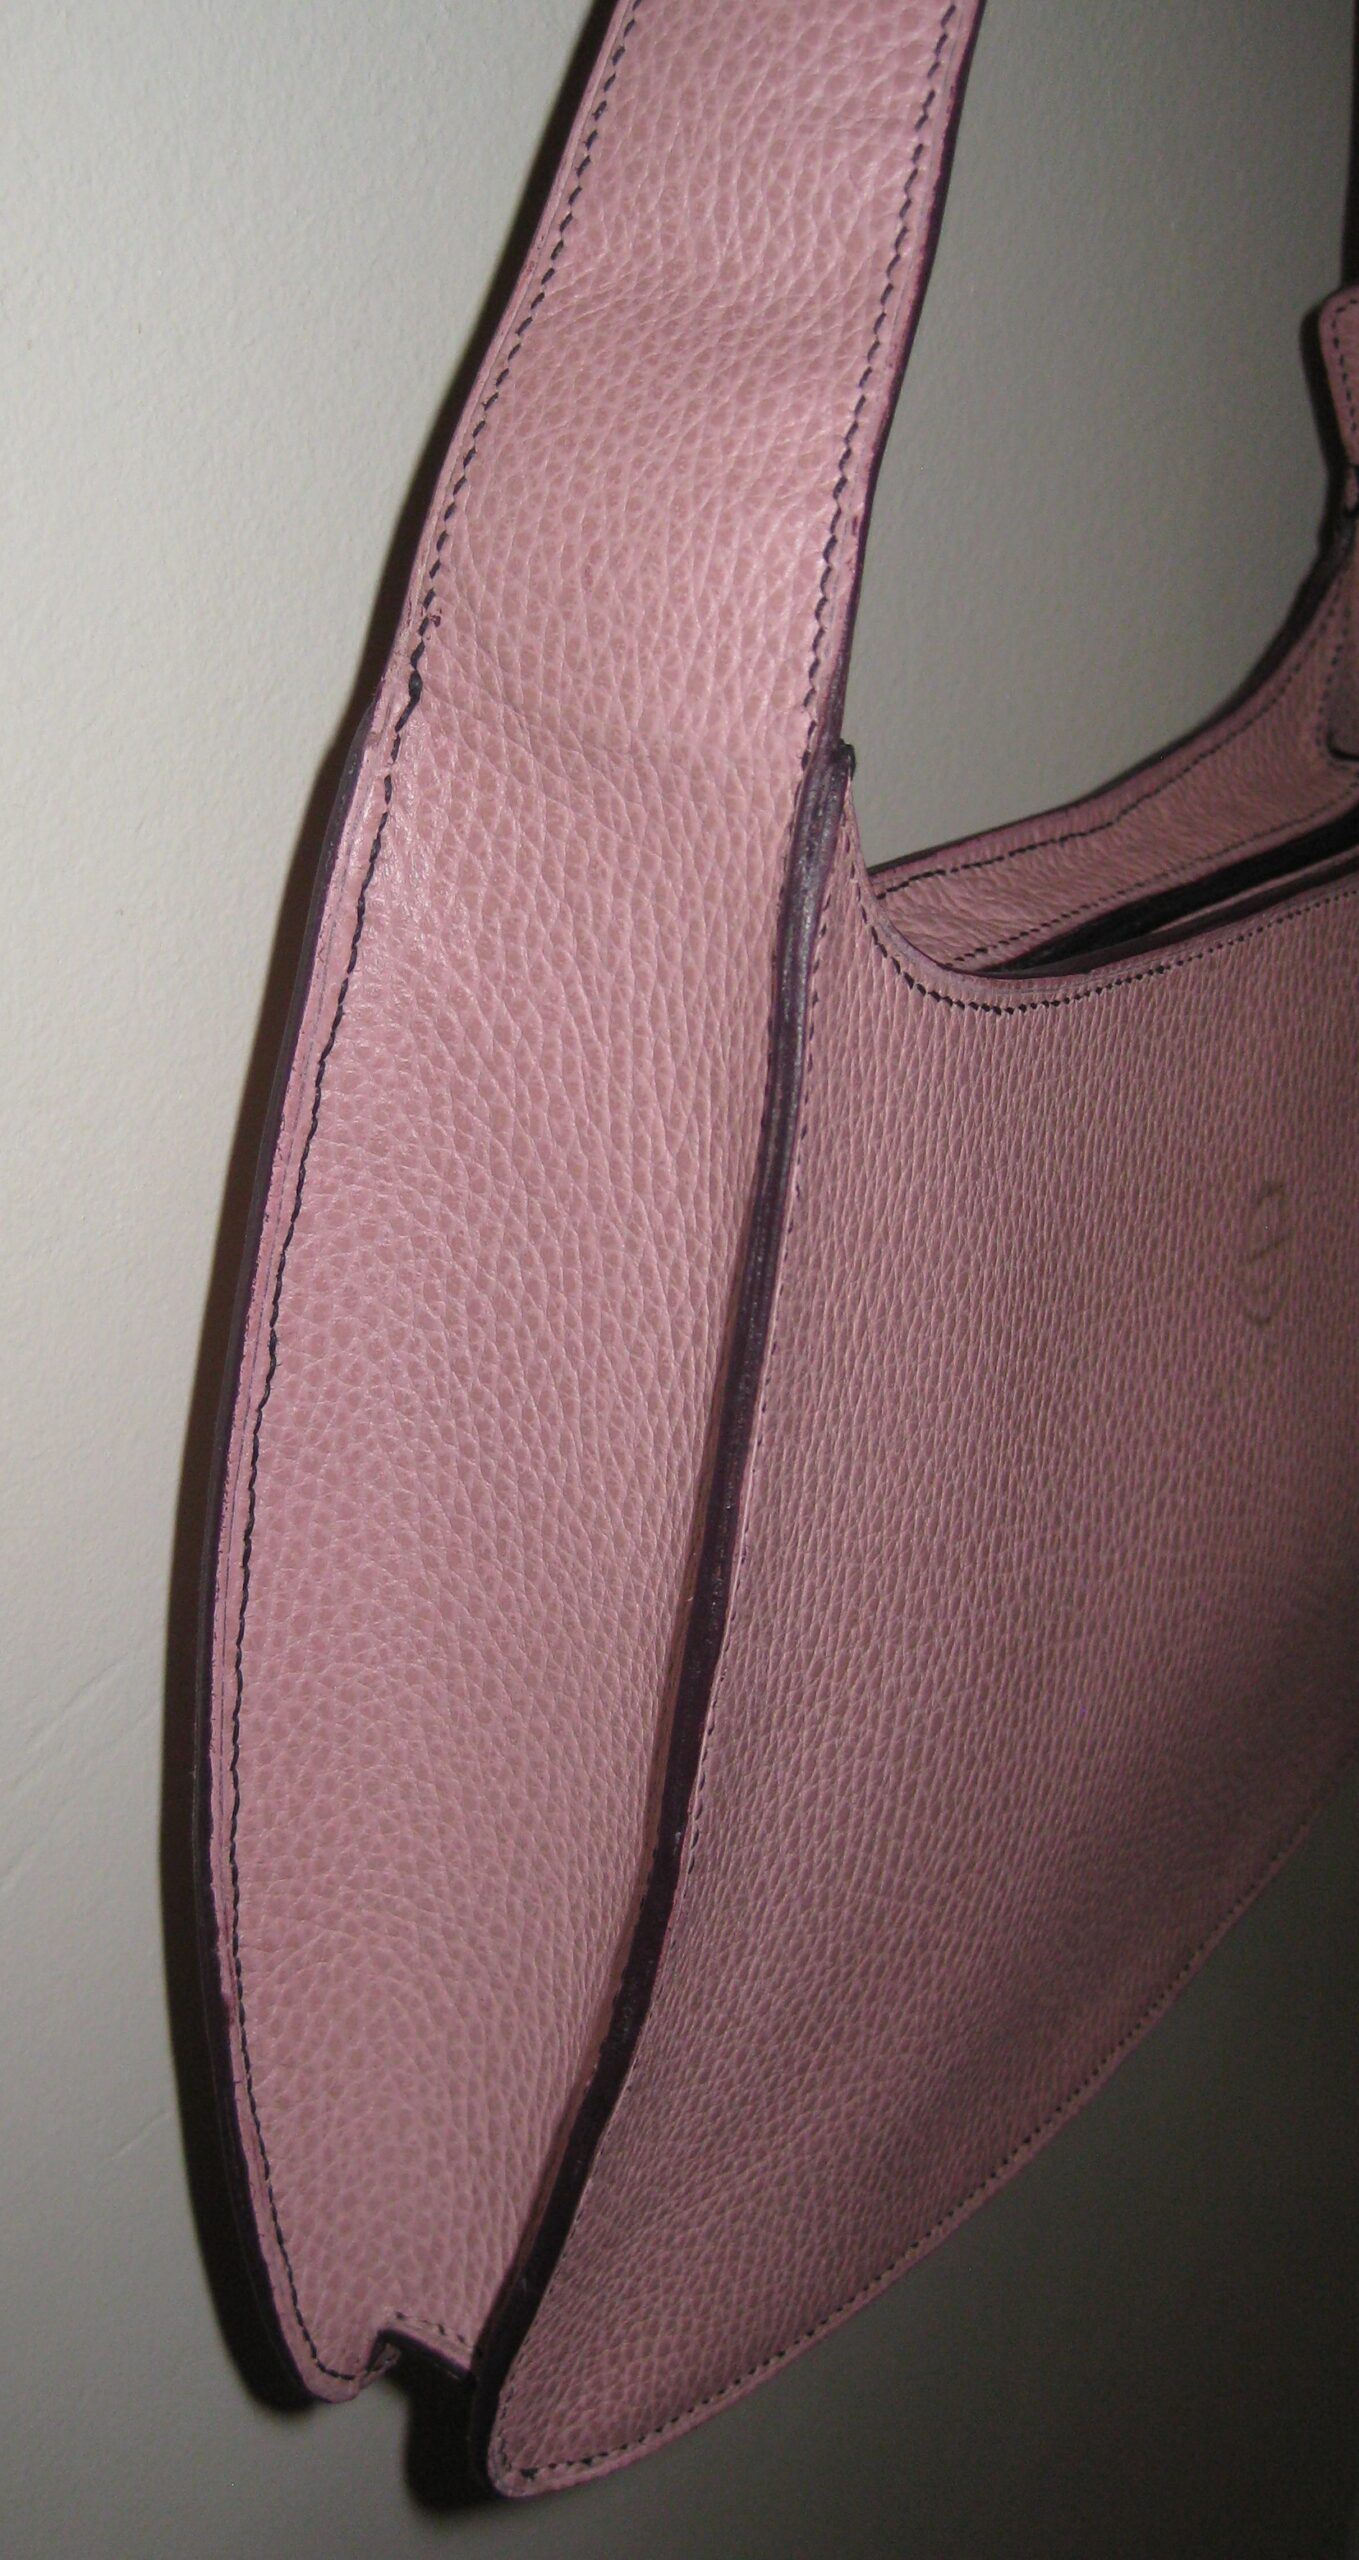
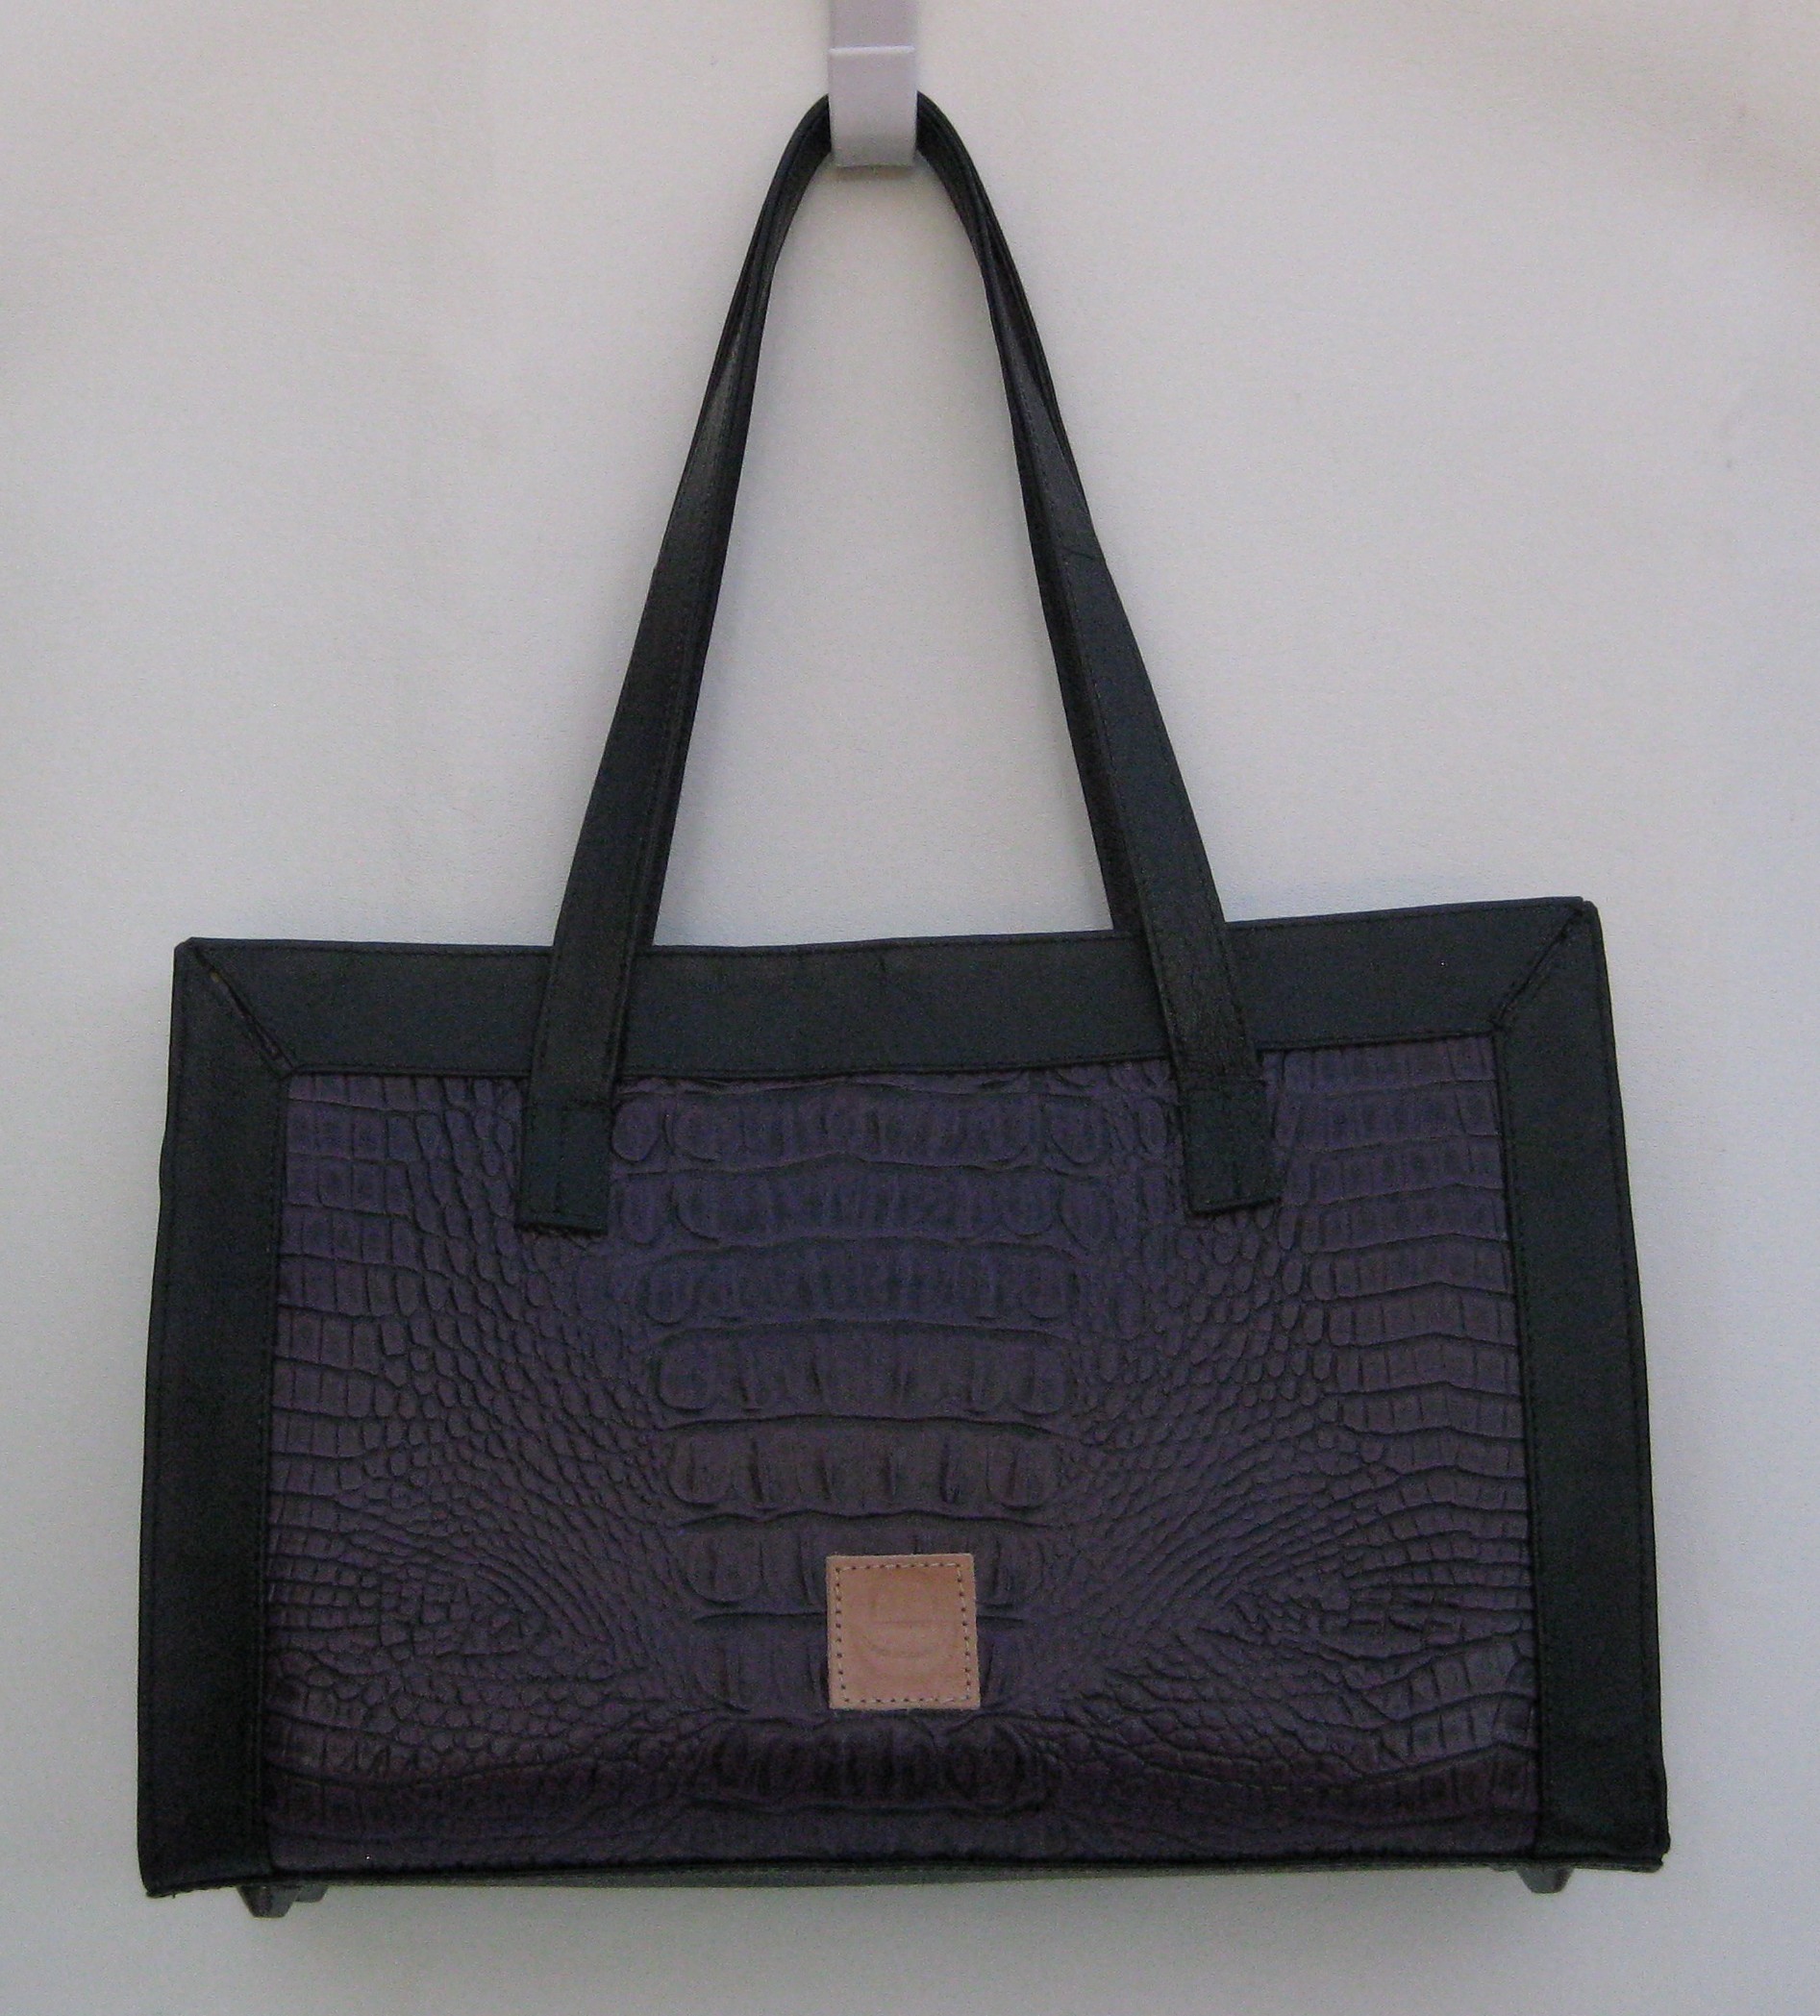
The main difference between the front and the back is the front view has my logo; it was more difficult to add my logo on this textured leather.
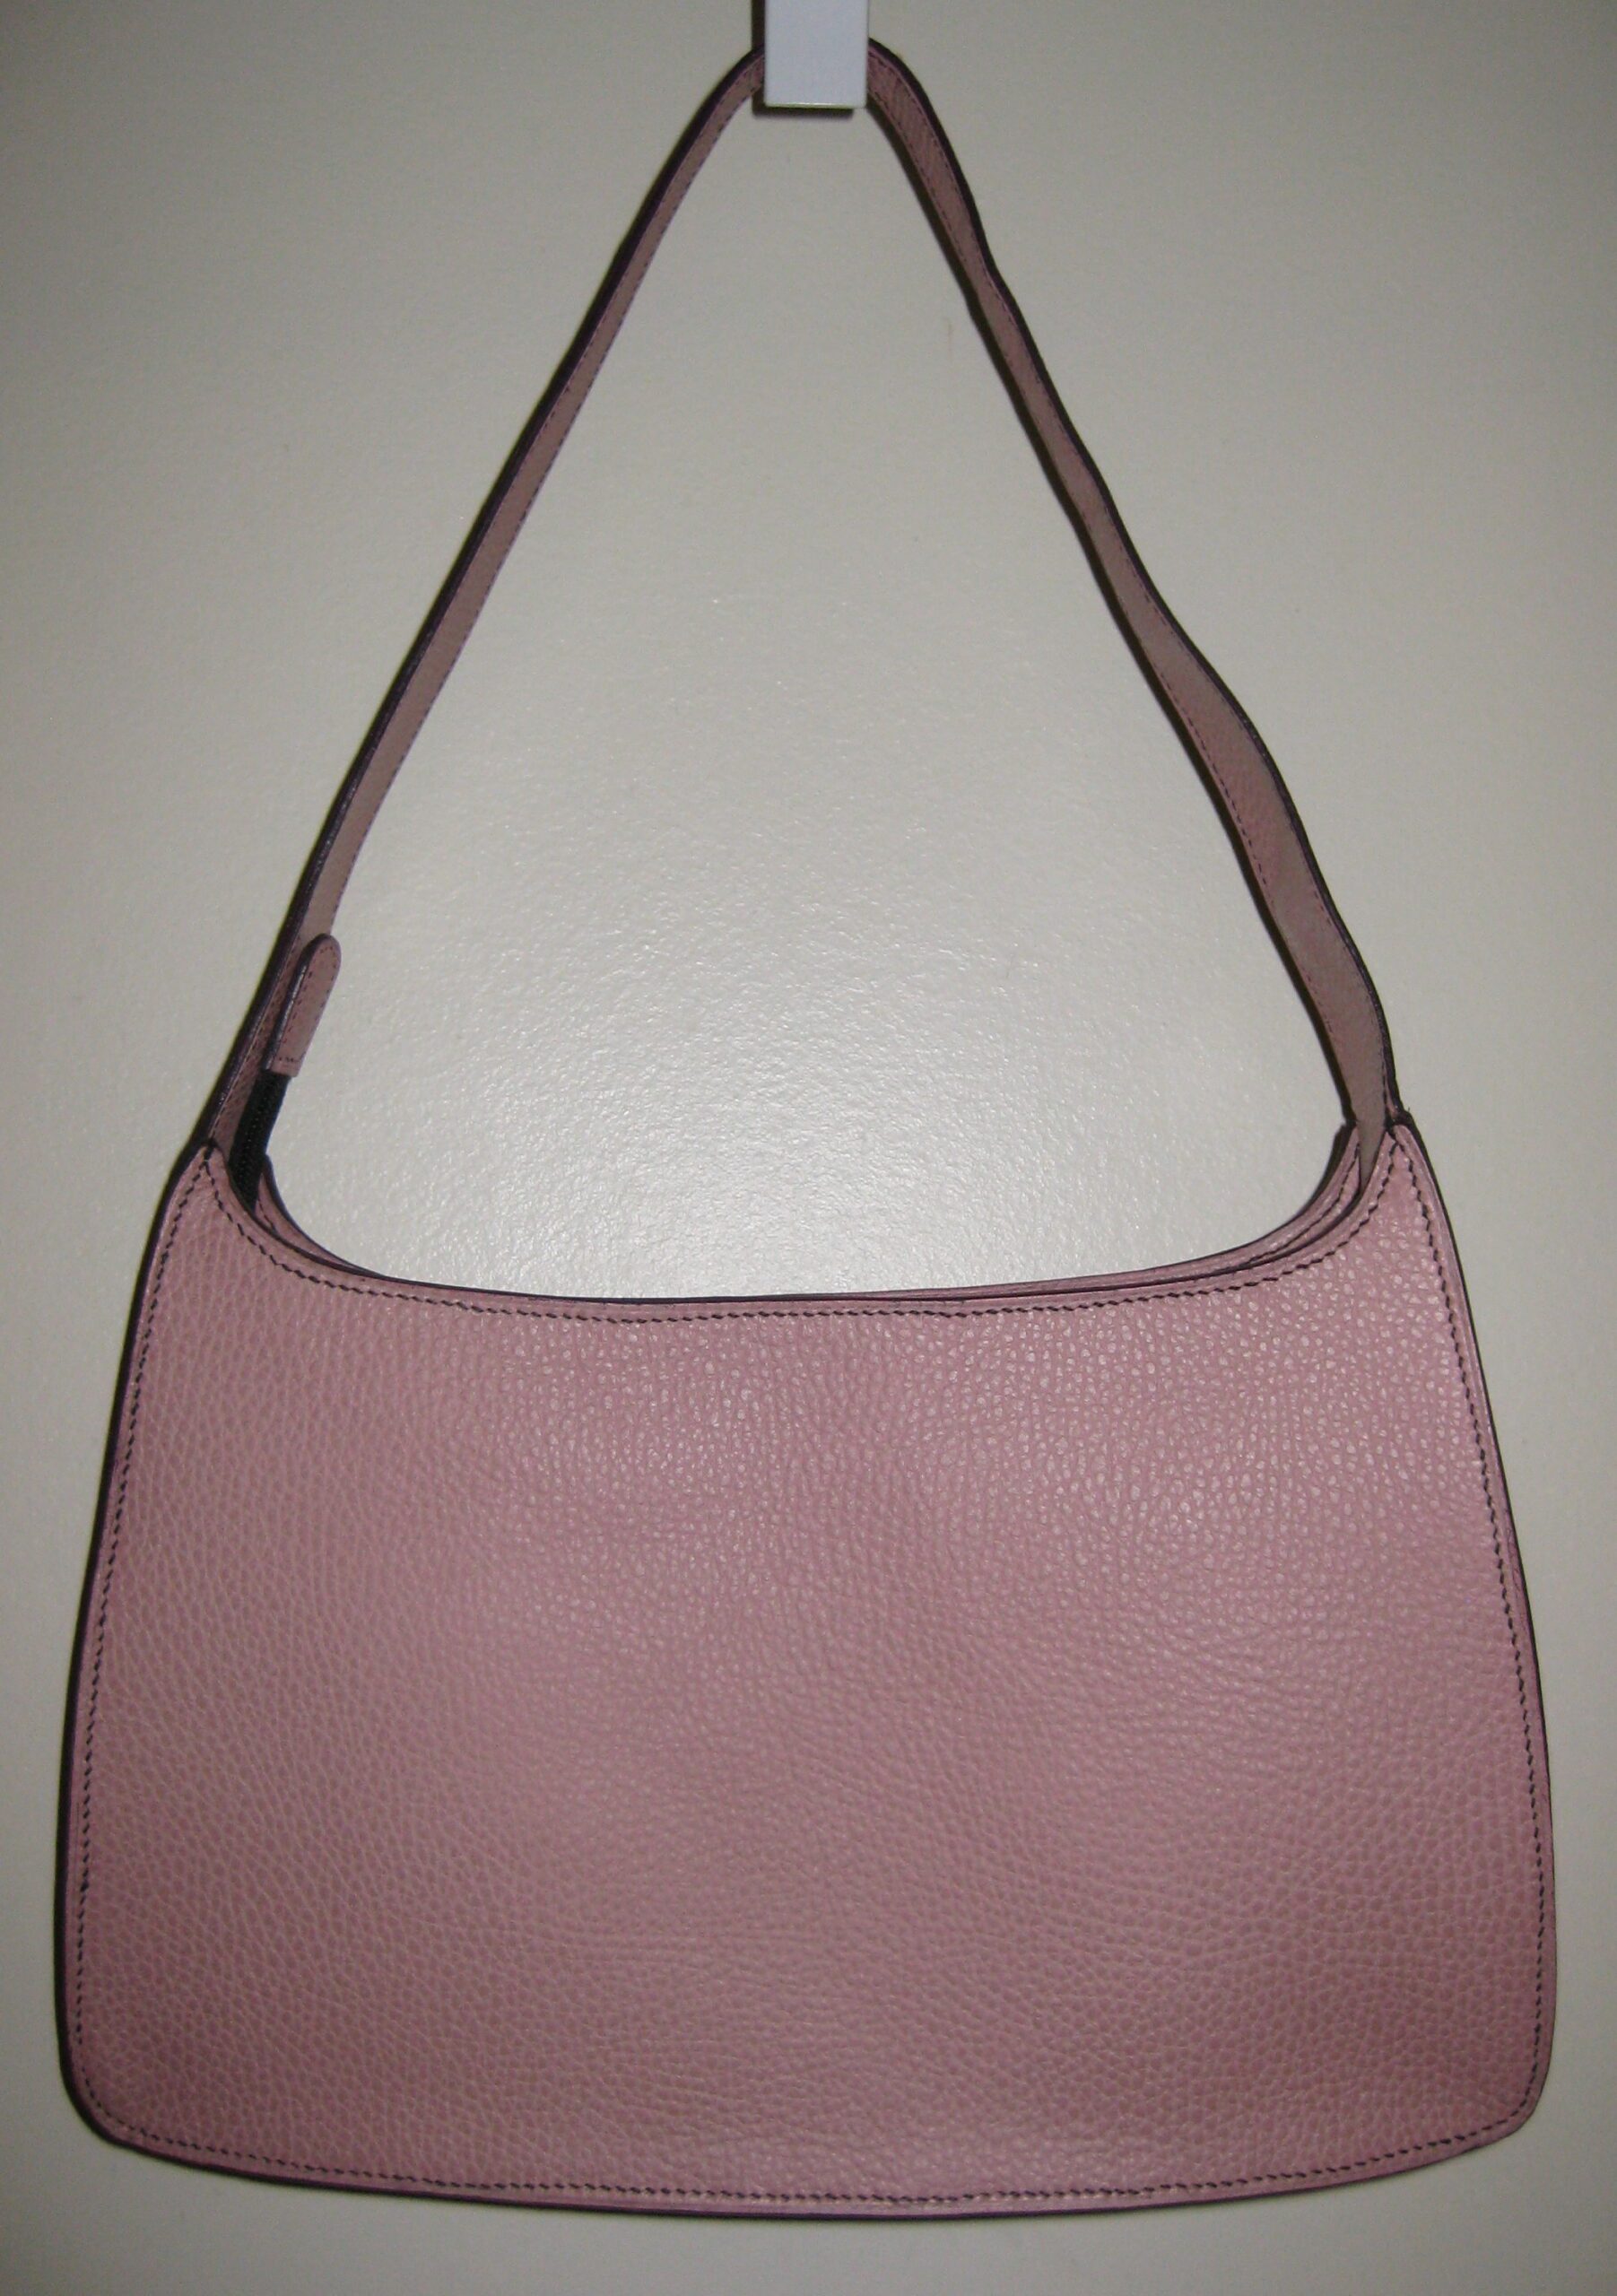
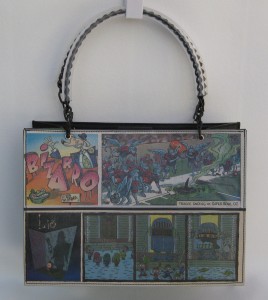
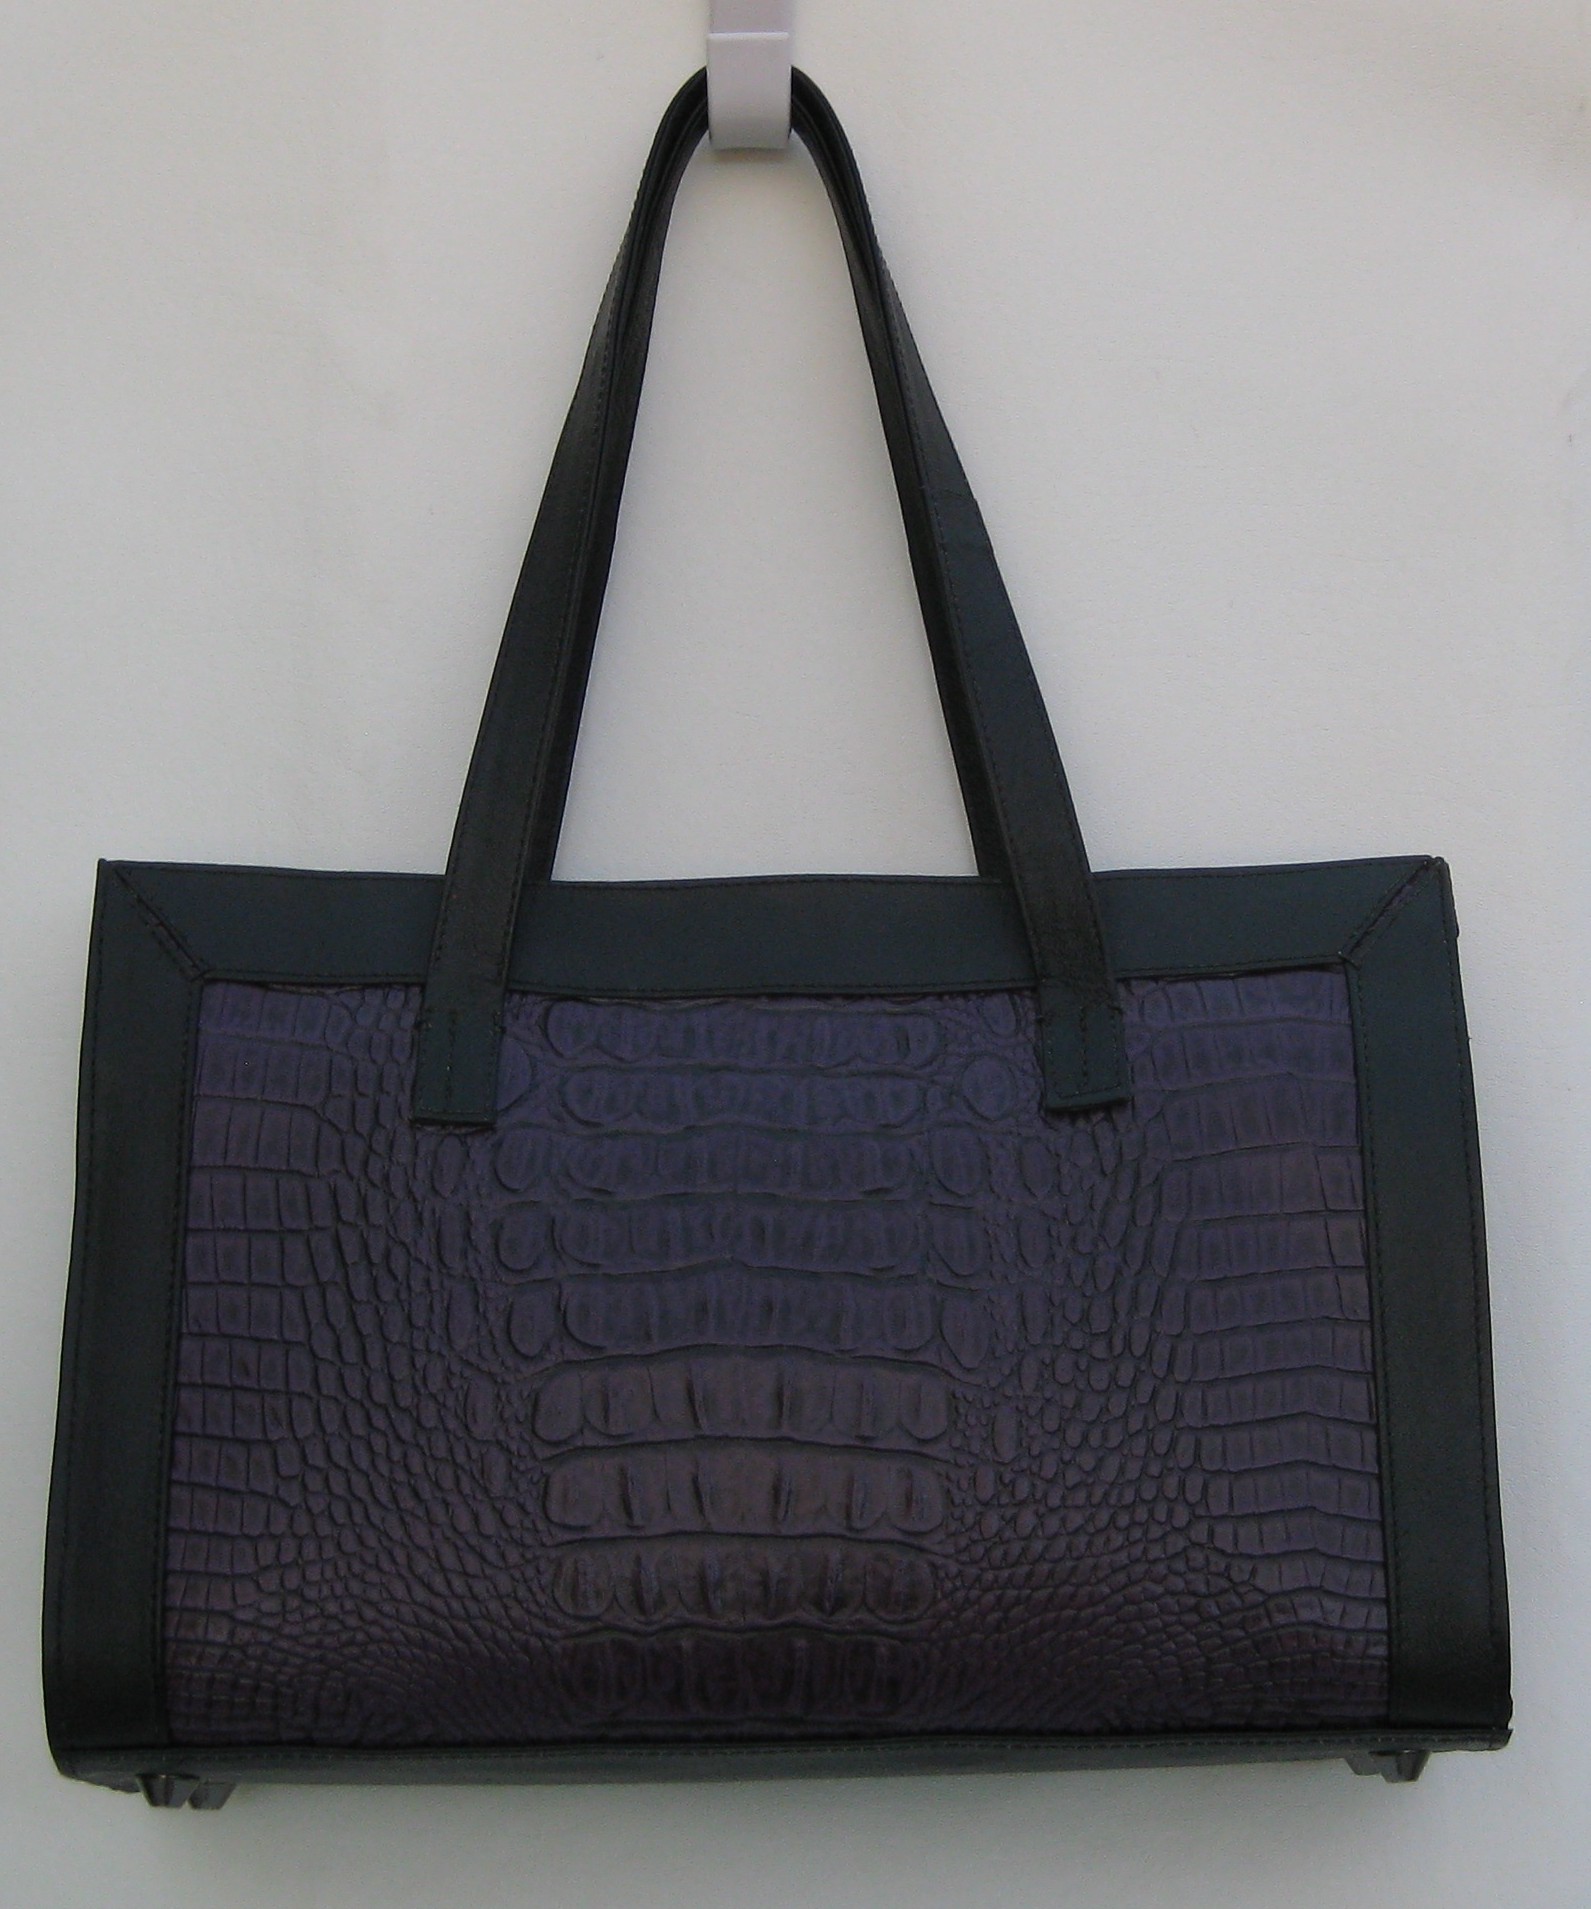
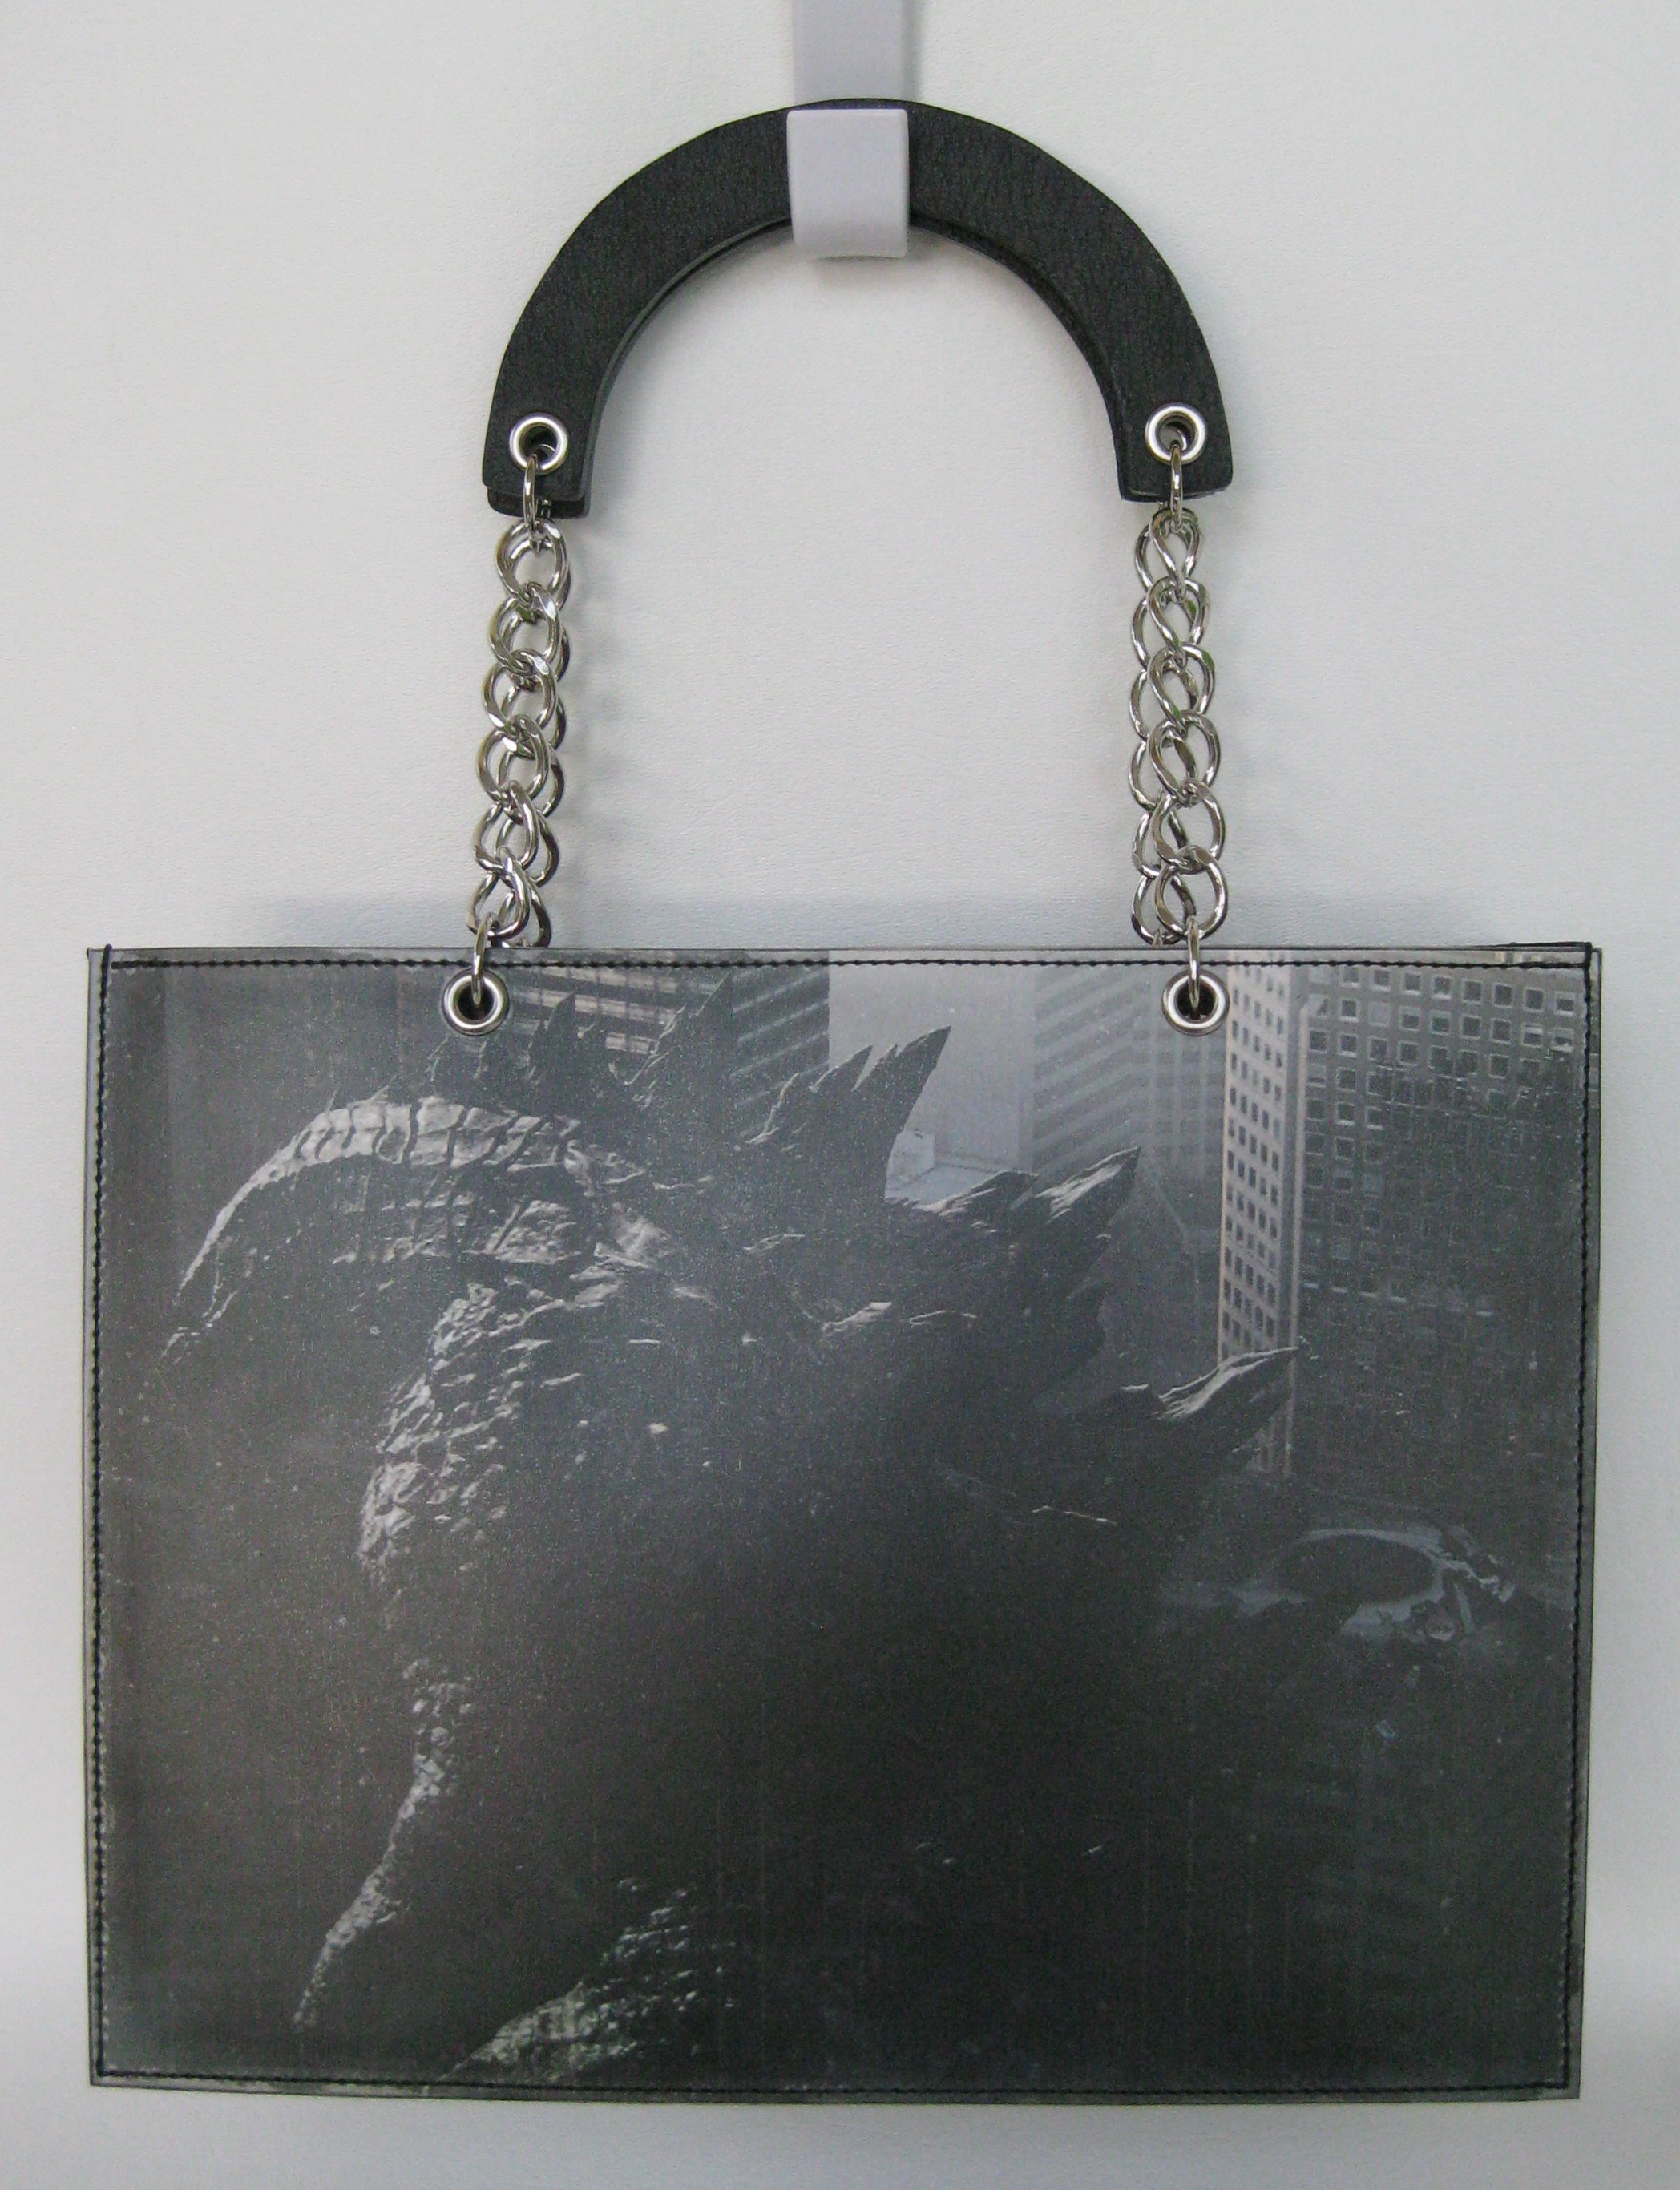
Back view
Other than that, the front and back views of this version of the Cana are basically the same.
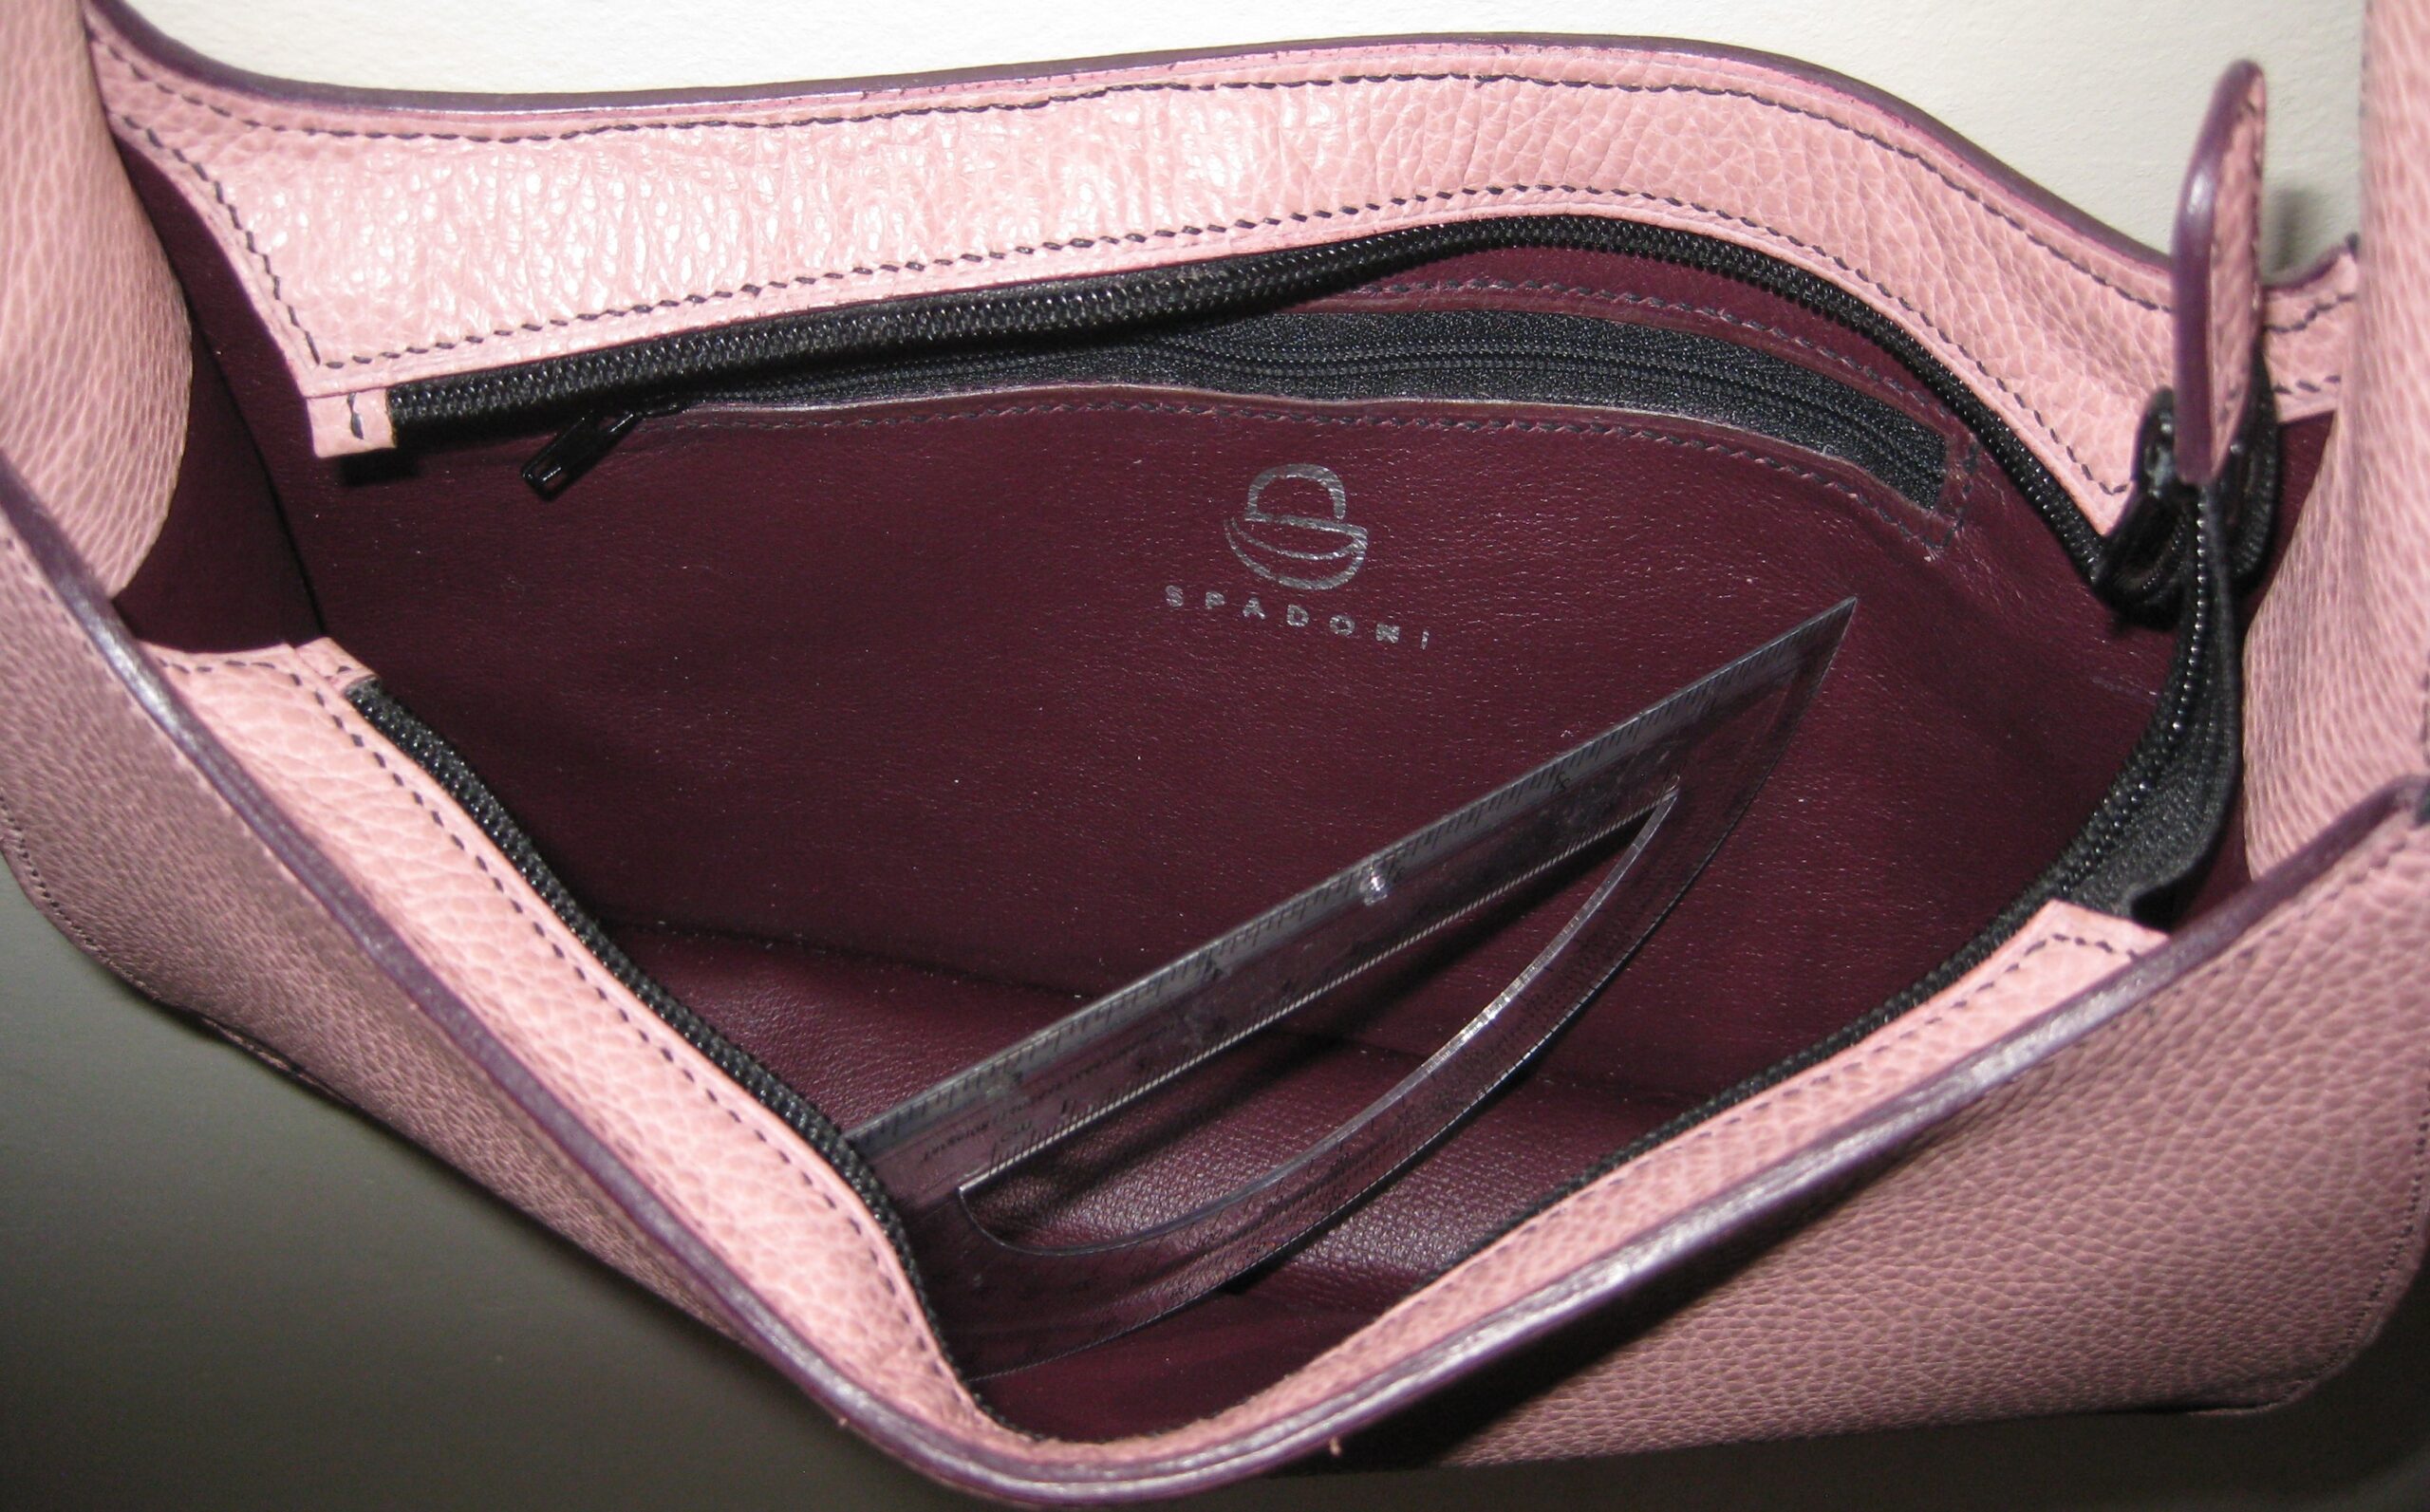
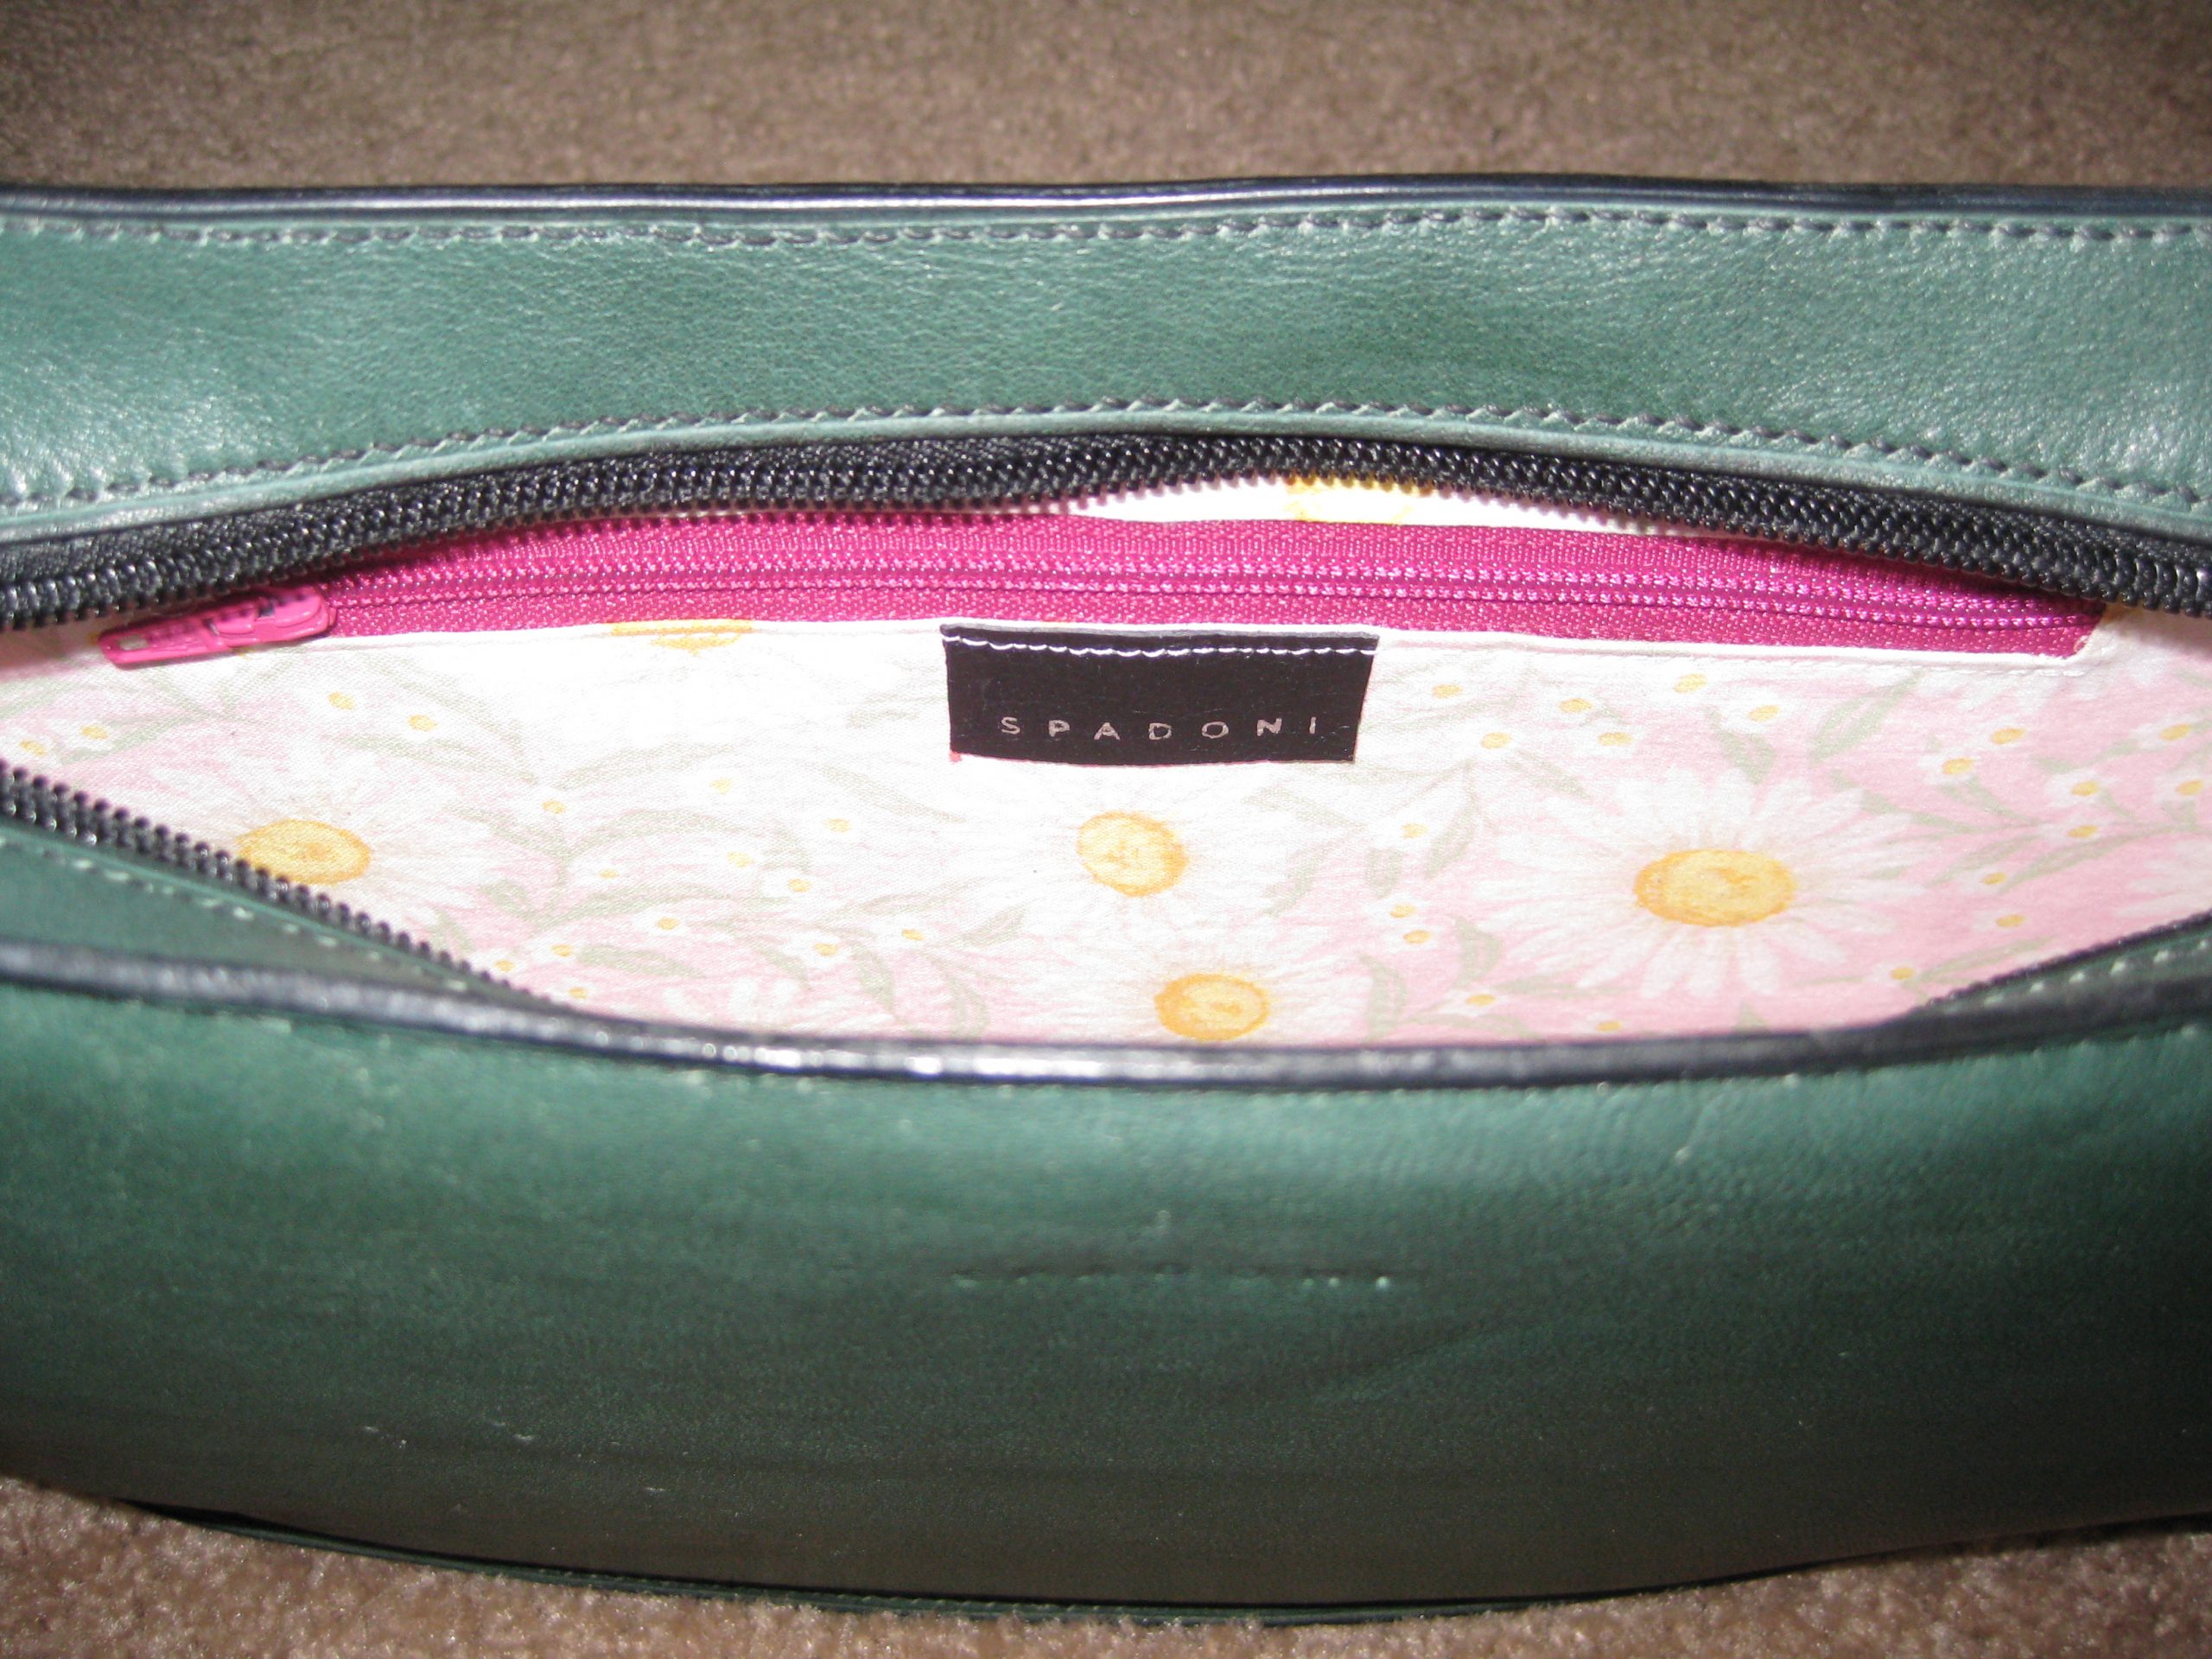
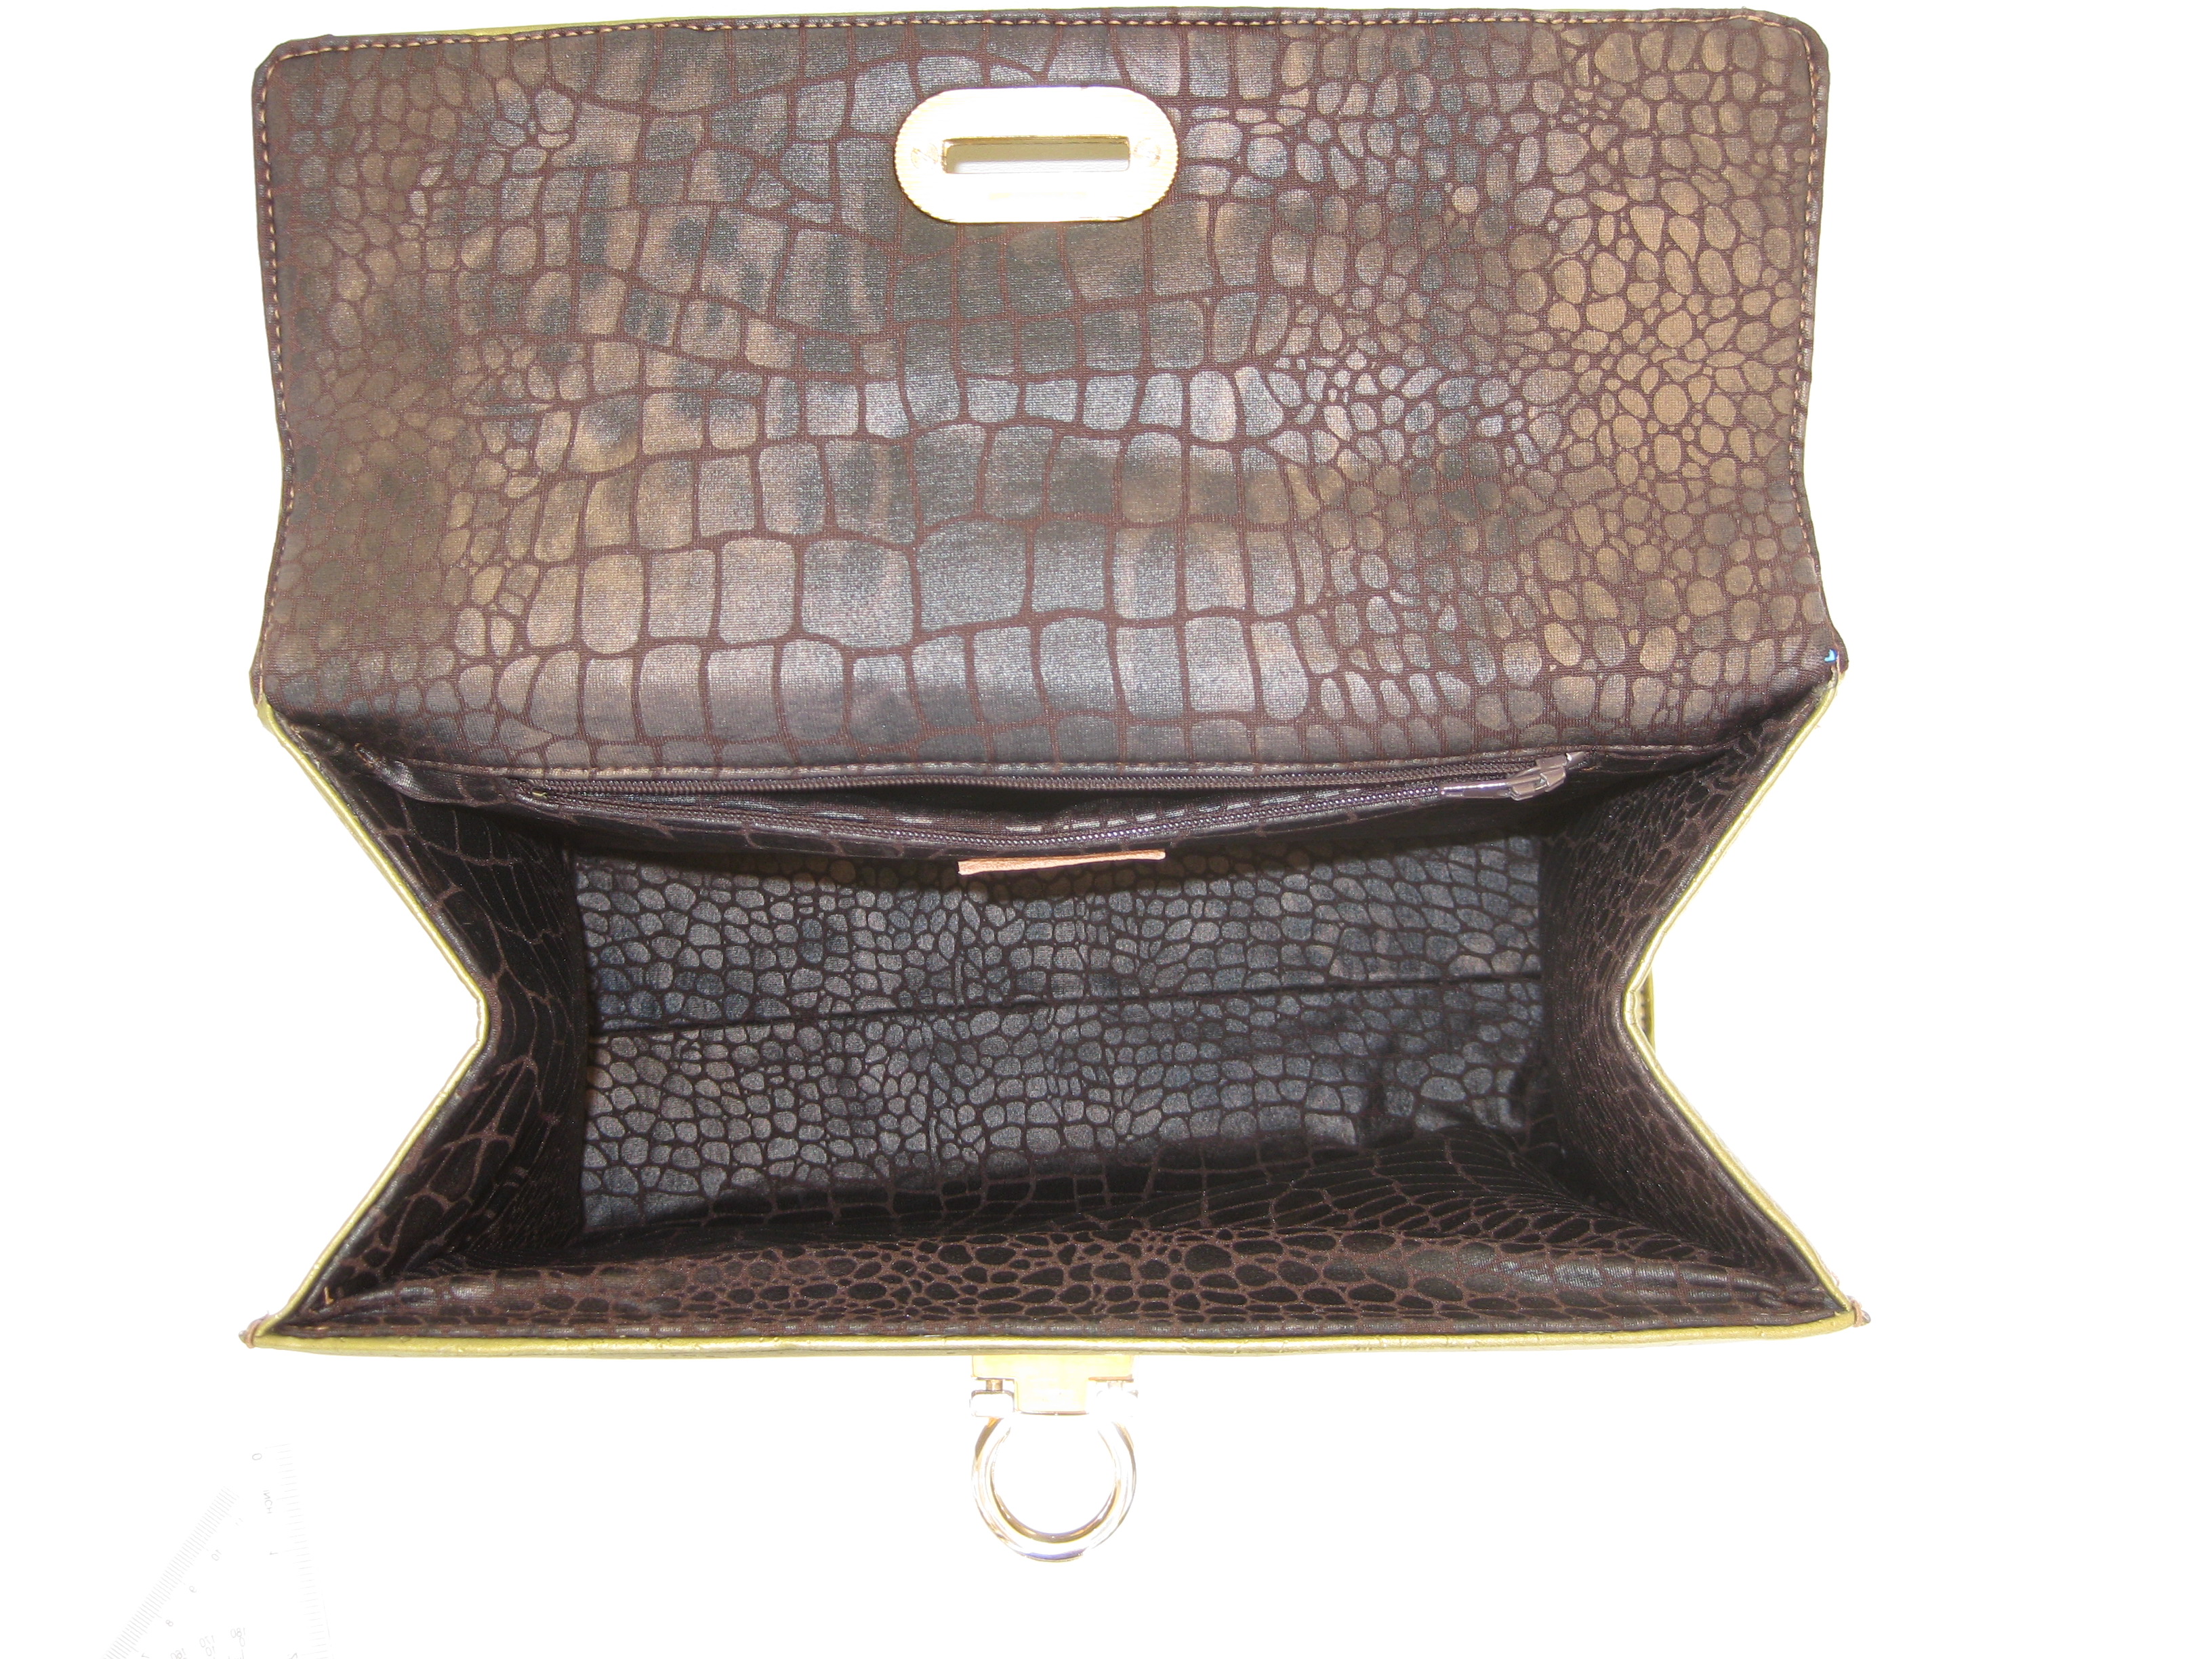
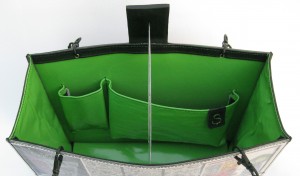
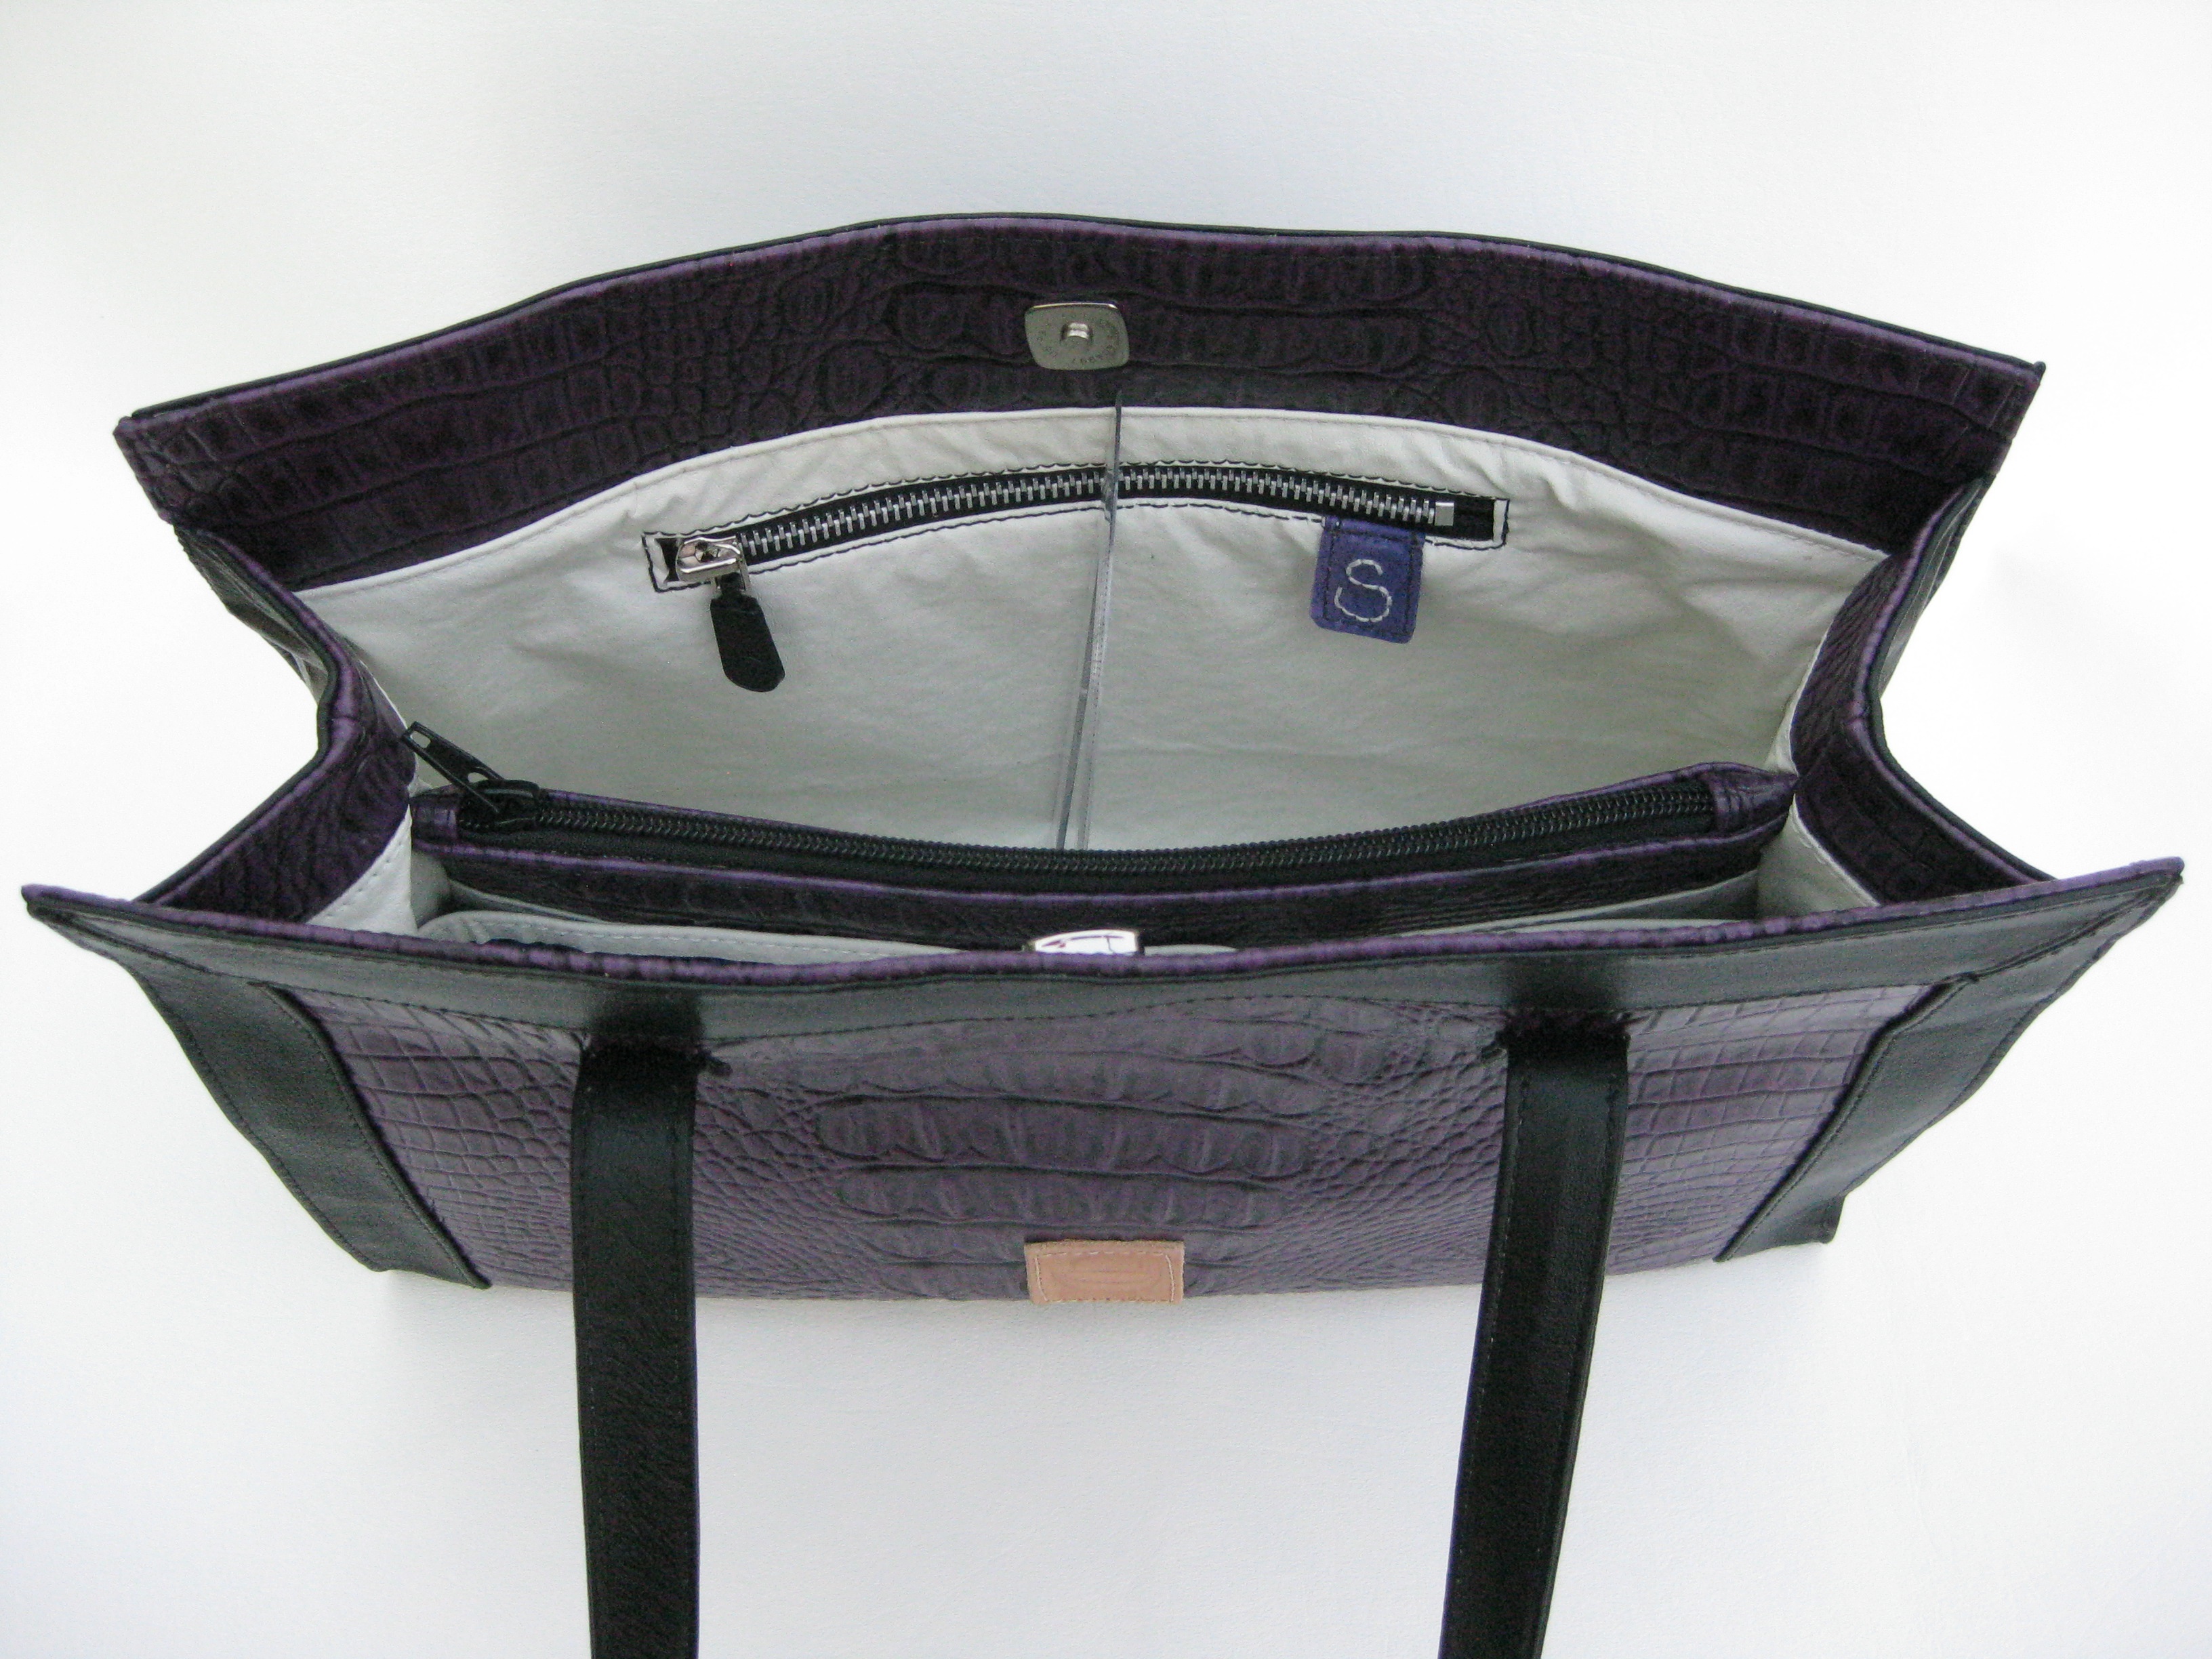
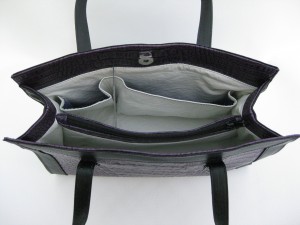
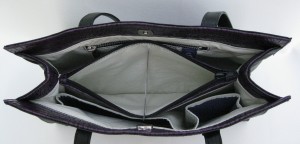
Inside view of the bag.
The interior is recycled leather (I use the terms upcycled and recycled to describe items I reused) – in this instance, the interior or “lining leather” was once a pair of leather pants.
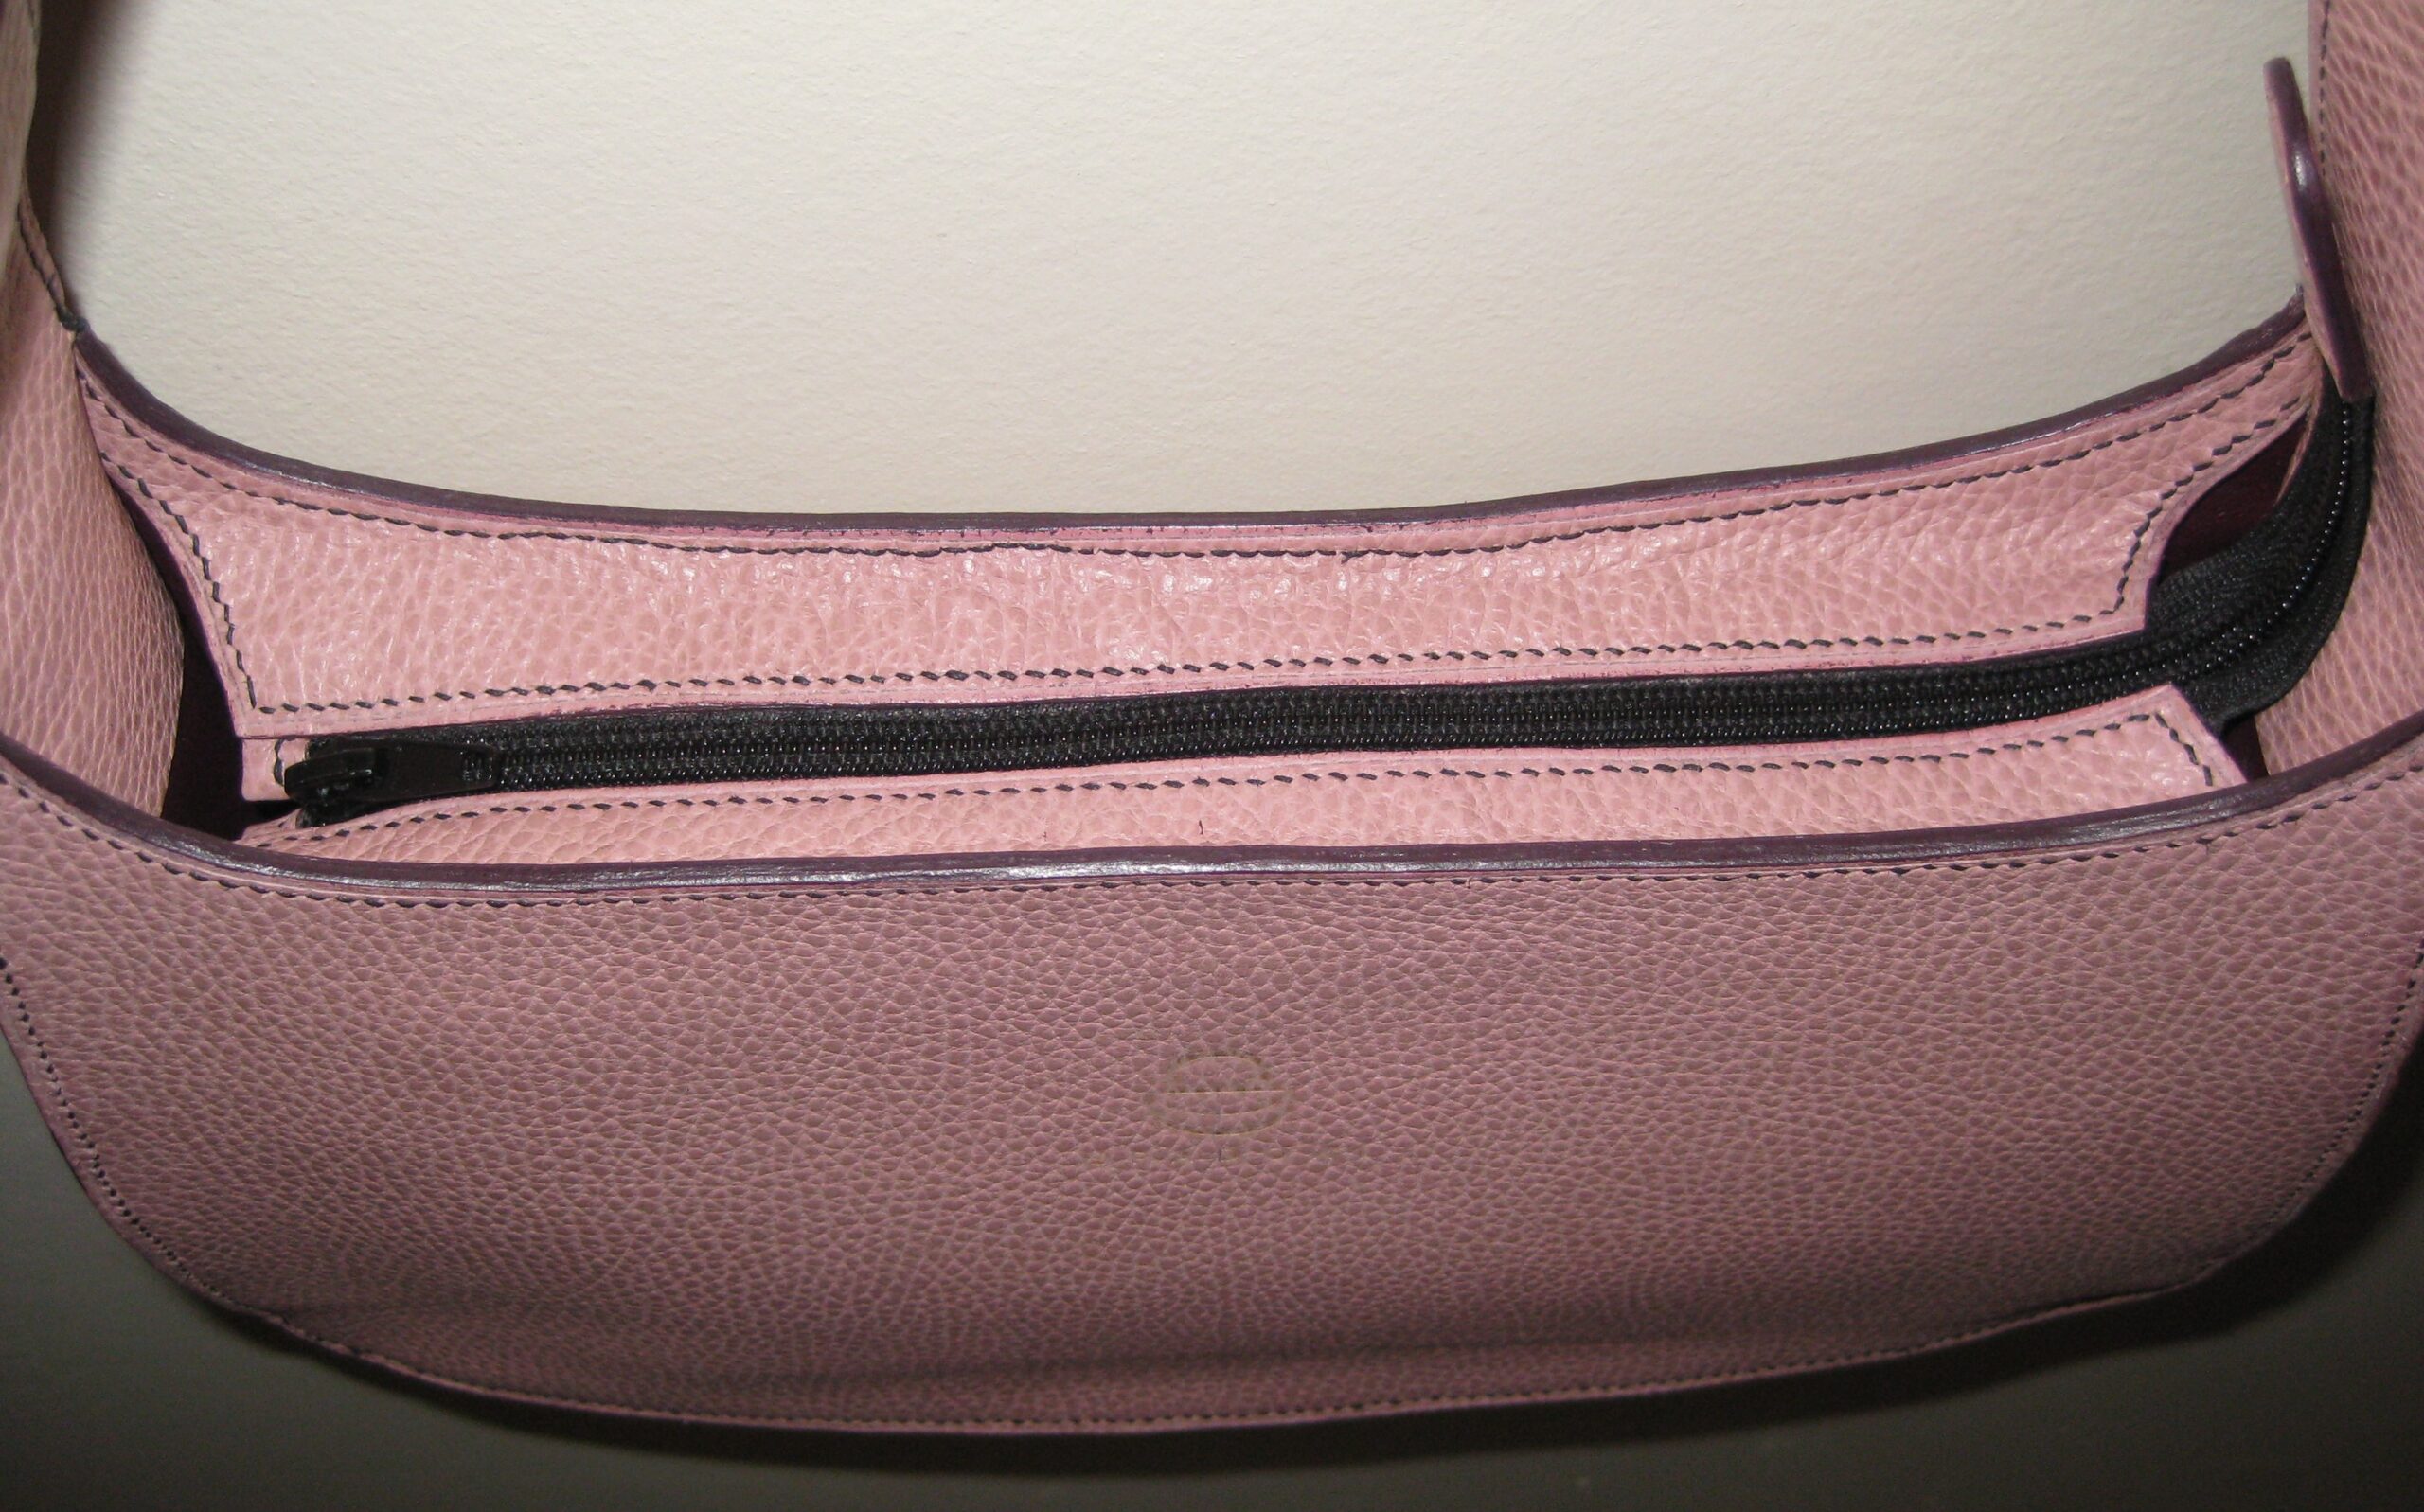
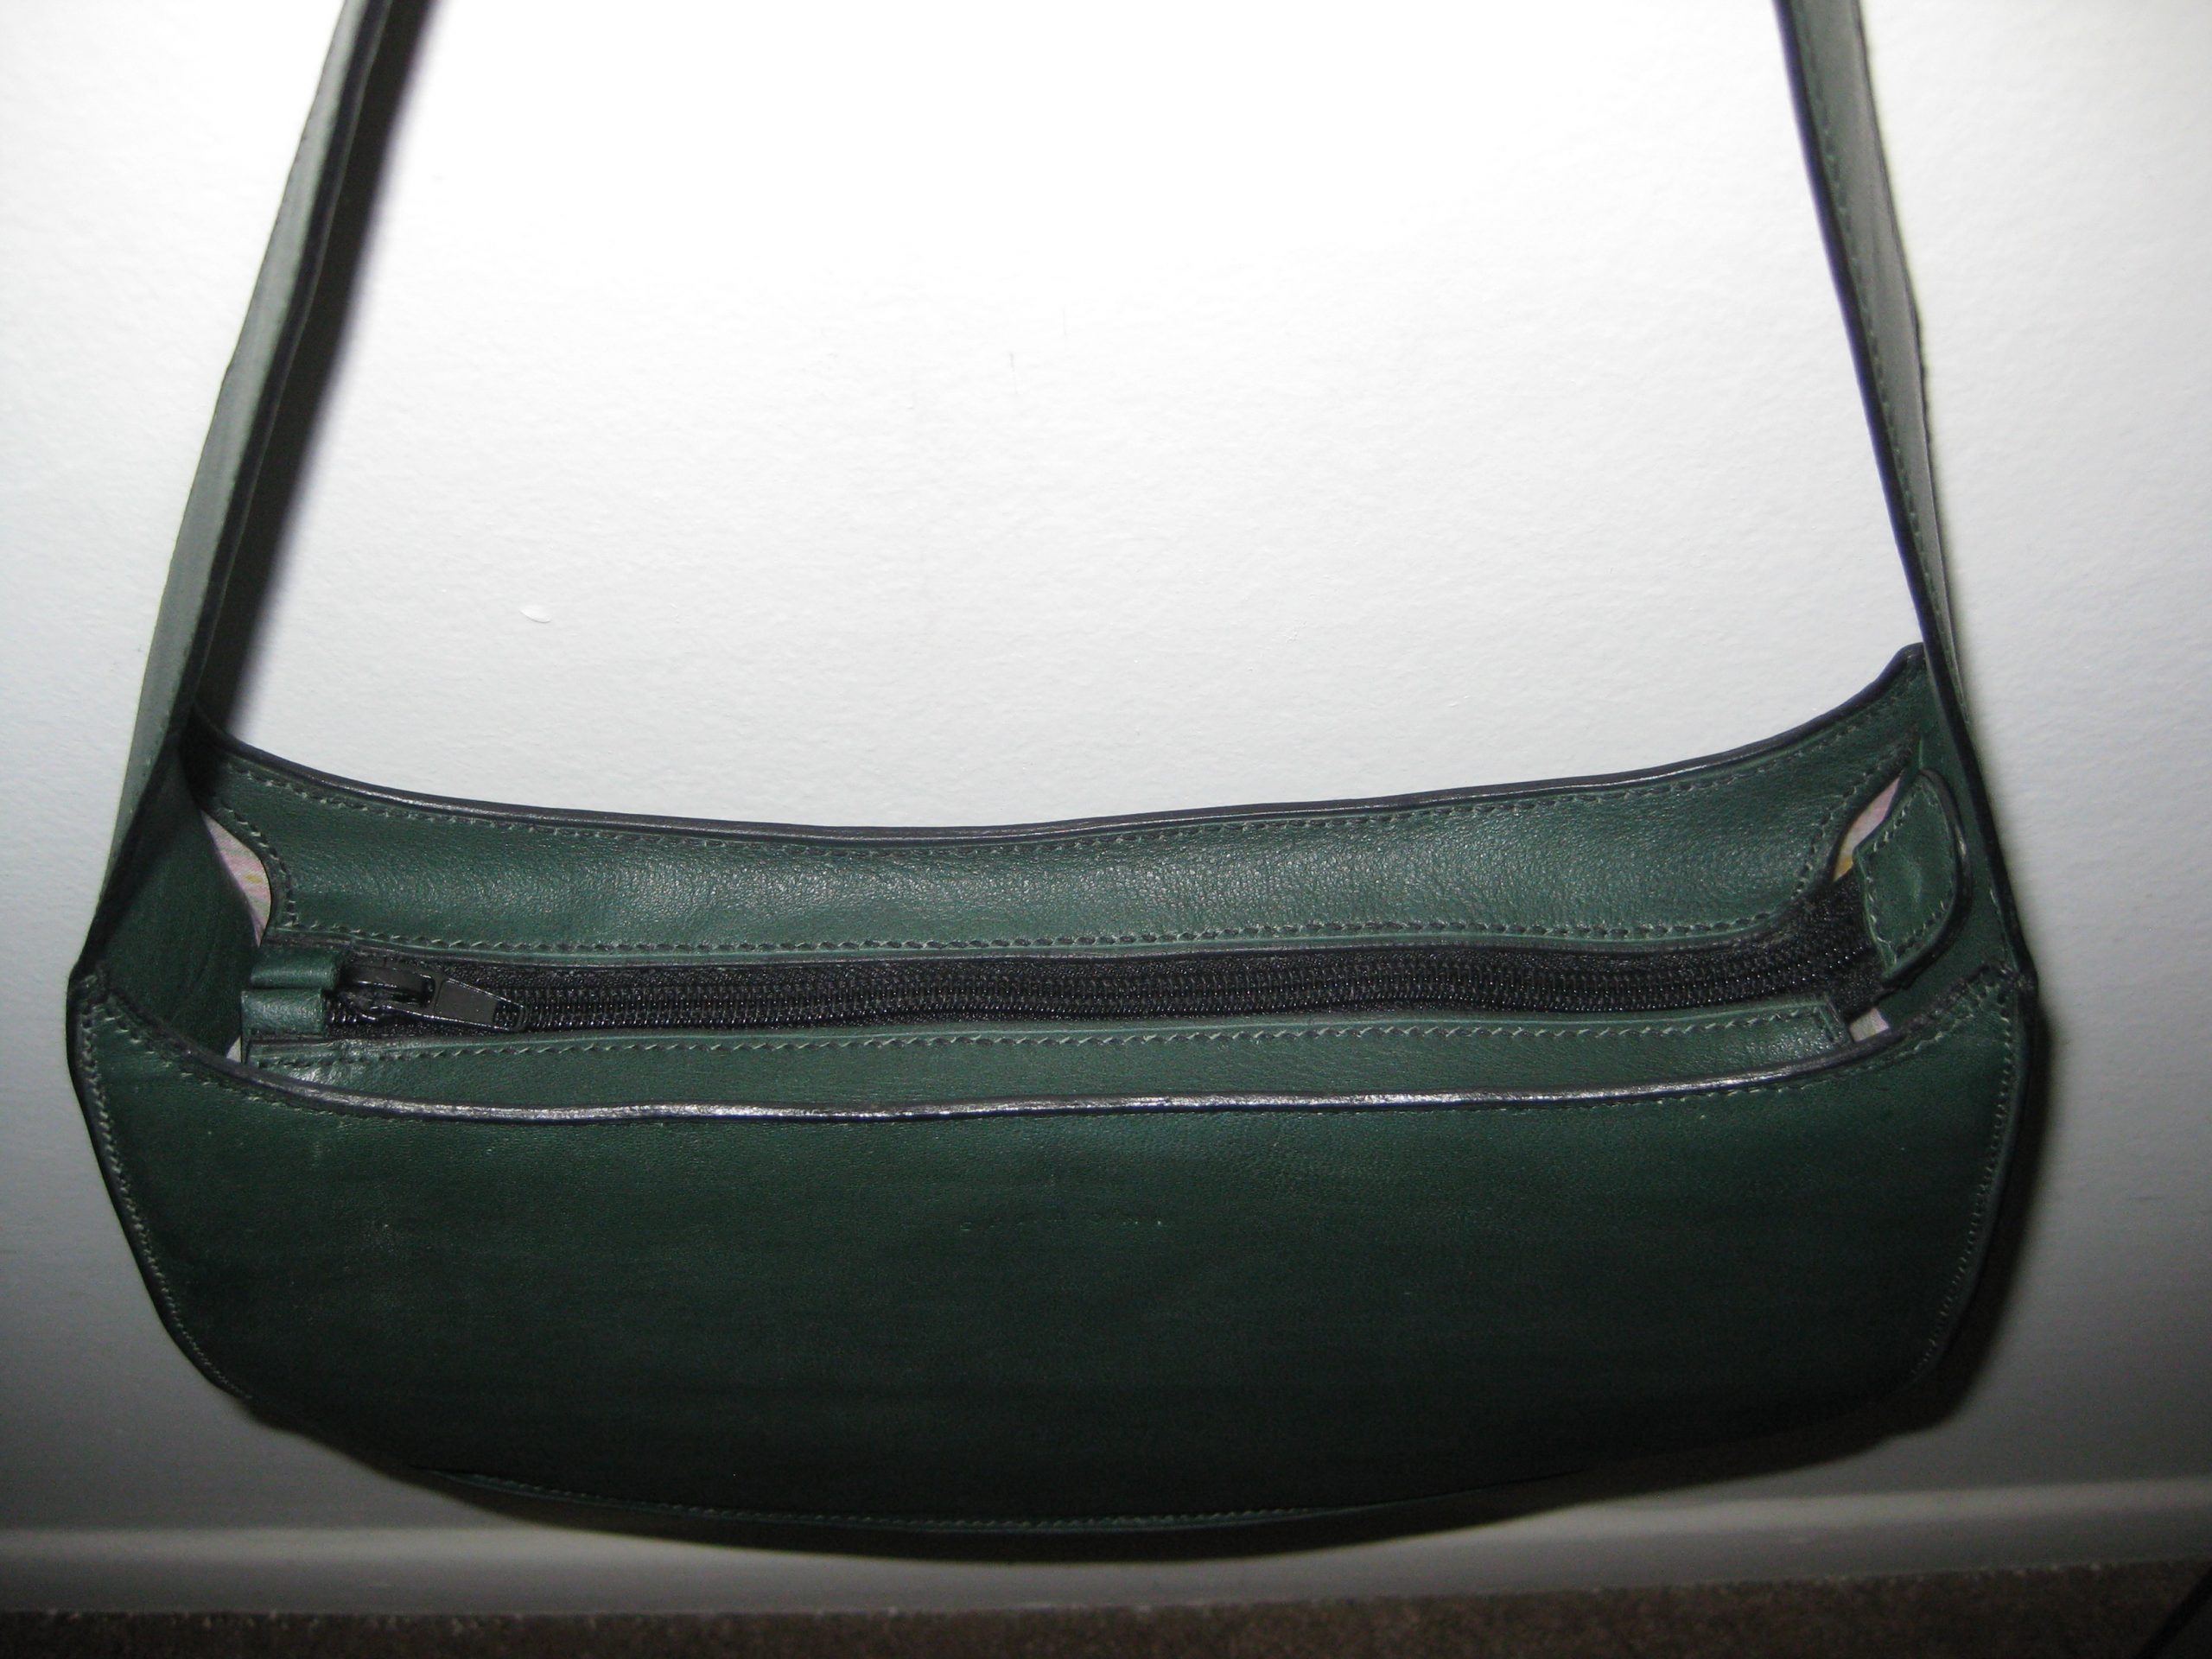
Zippered opening.
As with the original Cana, this bag is all hand stitched with linen thread, the edges are colored with leather edge paint and burnished.
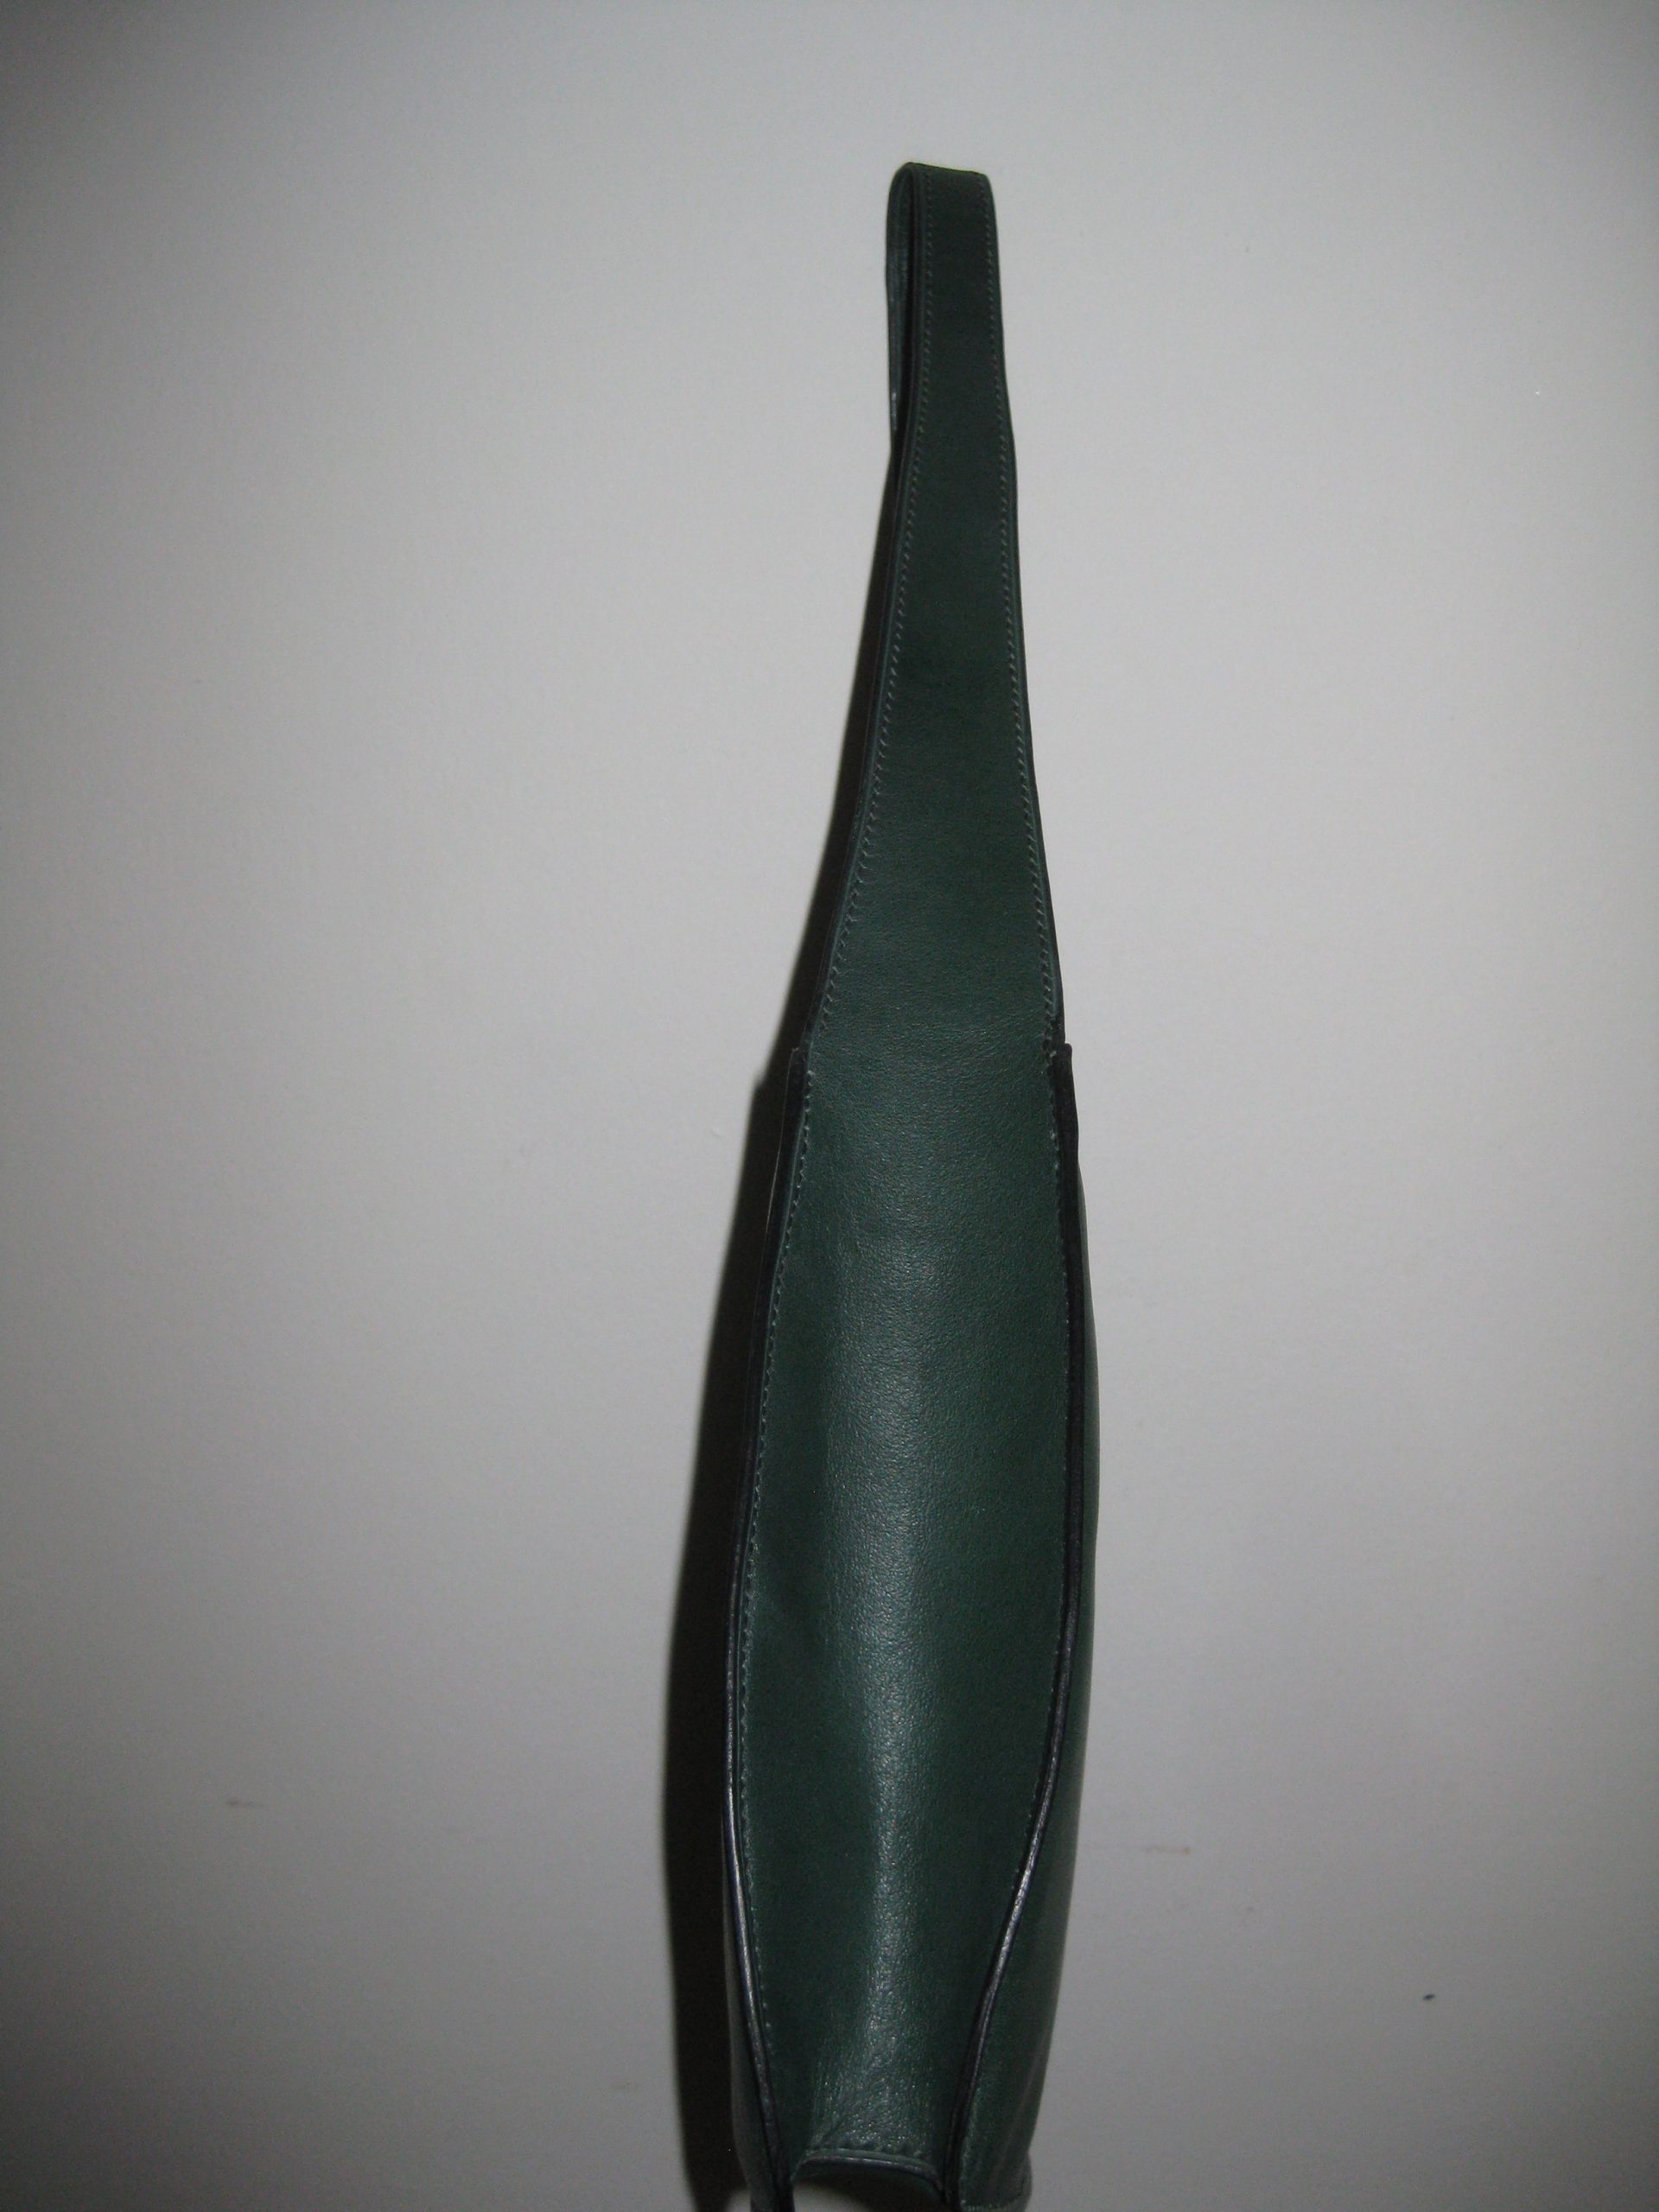
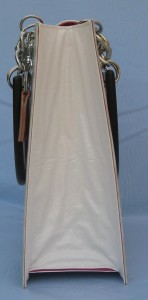
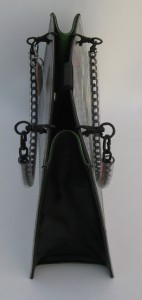
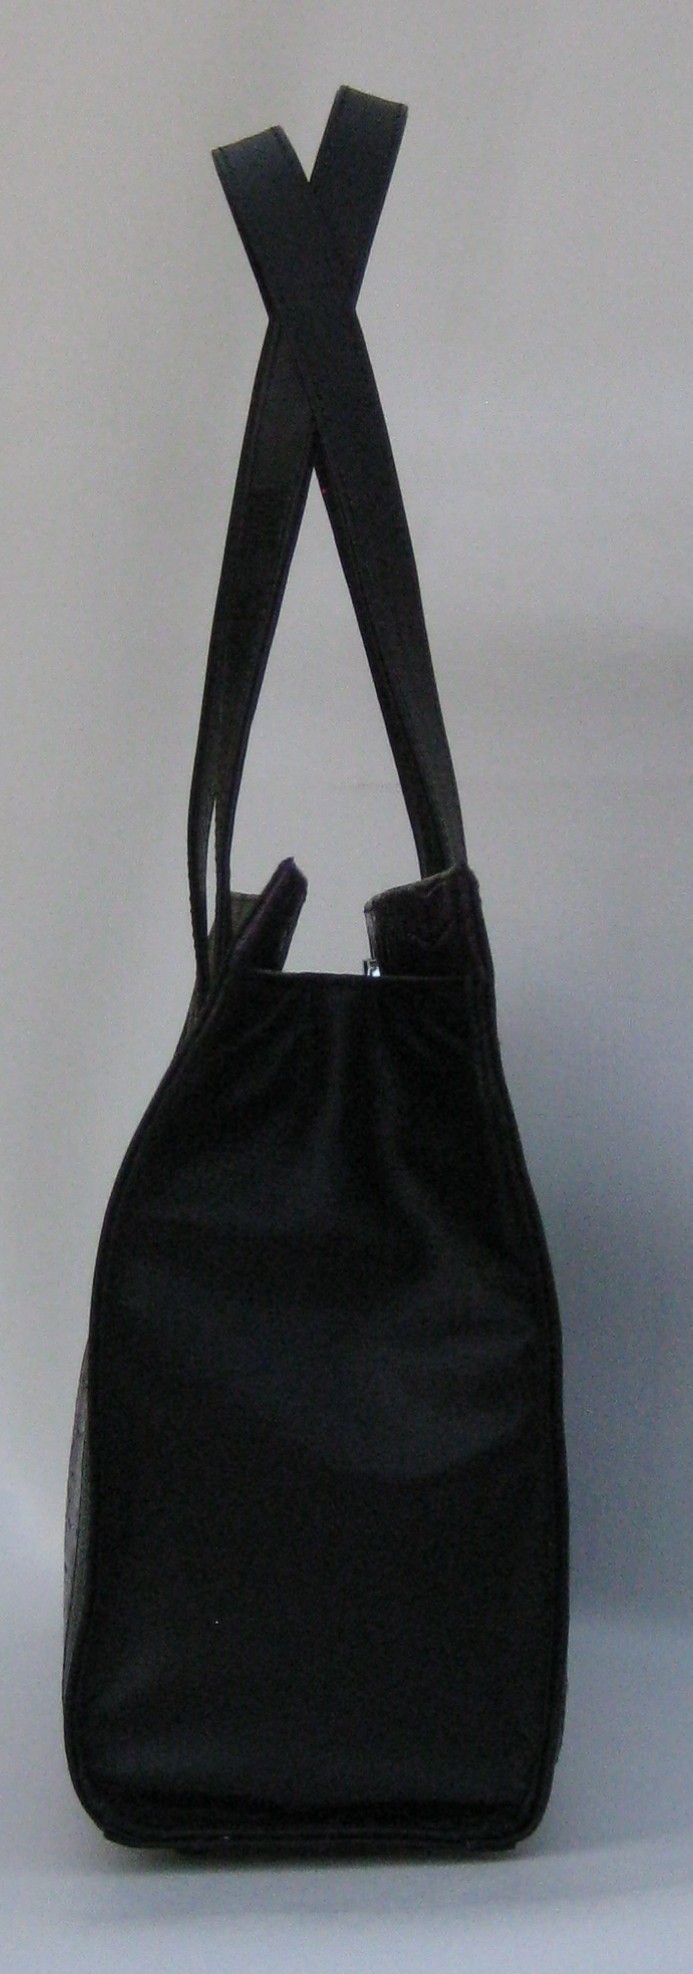
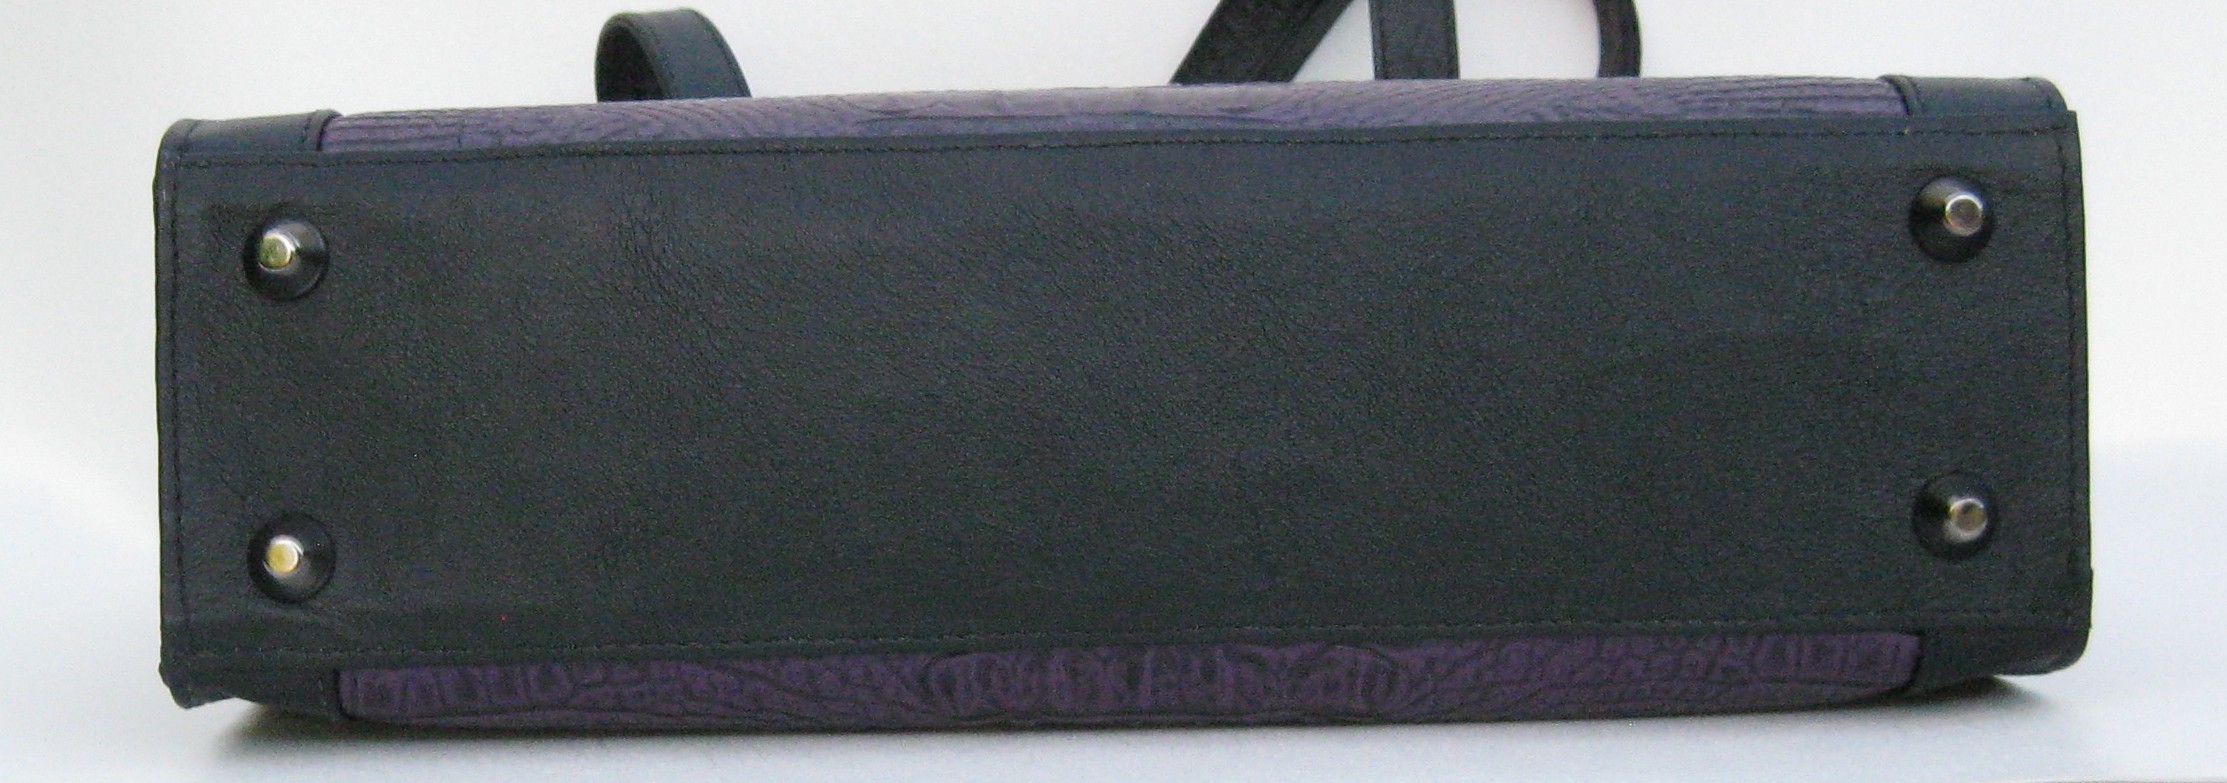
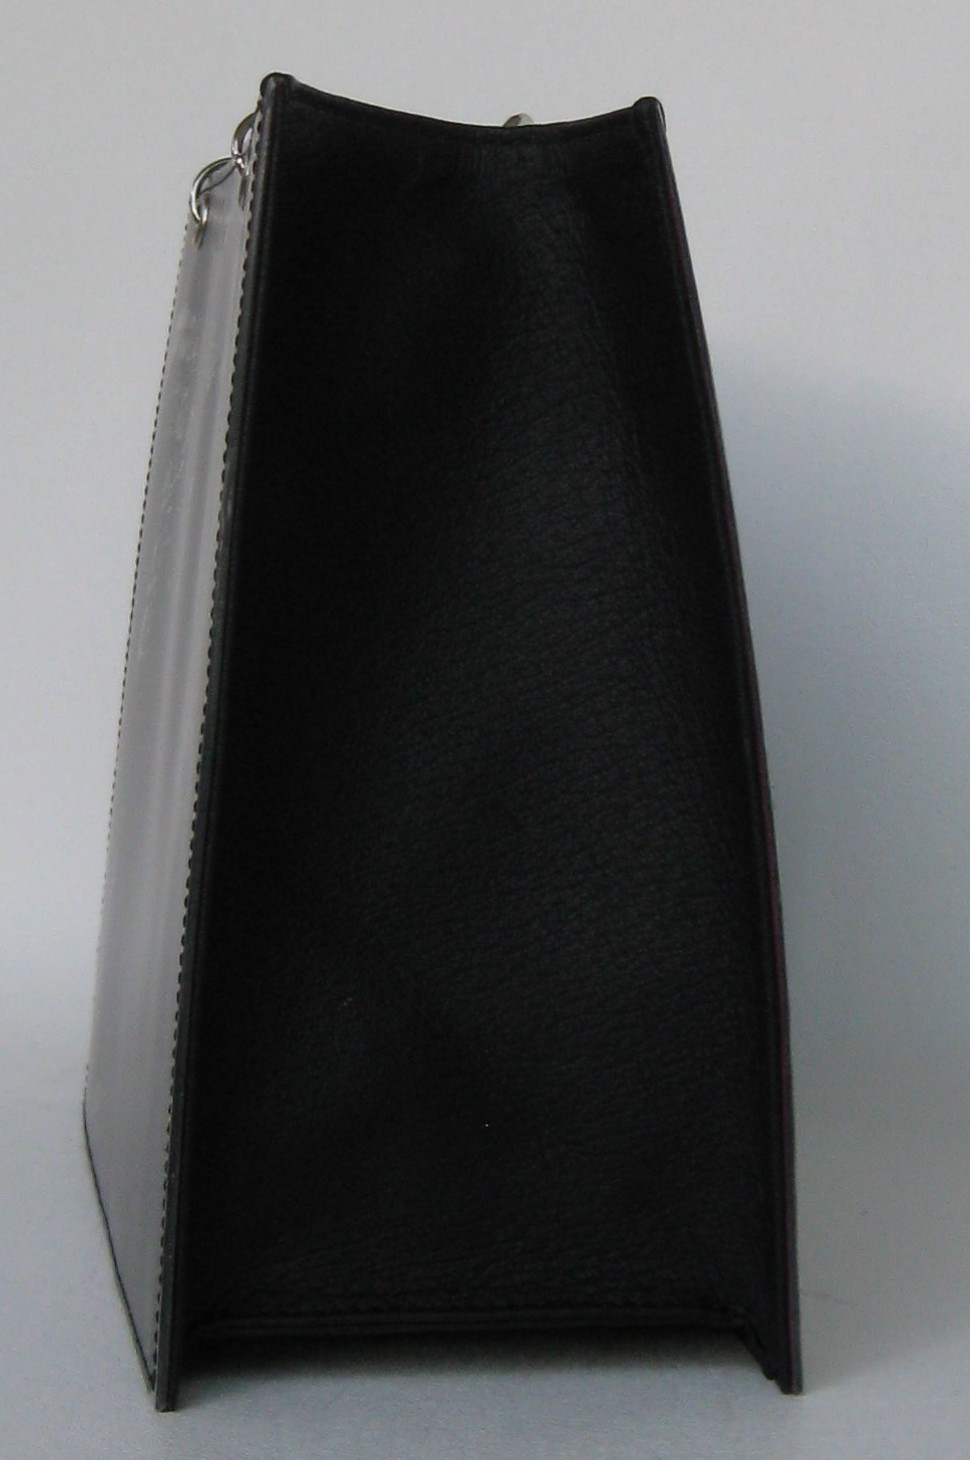
Side view.
Practice, practice, practice – I need to continue working on my stitching skills.
This was an experiment…a reverse engineered handbag fashioned from recycled leather…a couch!
The name of this bag is a play on words…kanape’s; it means sofa in Greek.This bag has a nylon zipper, is hand stitched, and all edges are hand finished.Side view.The Cana inside back with a zippered pocket. The inside is surprisingly roomy too.
The interior fabric was leftover from a dress and the zipper recycled from a skirt. I bonded clear vinyl to the back side of the fabric and used water repellent spray on the printed side. What an exciting way to recycle! 🙂
I need to take more pictures of this bag – I only have the one right now, but I reworked the reverse engineered structured handbag. I finished it a while ago, but am just now getting around to posting.
This time around it went faster except with my post sewing machine, I could not stitch it properly…I ended up hand stitching the final parts during construction.
The first time I carried it a woman stopped me and complimented me on how much she liked it. That was an inspiration of sorts and made me want to “up my game”.
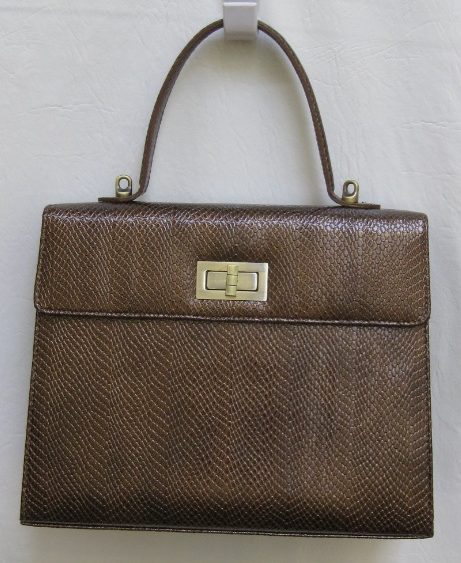
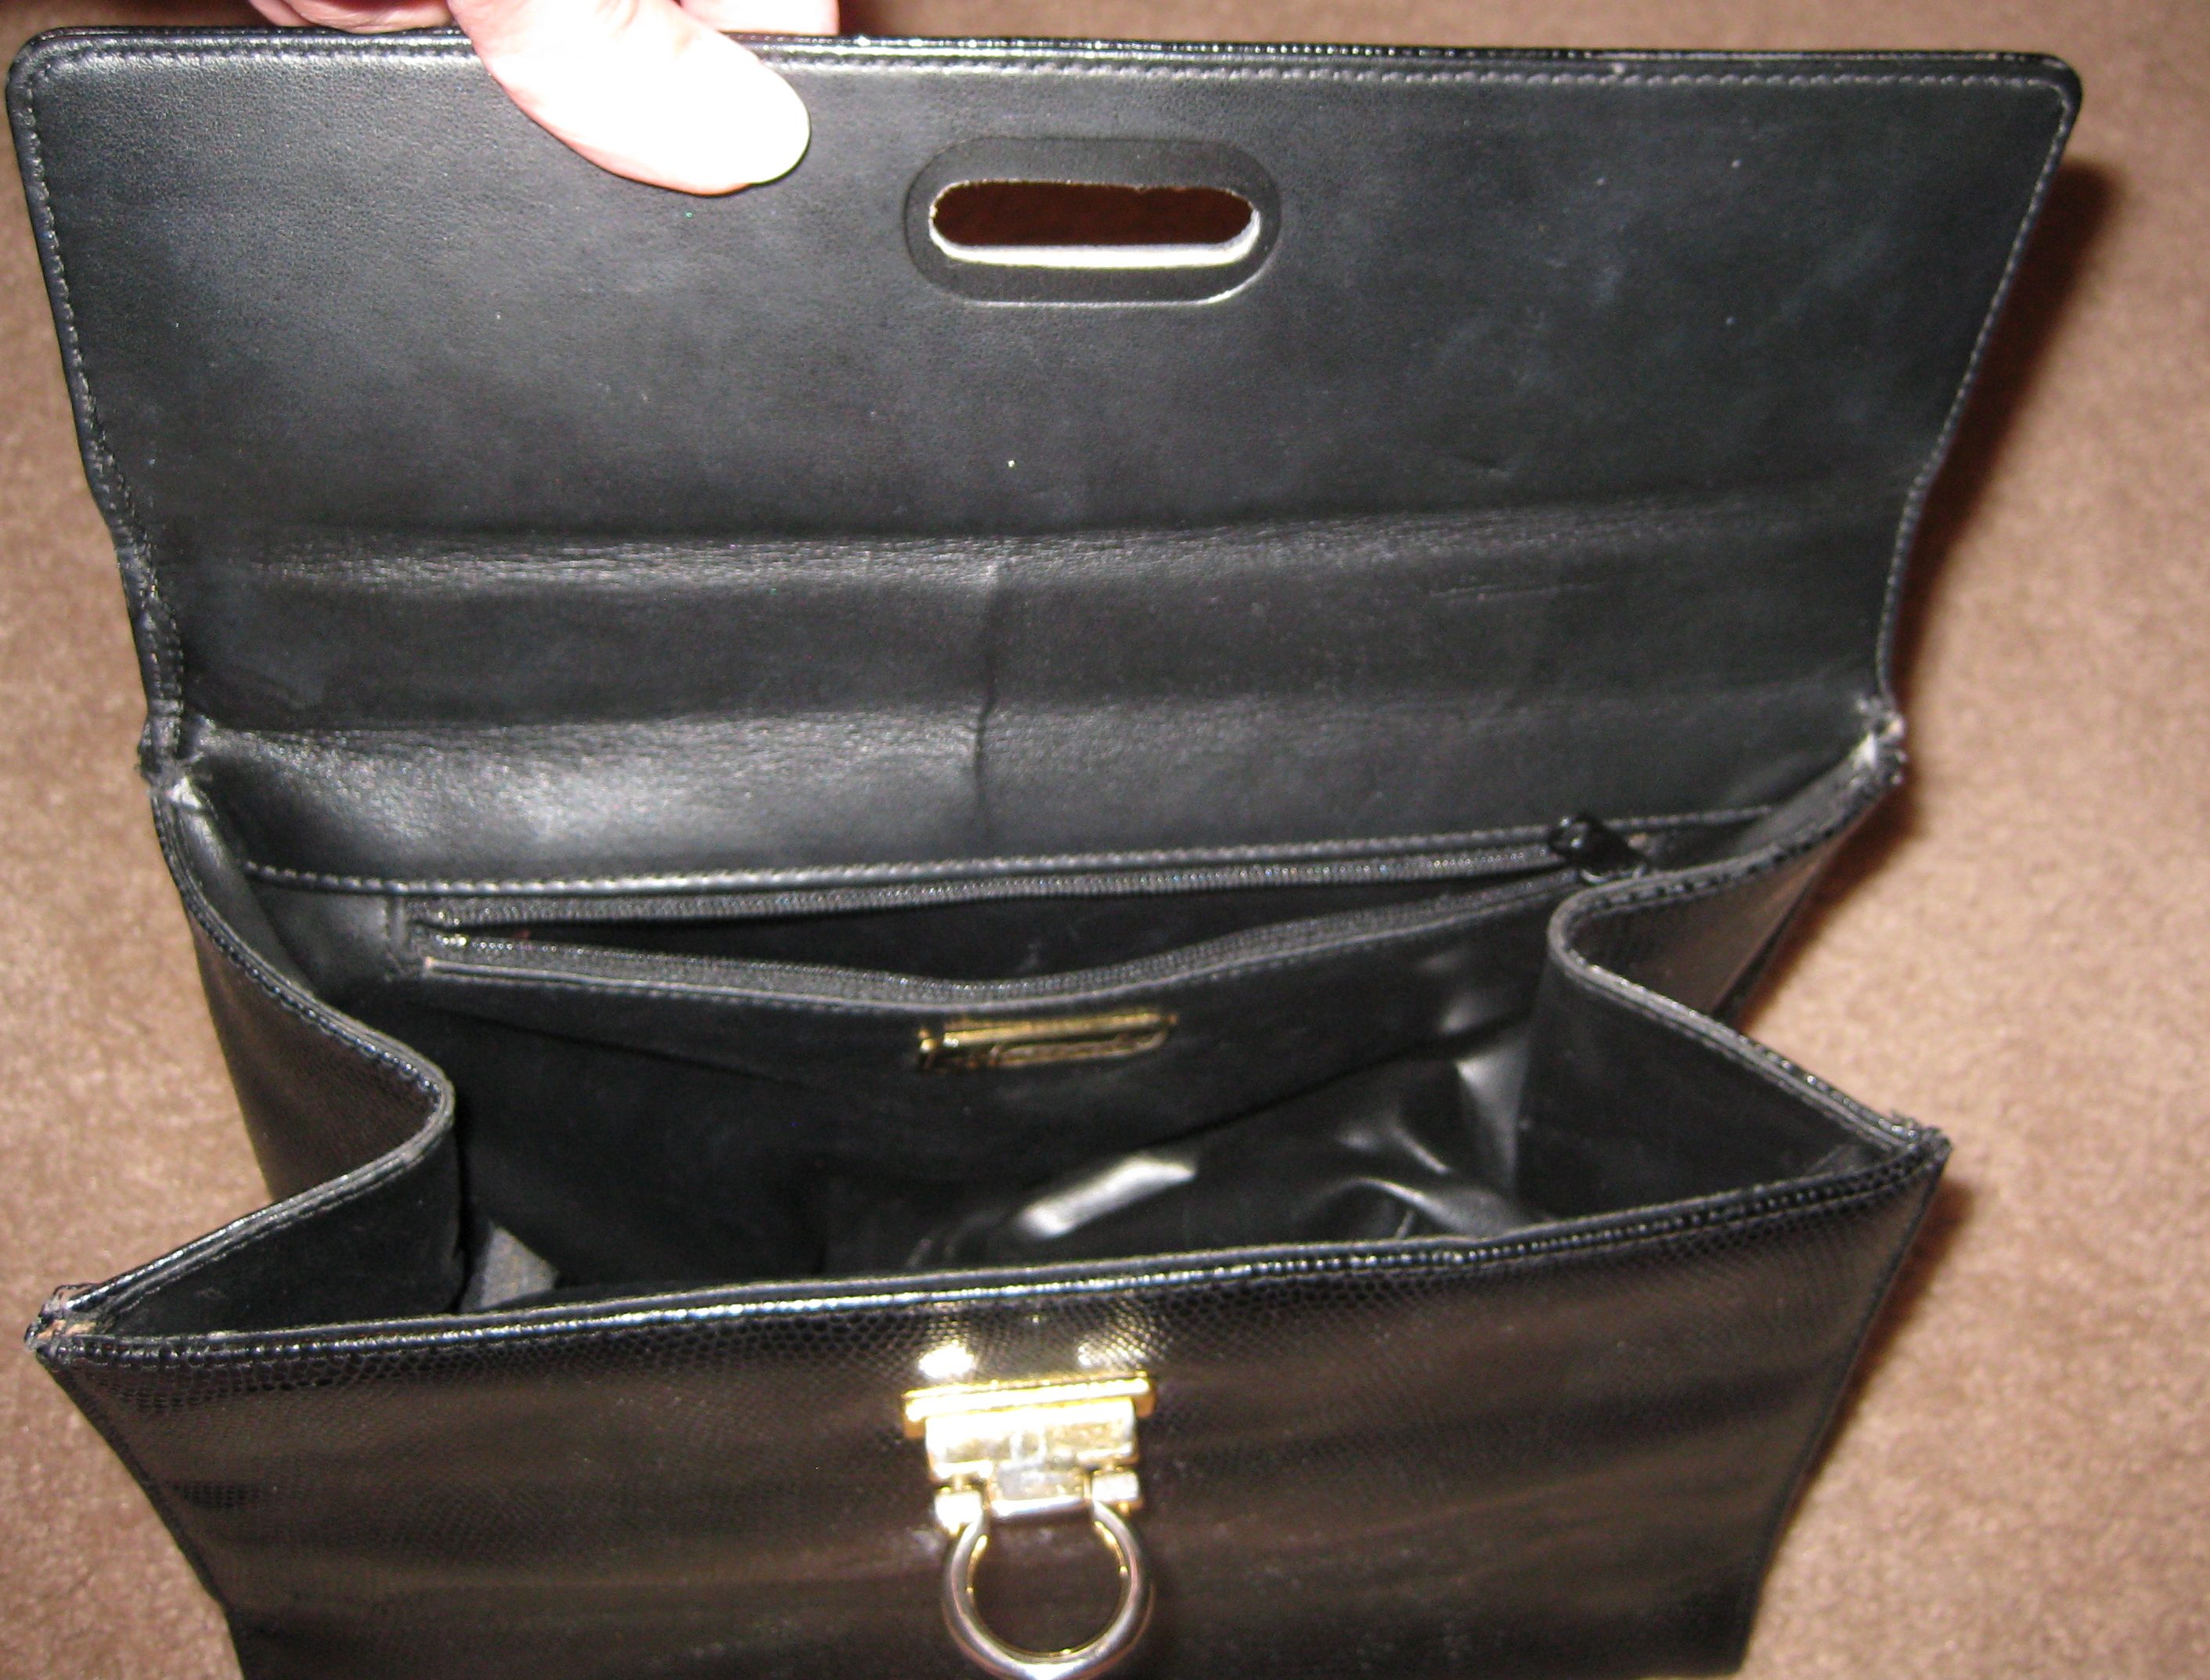
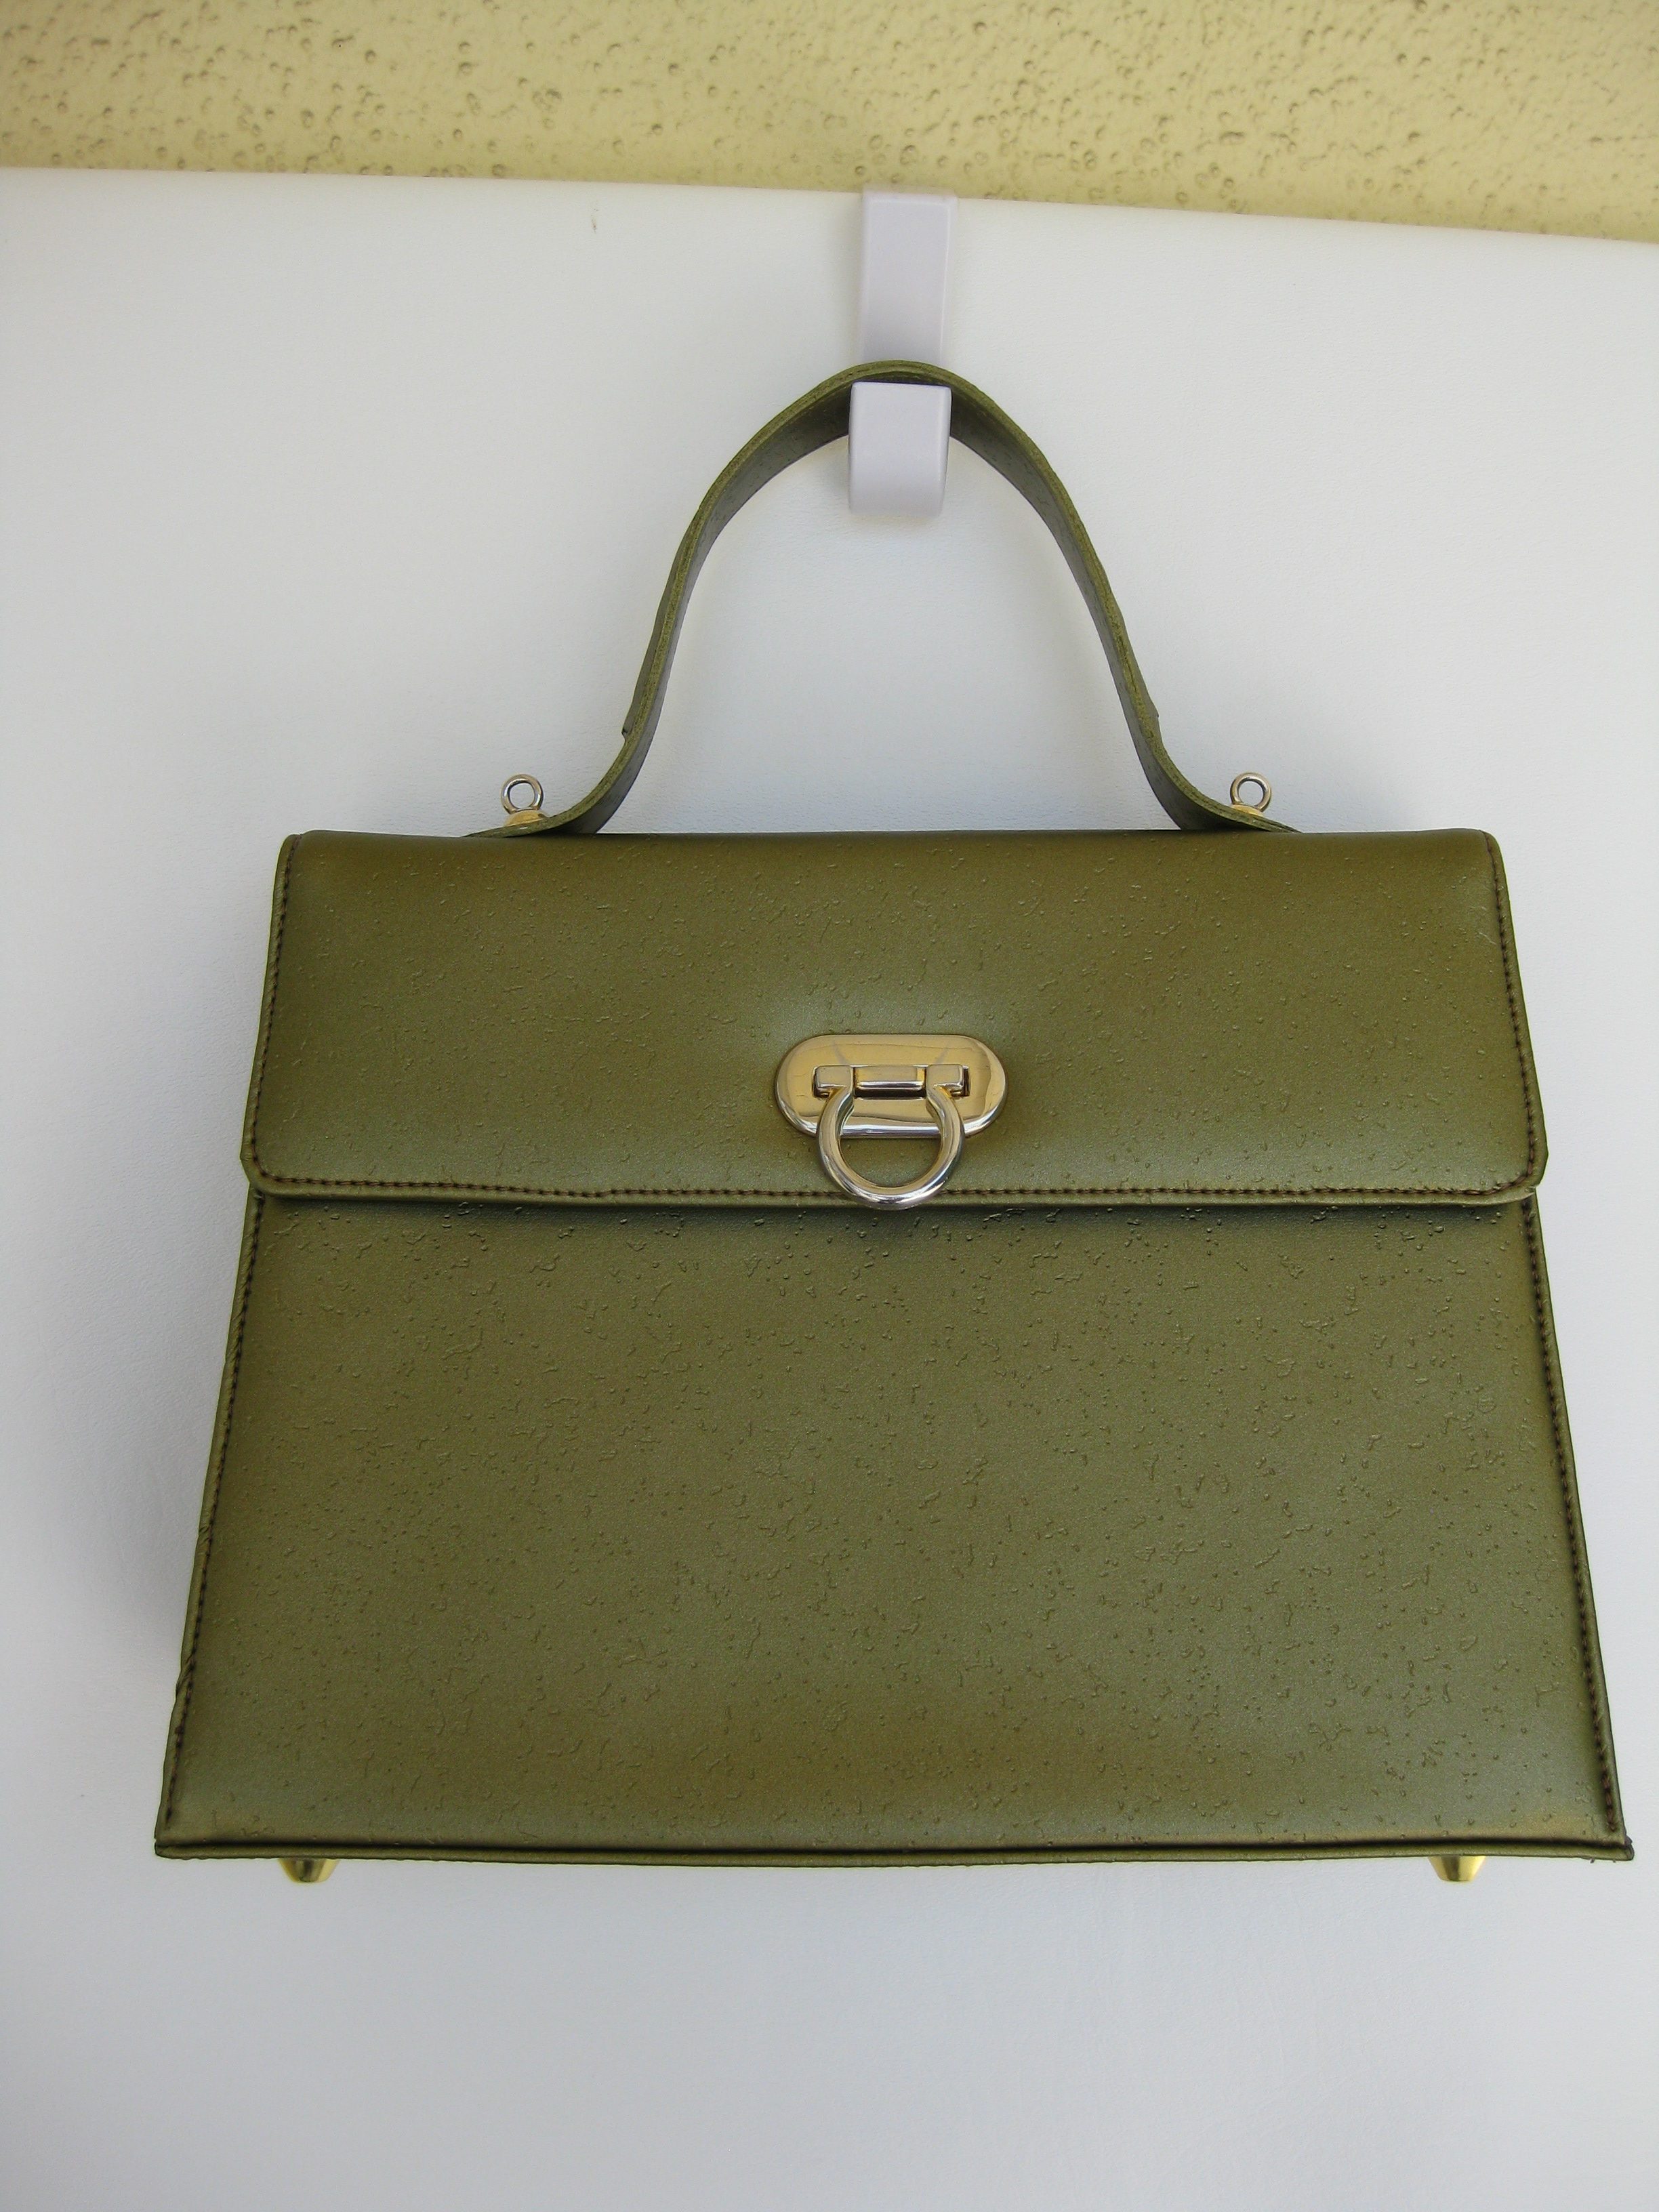
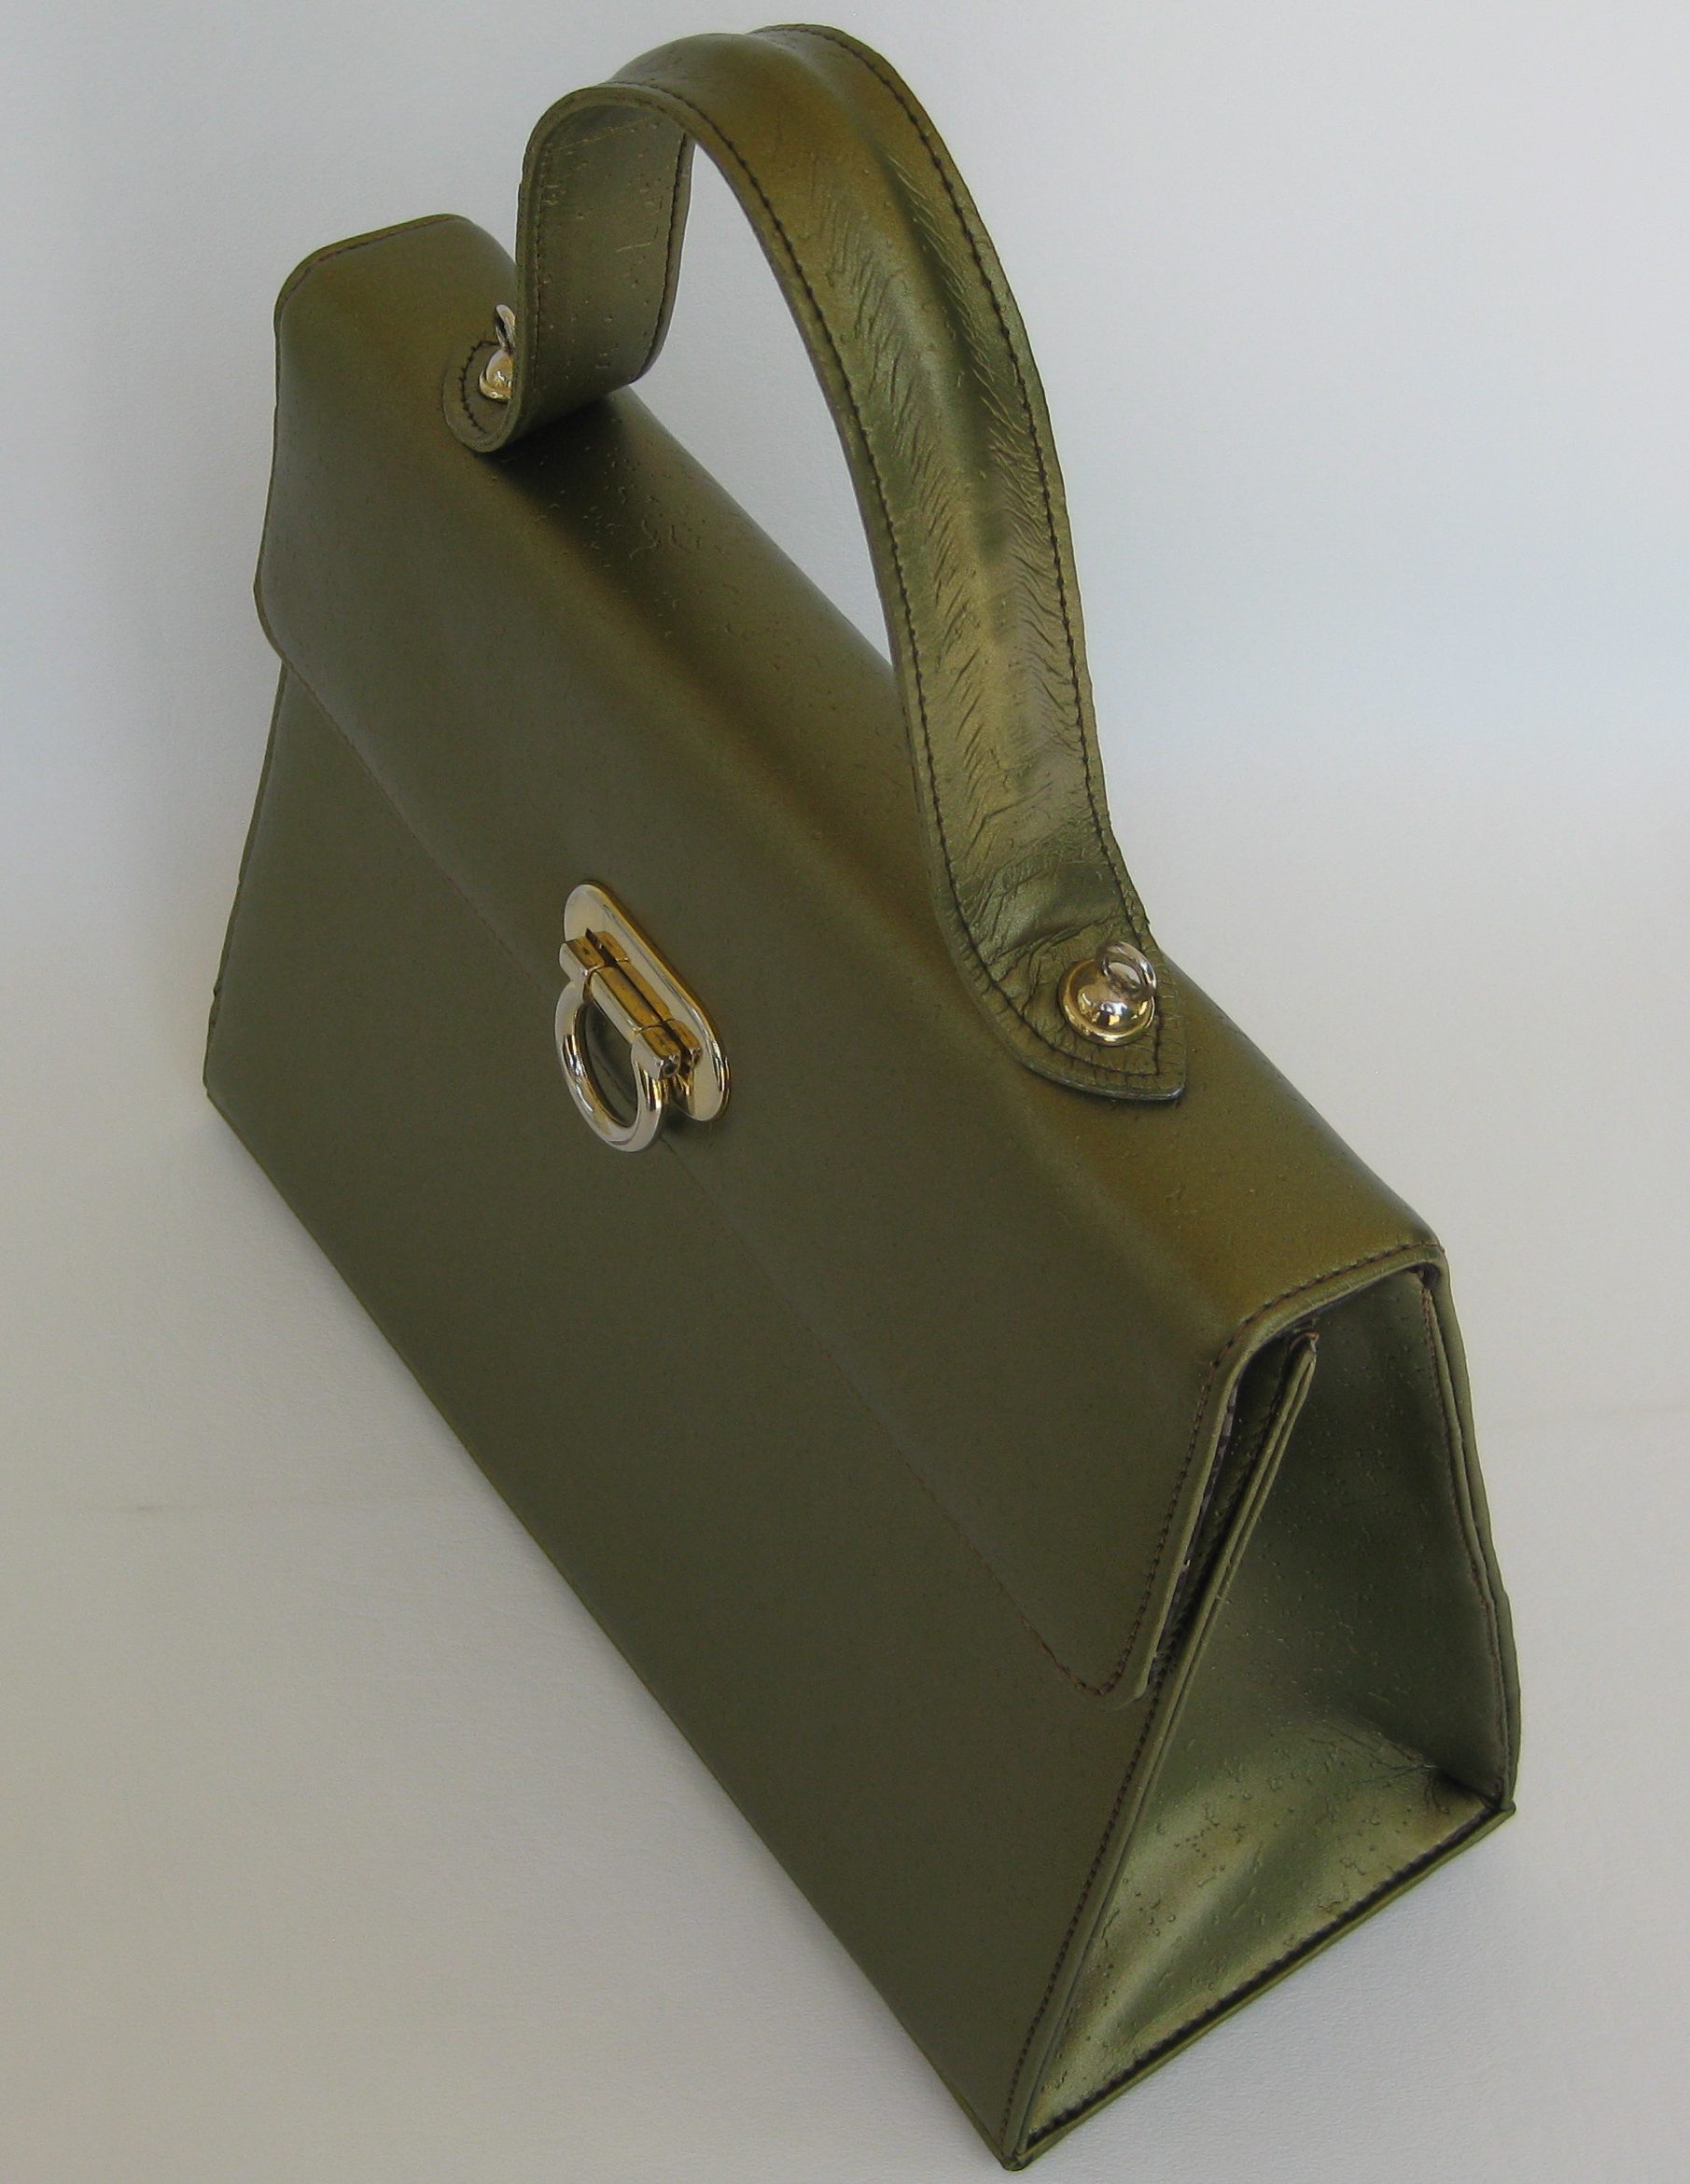
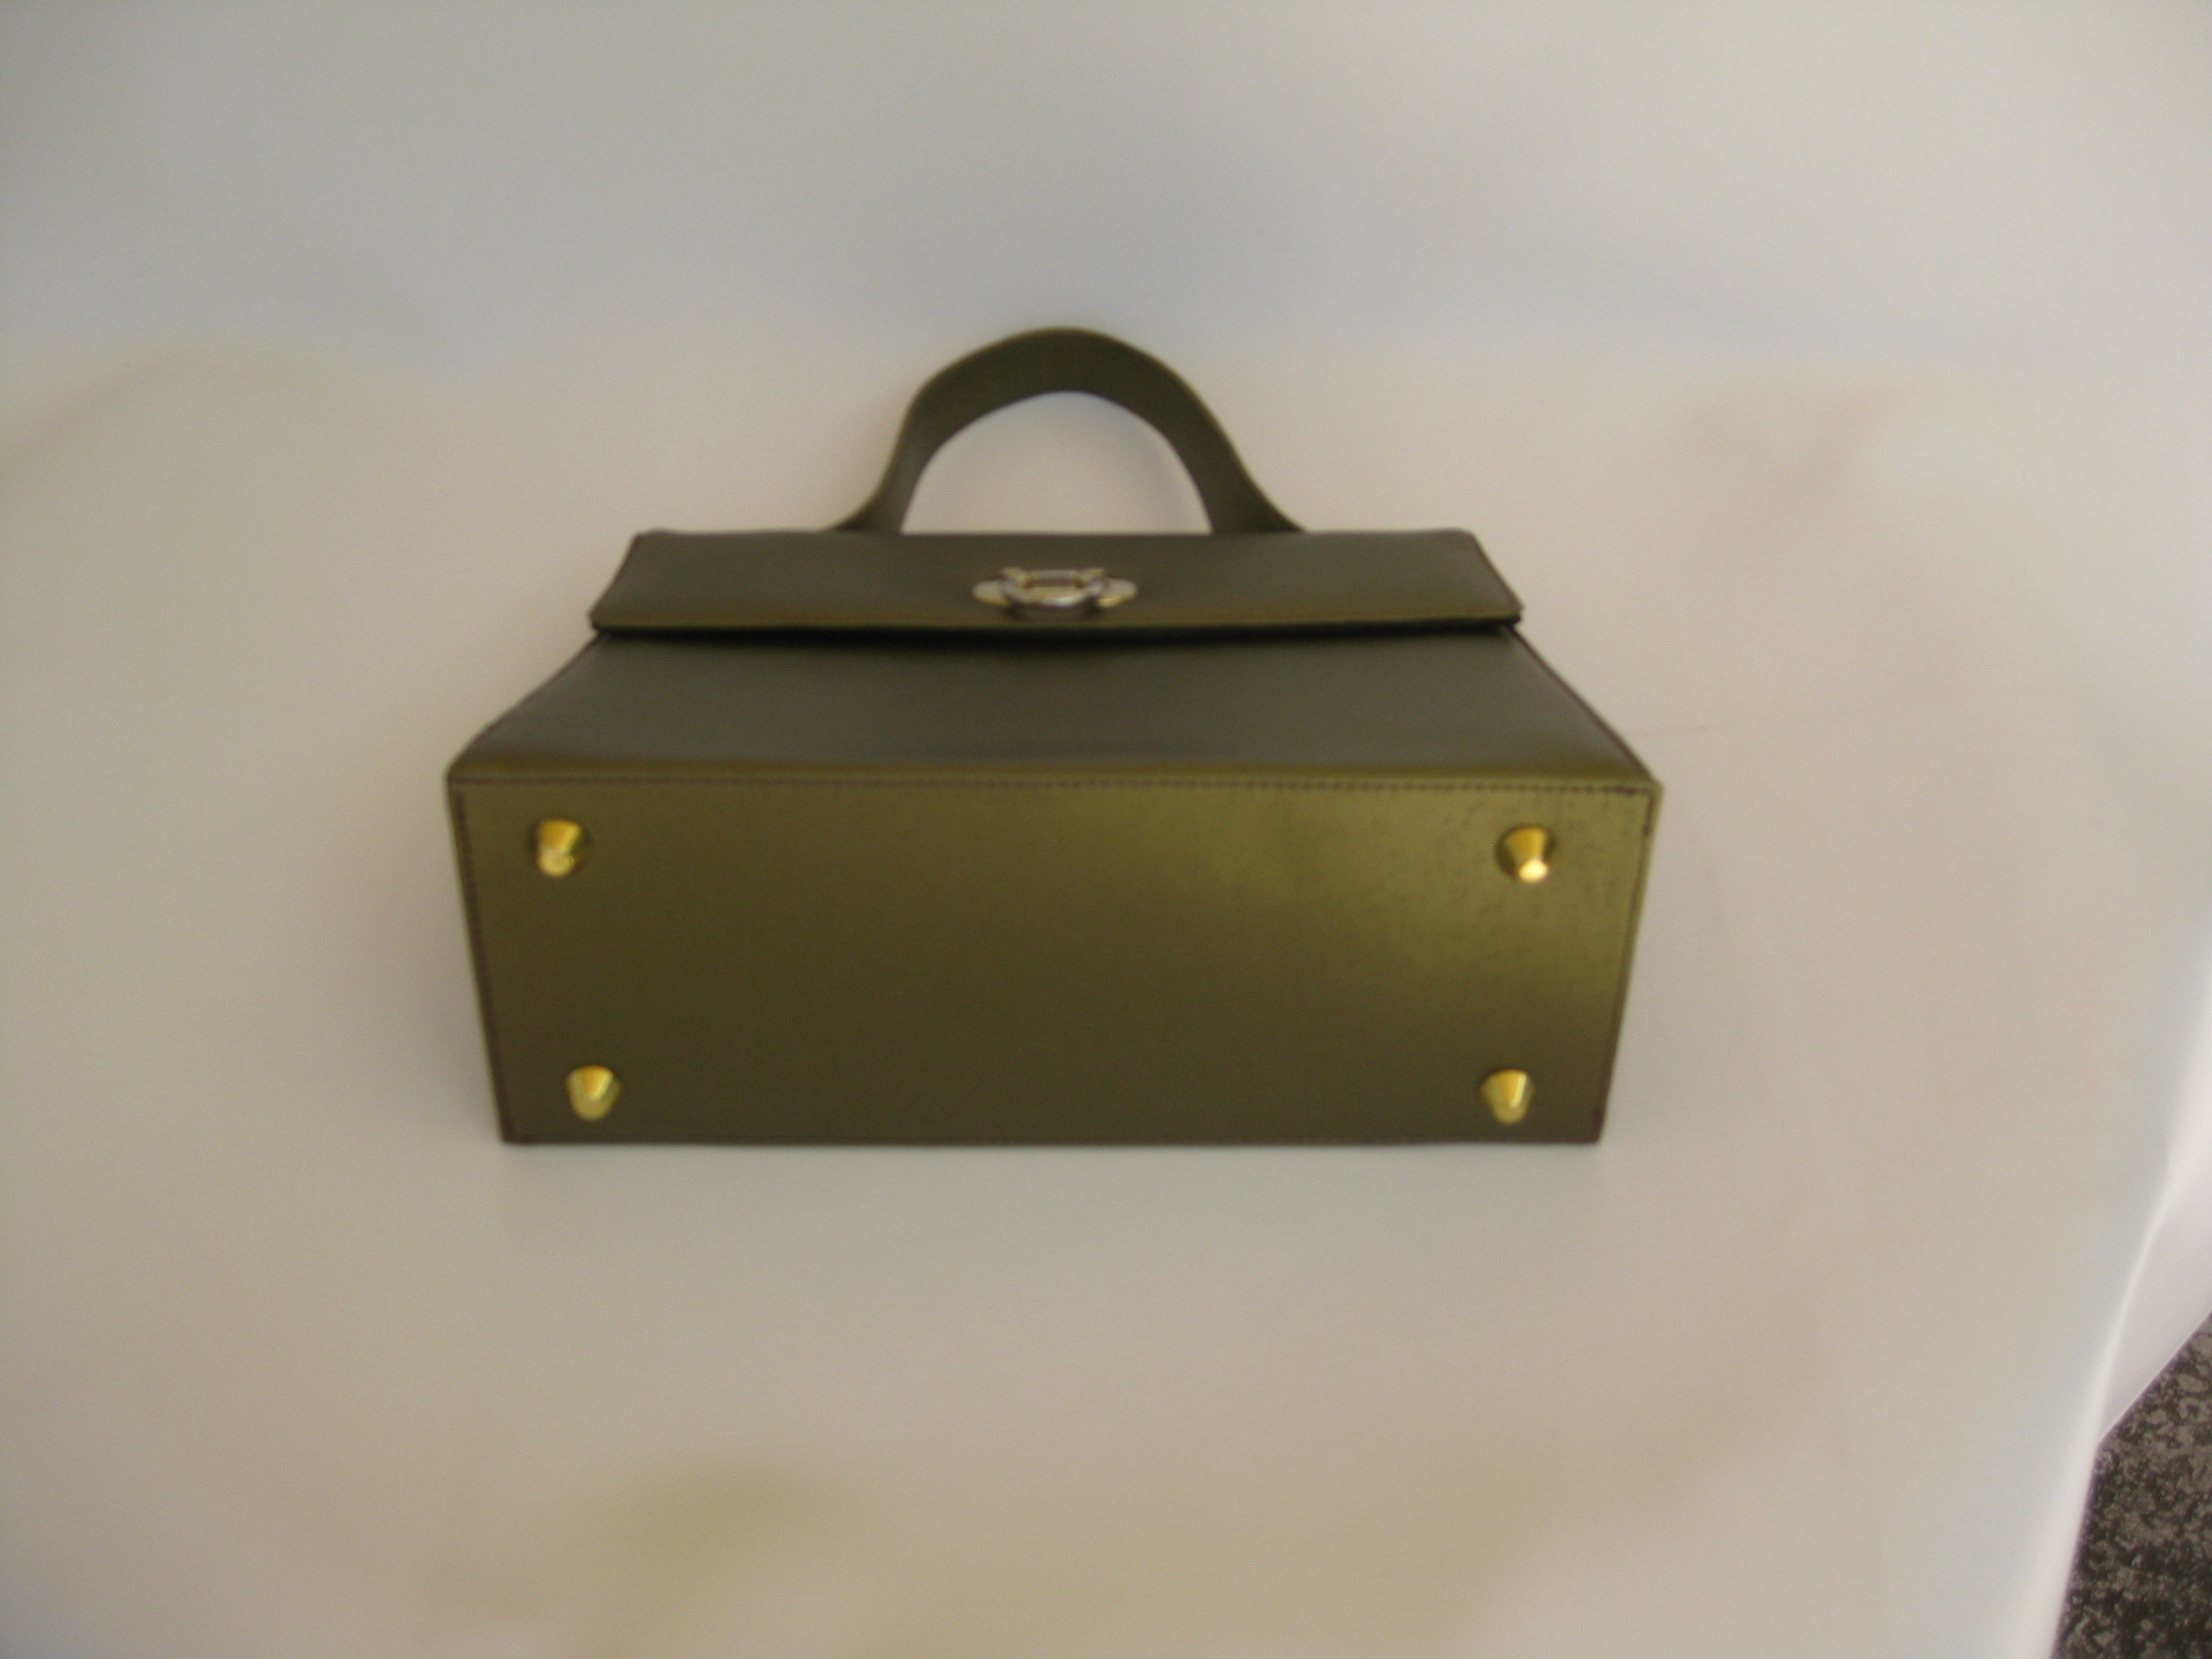
I bought this handbag in the late 1990s at a London department store; I carried it often and it barely survived my 2007 truck fire (too worn and smelled of fire/smoke to carry).It took me a while to take it apart, inventory and create the pattern pieces and then work up the courage (and skills!) to make this bag.I used the original hardware along with a remnant piece of funky textured, almost metallic flannel-backed vinyl for the shell.I think the handle can be a little thinner and shaped more so it will lay flat on the top edge of the bag. The rigidity is from Texon (thanks to Kayla at Lyn-Fle this is the thickness I needed!)Another remnant for the inside/lining this was some knit material that worked rather well. I placed my logo under the back zipped pocket.
Metal feet similar to the original. Now that I did this first one, I know more can be done and possibly even with some really nice leather…first I must call Anne or Sandy at Ohio Travel Bag for supplies, I see they have just what I need to make this bag again only with new hardware.
A review of my theme bags revealed I needed to up my game in handle making. One designer has a video on the Internet of a worker making beautiful shaped handles. Seriously! Look…
Theirs – a thing of beauty!Mine – they look alright, but I want better!
I searched my favorite leather forum and see Al Stohlman’s books are referenced – a TON! So I picked up his volume two “The Art Of Making Leather Cases” because there are a bunch of handle patterns and tips. It is totally worth the 16 or 20 bucks! Plus half a hide of veg tan…
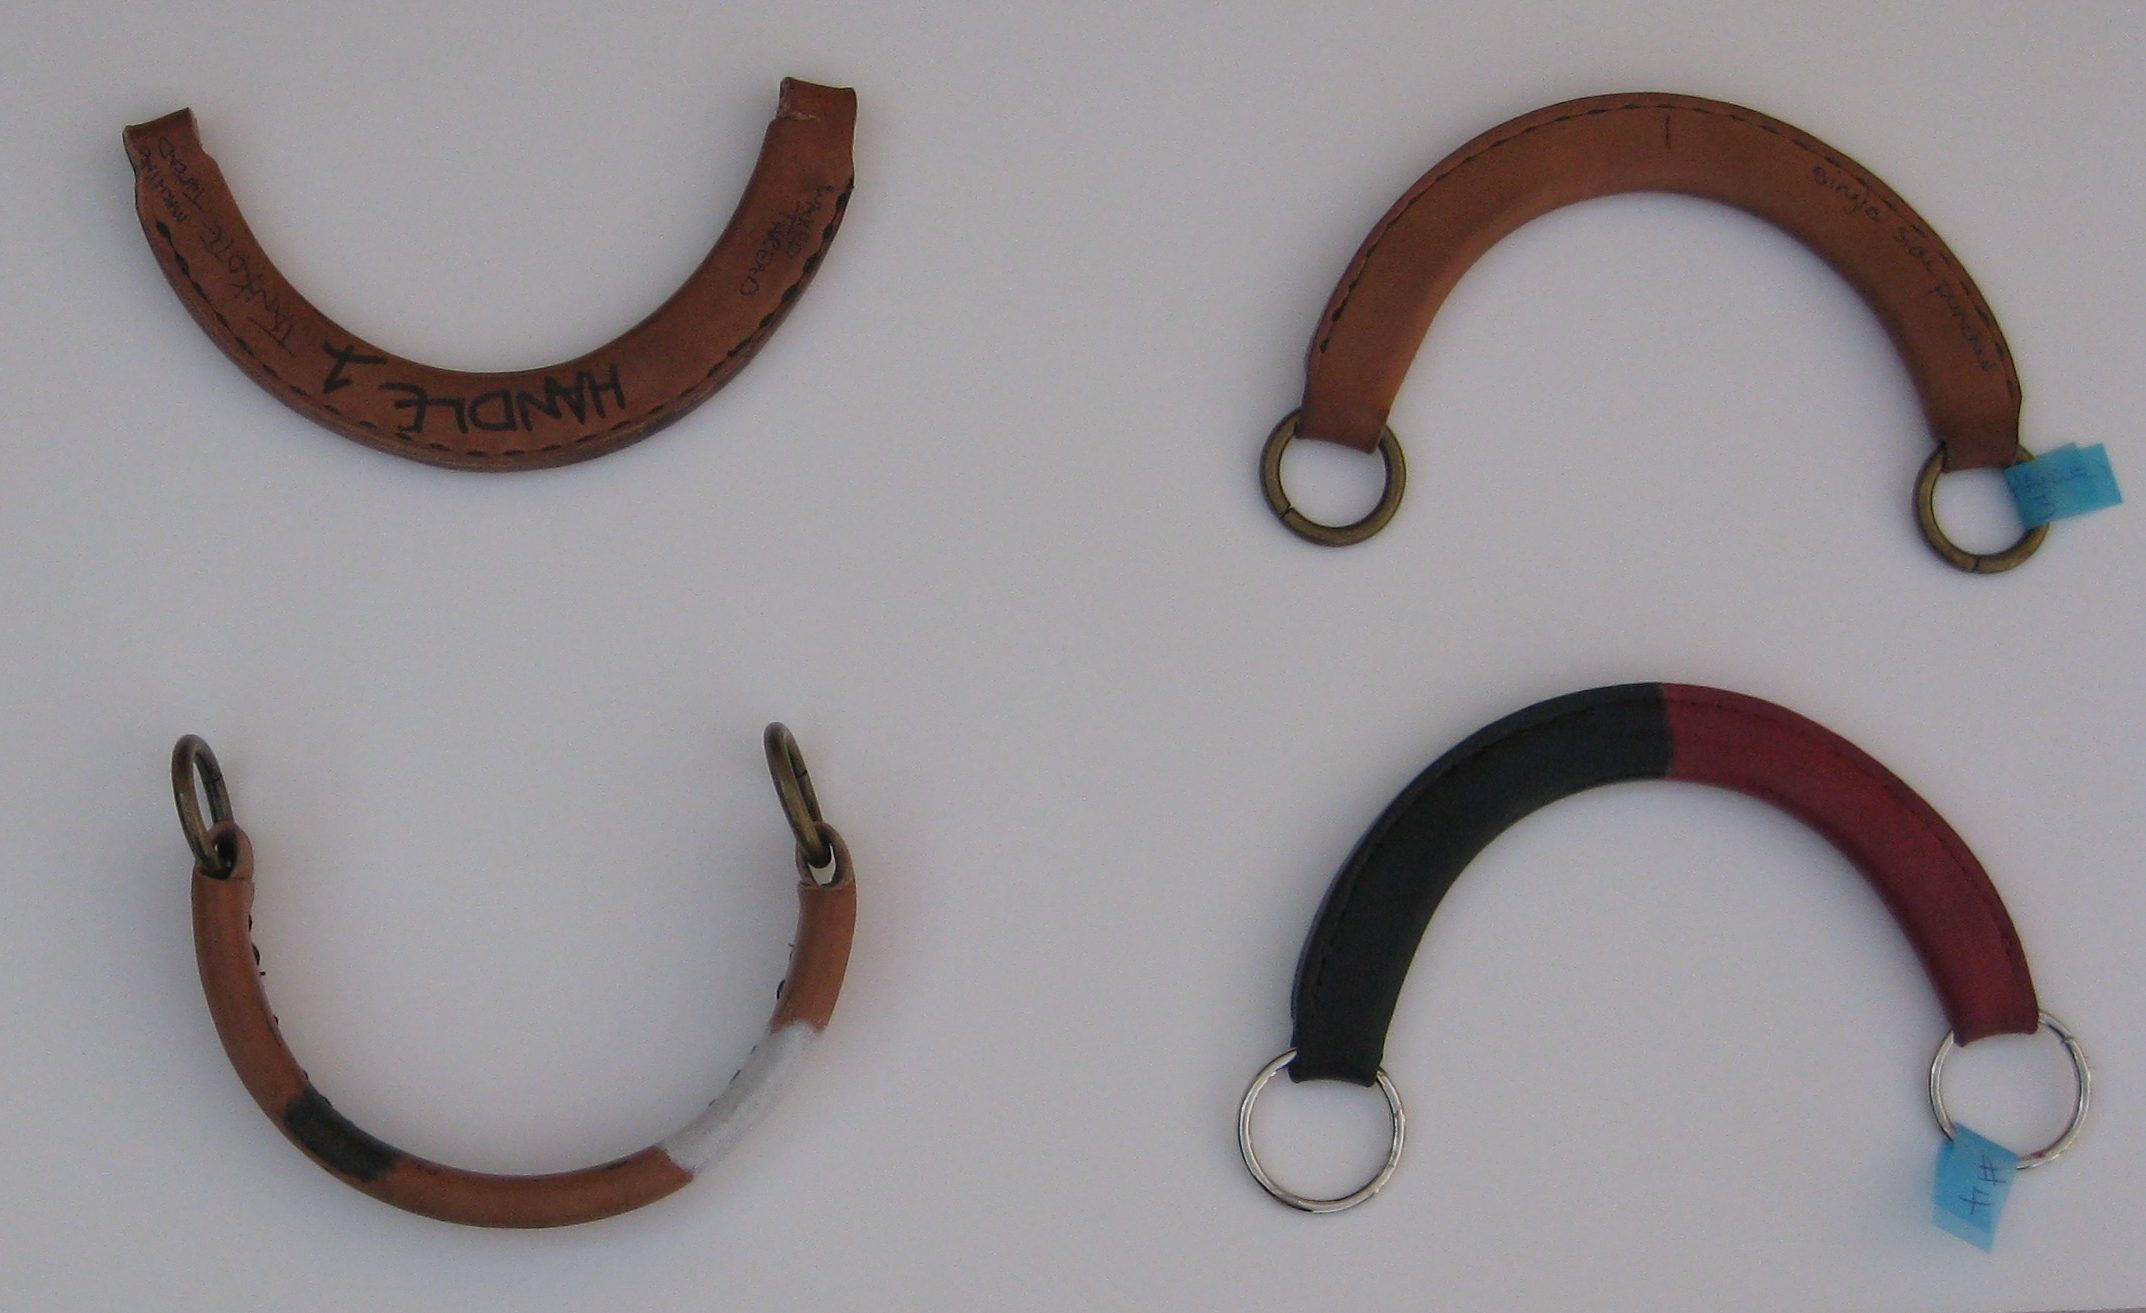
The first four…
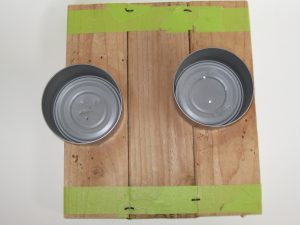
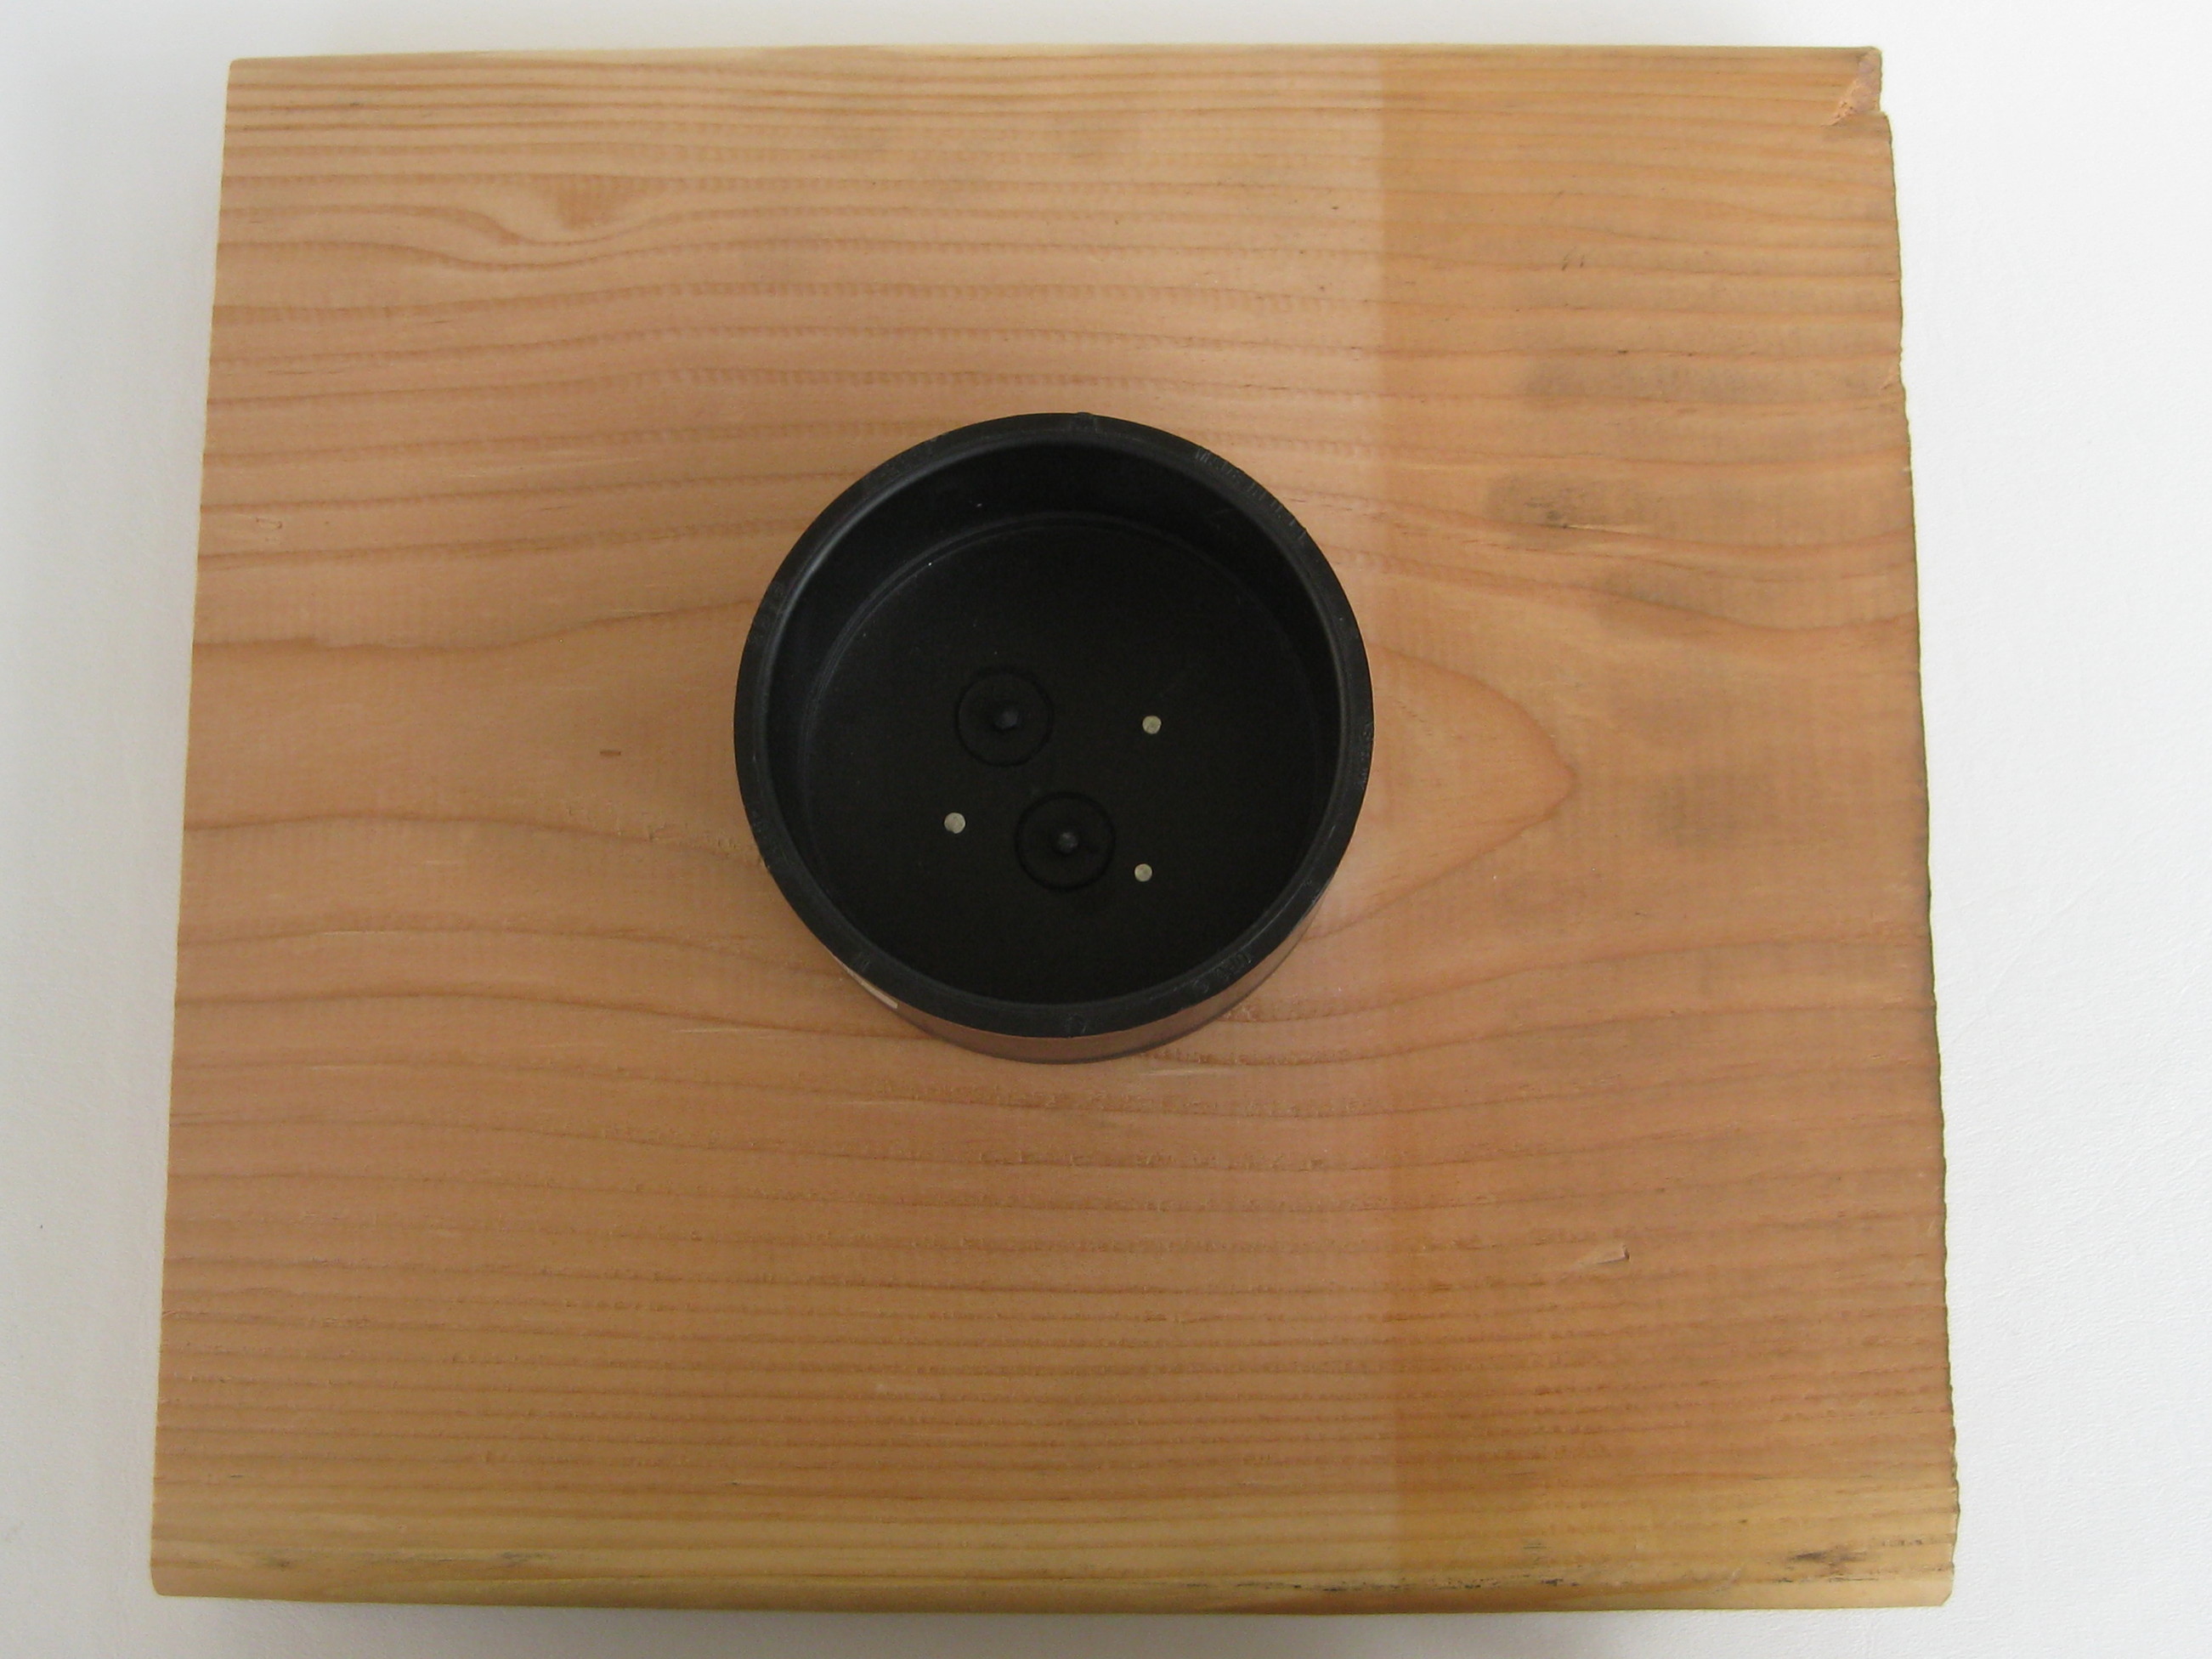
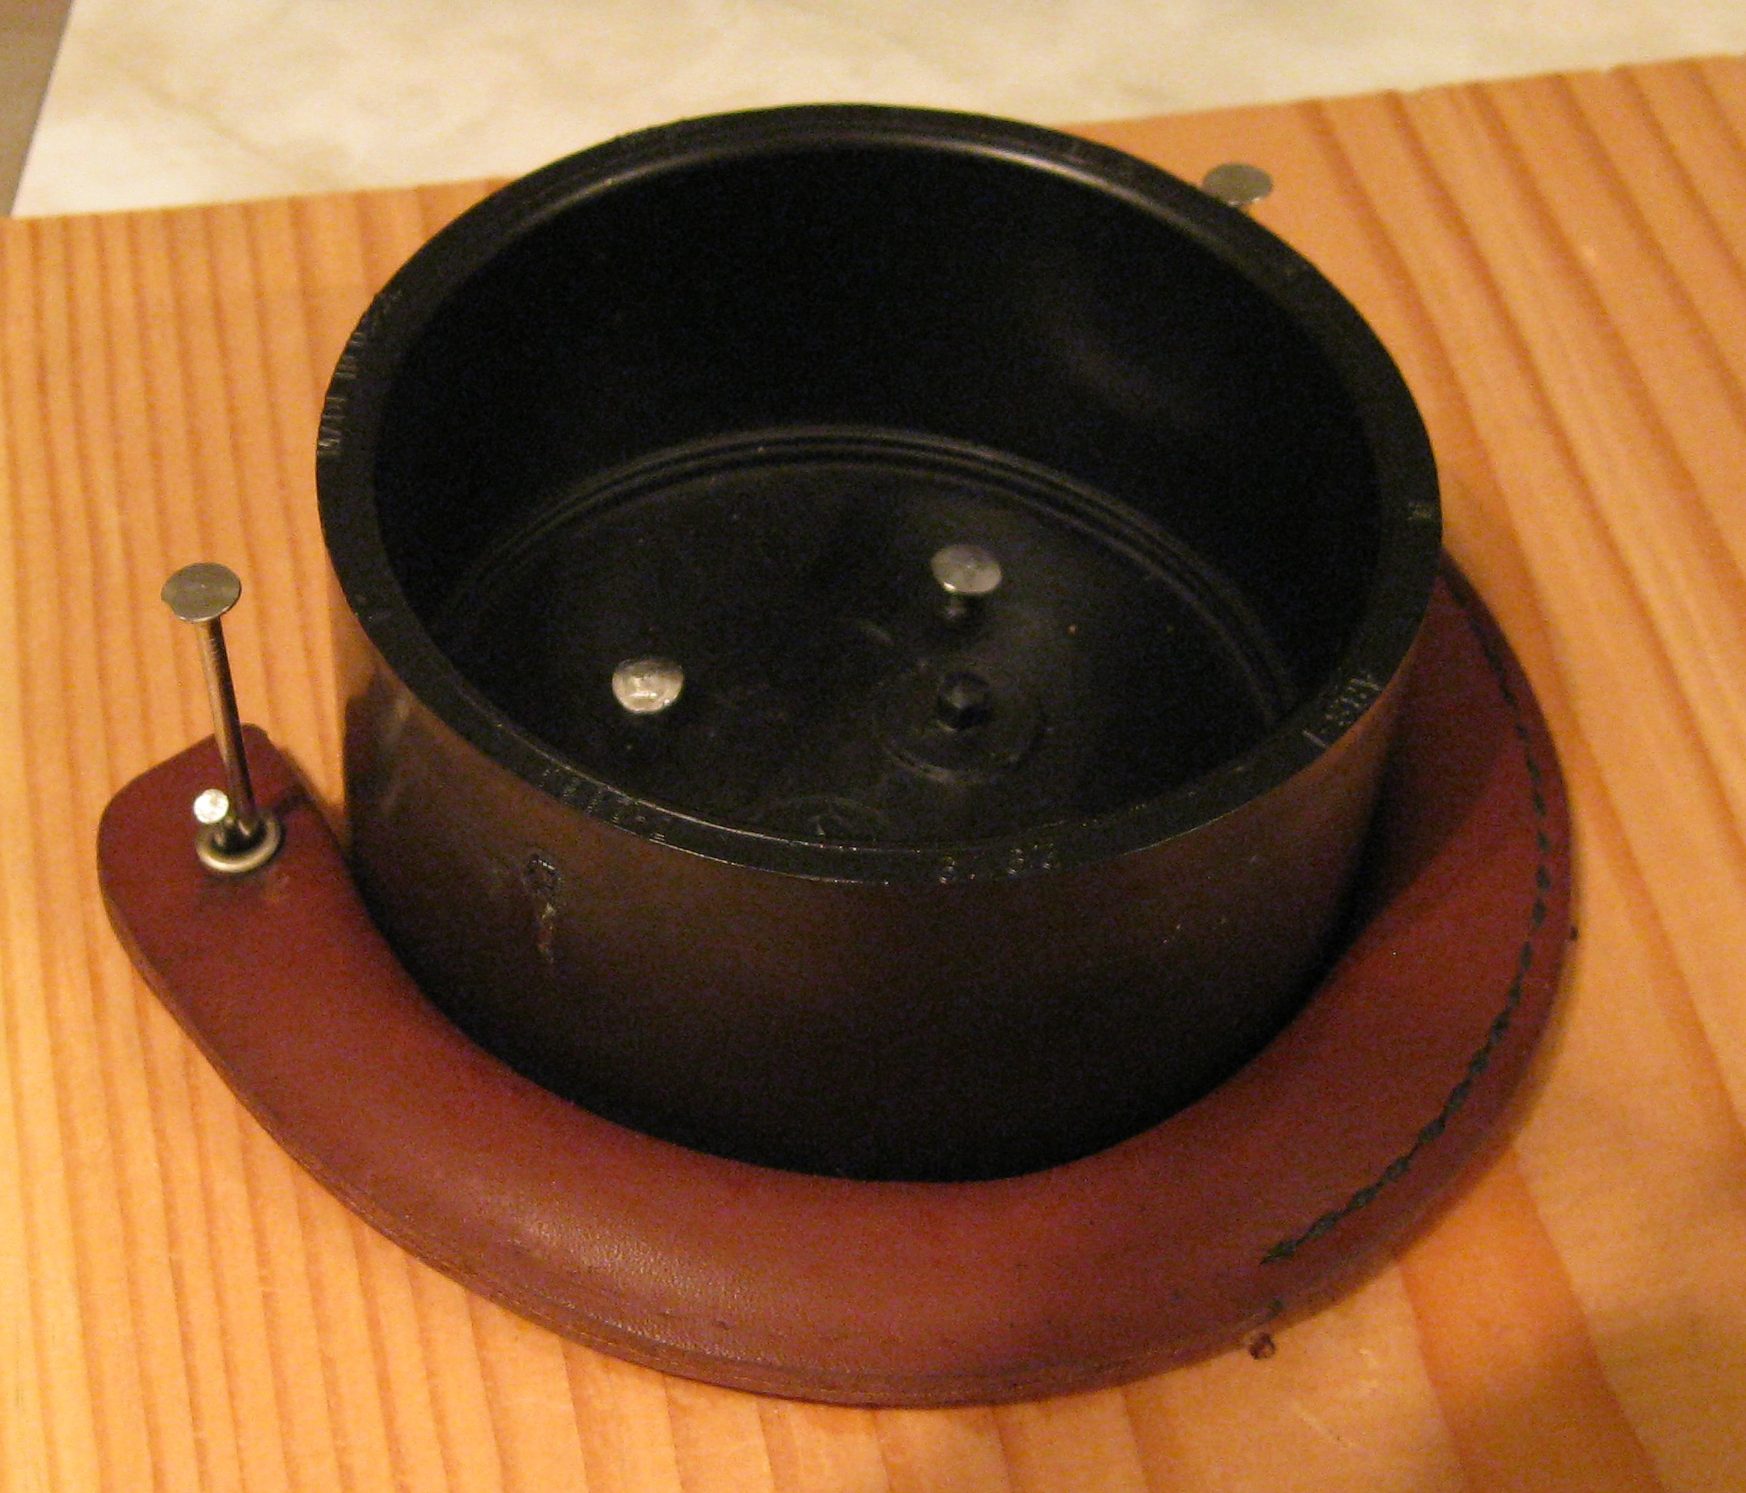
Actually I began the process in October of 2015! Yes, over a year ago and these were the first four. Because I do not have wood-working equipment (or skills) to make a forming block, I made a basic little unit by horseshoe nailing three 12″ sections of a 2″x4″ together and attaching cans to it.
This is my original forming block. A crude little beast on which I began my wet formed handles.
Frustrated and dissatisfied with my results – I got the most encouraging words of all from Alan & Jayne at Shoe School when I said I can’t make those beautiful handles like they do over at “designer house X” Alan challenged me “Why not?” He went on to say that handles are probably the only thing the guy in the video does. Everyday. It is likely he cannot create a bag from concept to final product.
I was inspired; my talent and accomplishments in my little handbag hobby were evident. Like all things – “practice, practice, practice” (thanks for that Mr. Nick! – an art instructor-friend).
The pattern needed changing – I wanted to rid the end rings (for this particular style) and I ordered a rainbow of colored edge paints and channel pliers from Springfield Leather. Once I figure this out…the possibilities may be endless.
I set out to work and as with each of my projects, I took copious notes on sizes, shapes, bonding techniques, stitching holes, thread and needle choices, and more. I created another five handles on my original forming block (the 2″ x 4″ pieces horseshoe nailed together).
With the fifth, I was that much closer to the final version – the problem? The channels created by putting the 2″ x 4″ pieces together left ridges in the handle.
Along the top edge you can see the ridges set into the leather as it dried on the 2″ x 4″ pieces. A shout out to Alan & Eddie at Channel City Lumbar (Ha!! I sooo did not plan that – channels and Channel!) Let’s just say I certainly got Alan’s attention when I put my forming block on the counter to show hime what I was doing and what changes I wanted to make 🙂
This is what we came up with for my new forming block.
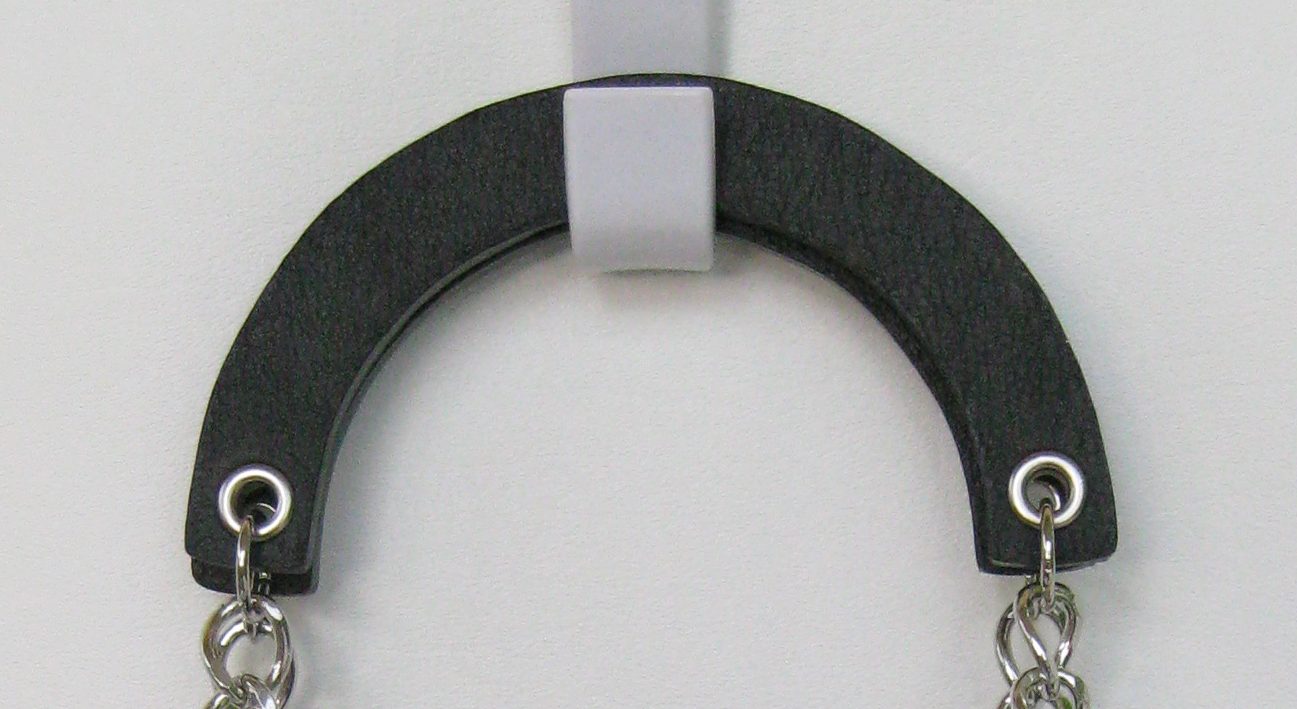
So here is version number six being set on the new forming block.
There are many details about what you see here; I won’t bore you with them though.
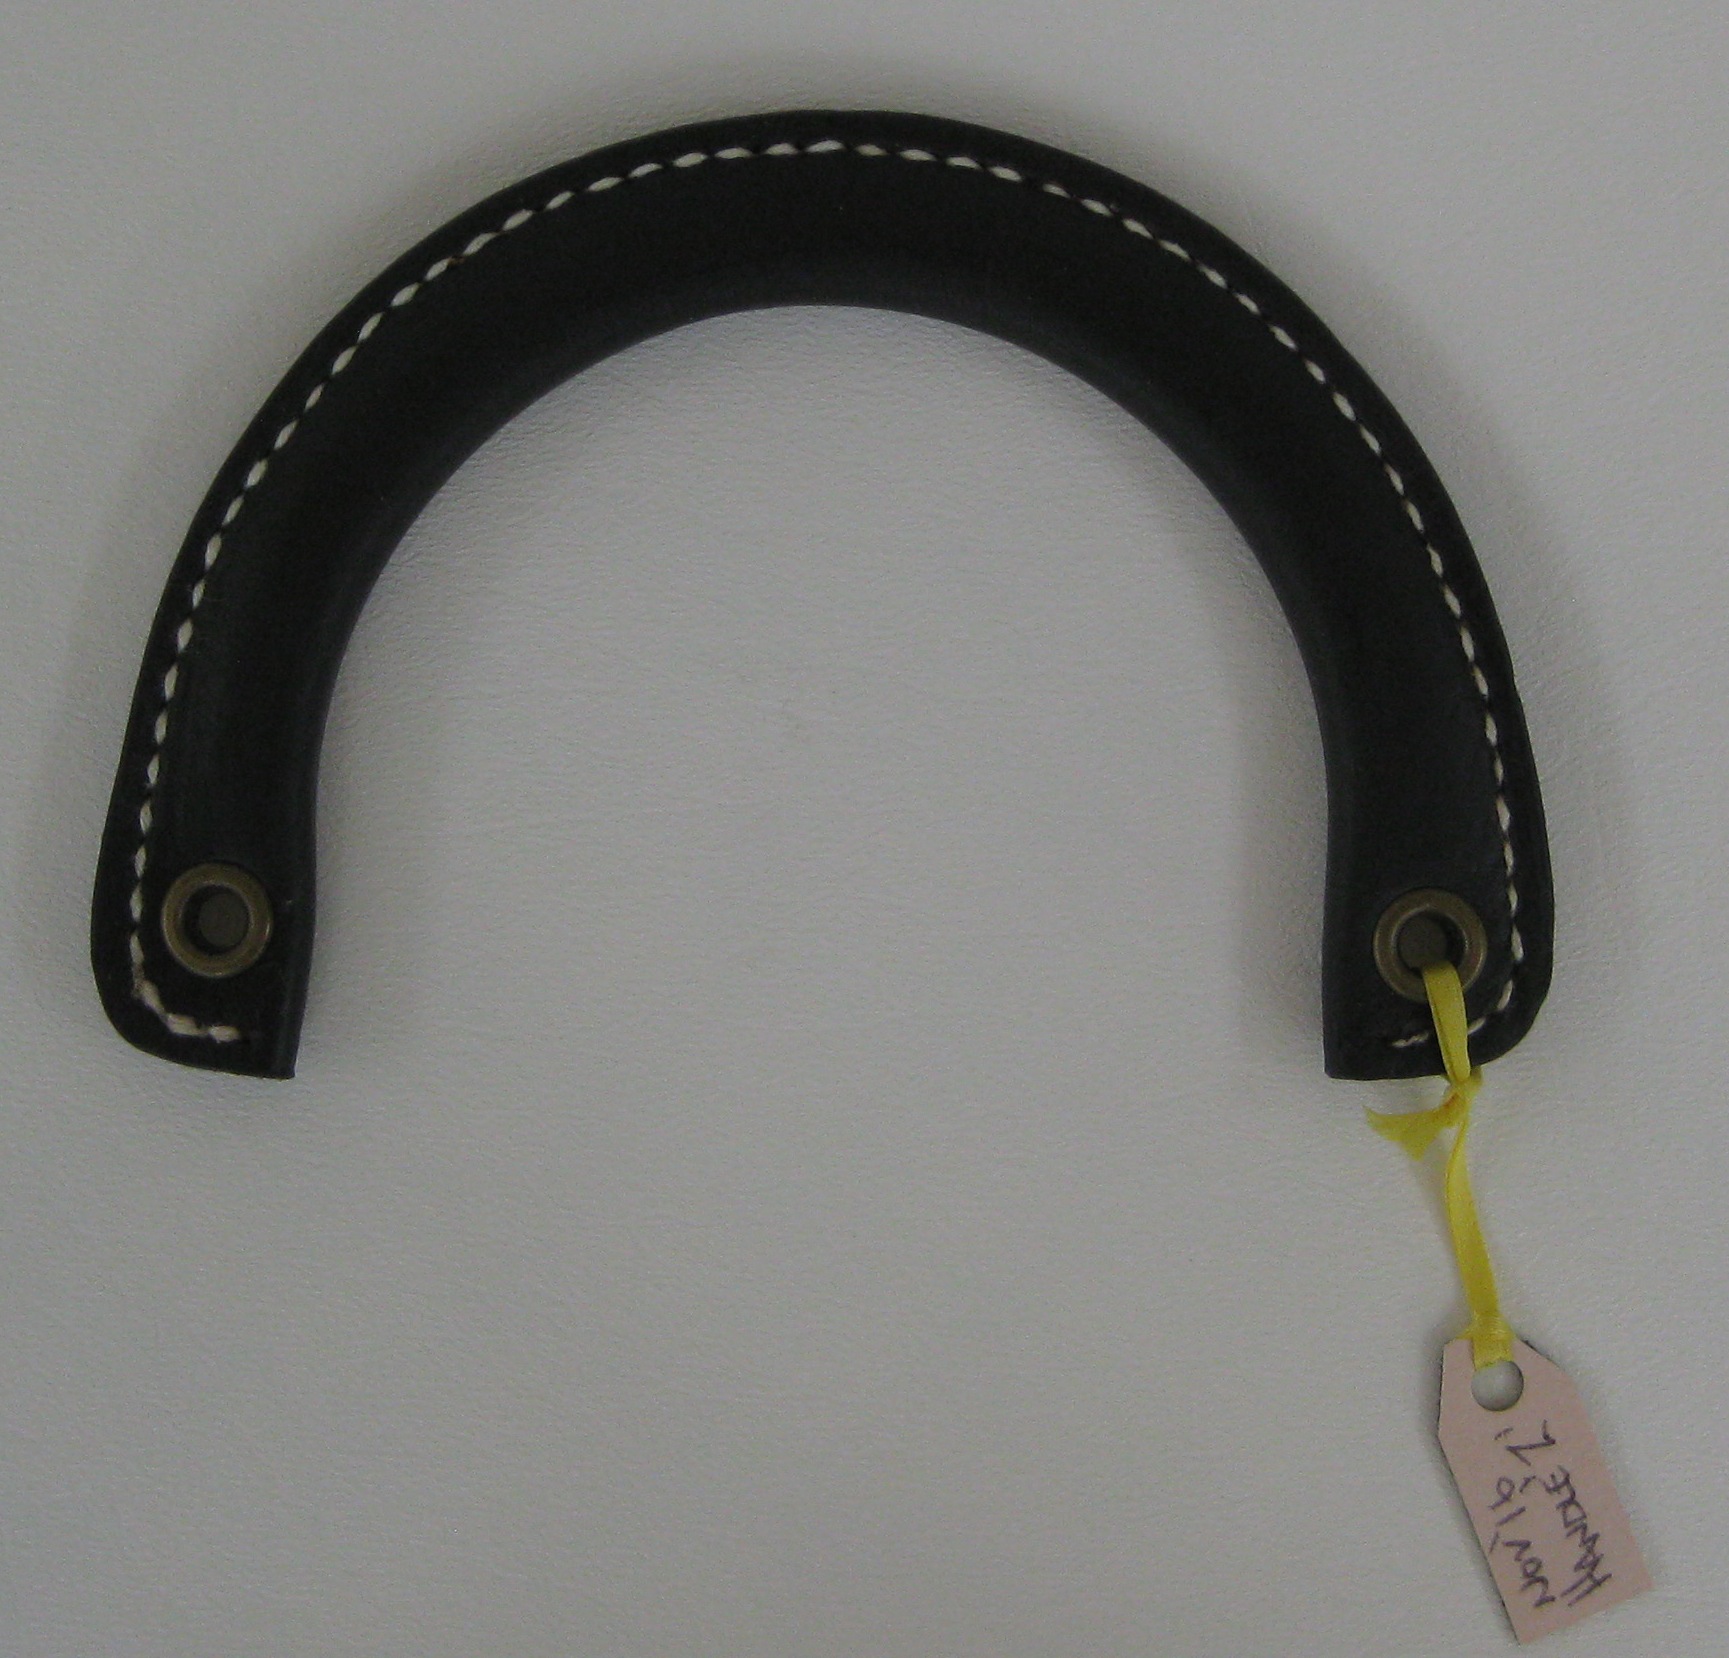
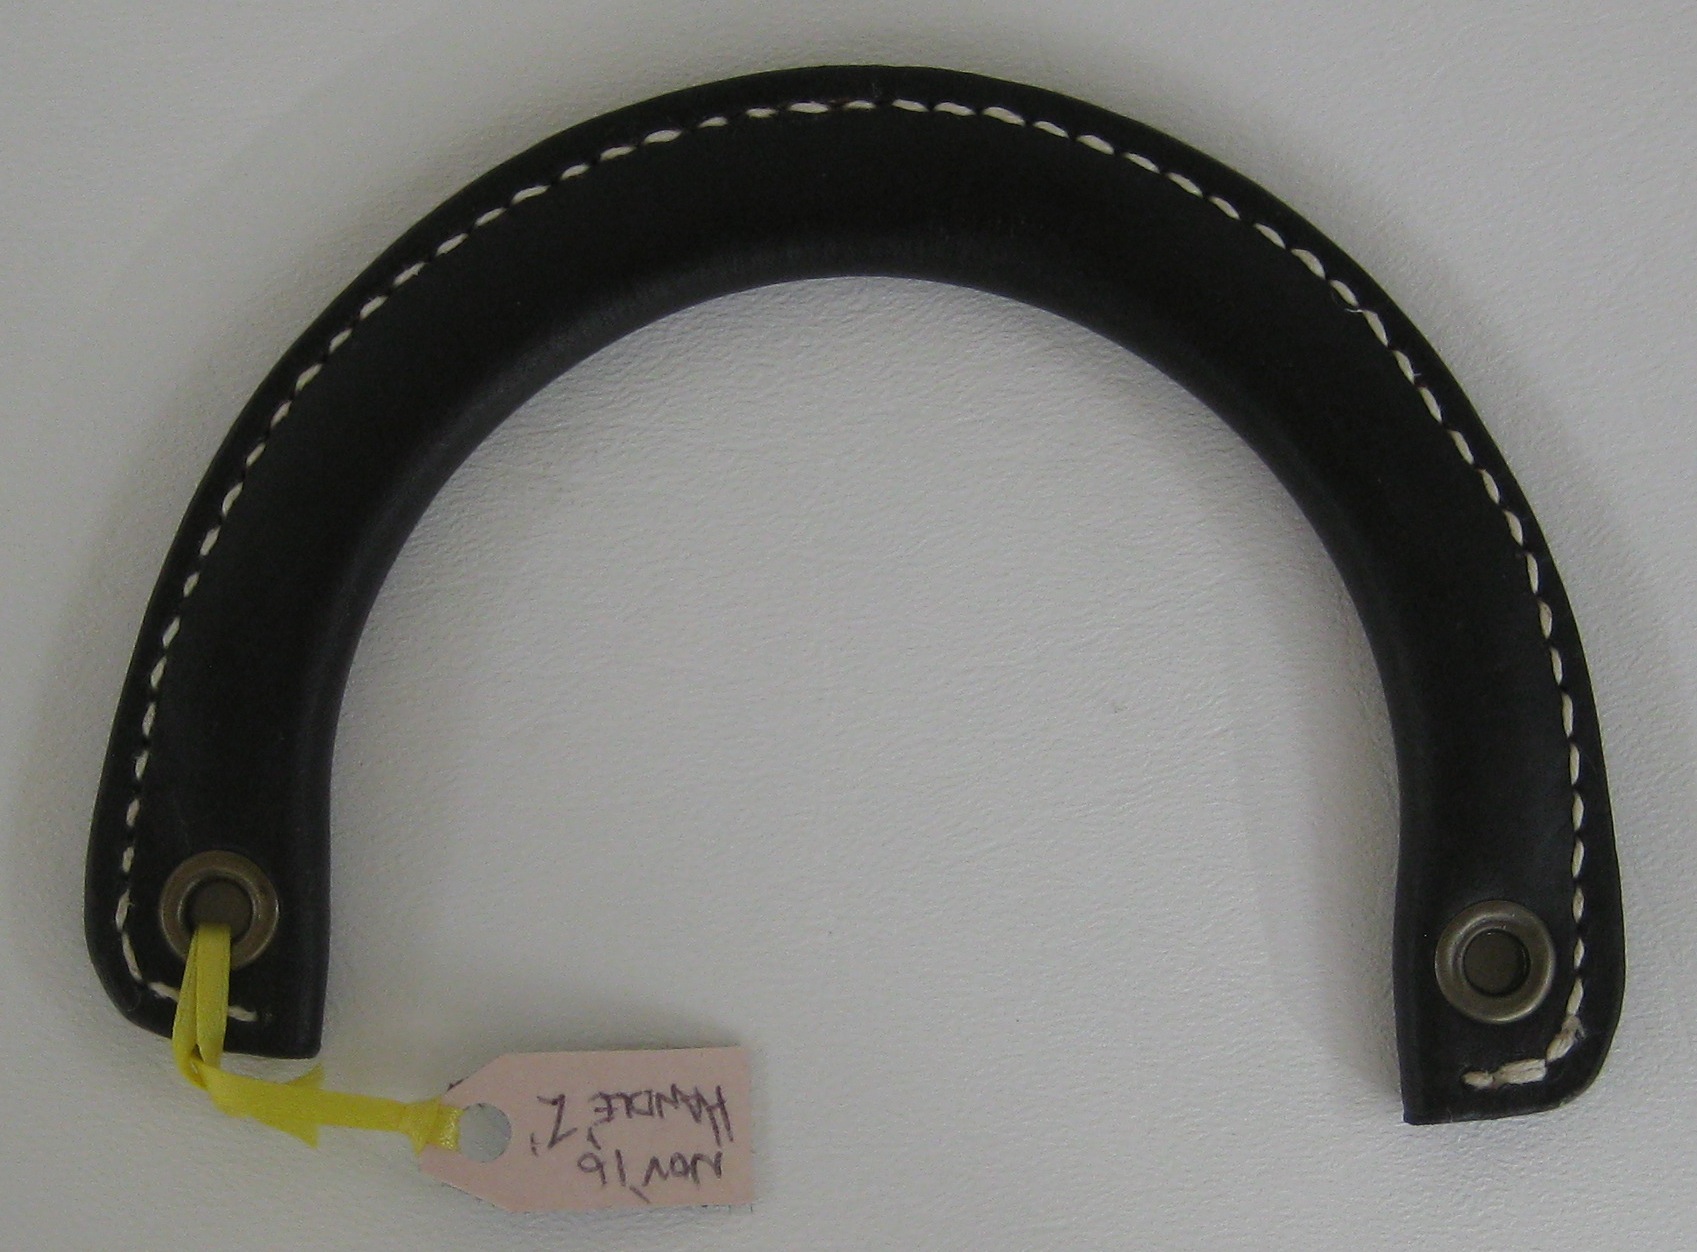
This is it! The finished handle.
If it looks like the stitches do not match, they don’t. I tried two different types of thread (linen which I hand waxed and a heavier machine thread). Before stitching, I applied multiple coats of colored leather edge paint, a clear finish and a final buffing with a bone folder.
The front and back are the same.
Next I need to find eyelets that will fit the depth of the holes – up to this point, I have been using two for each hole.
So after one or two more tests on the new forming block, I think I will be ready to go.
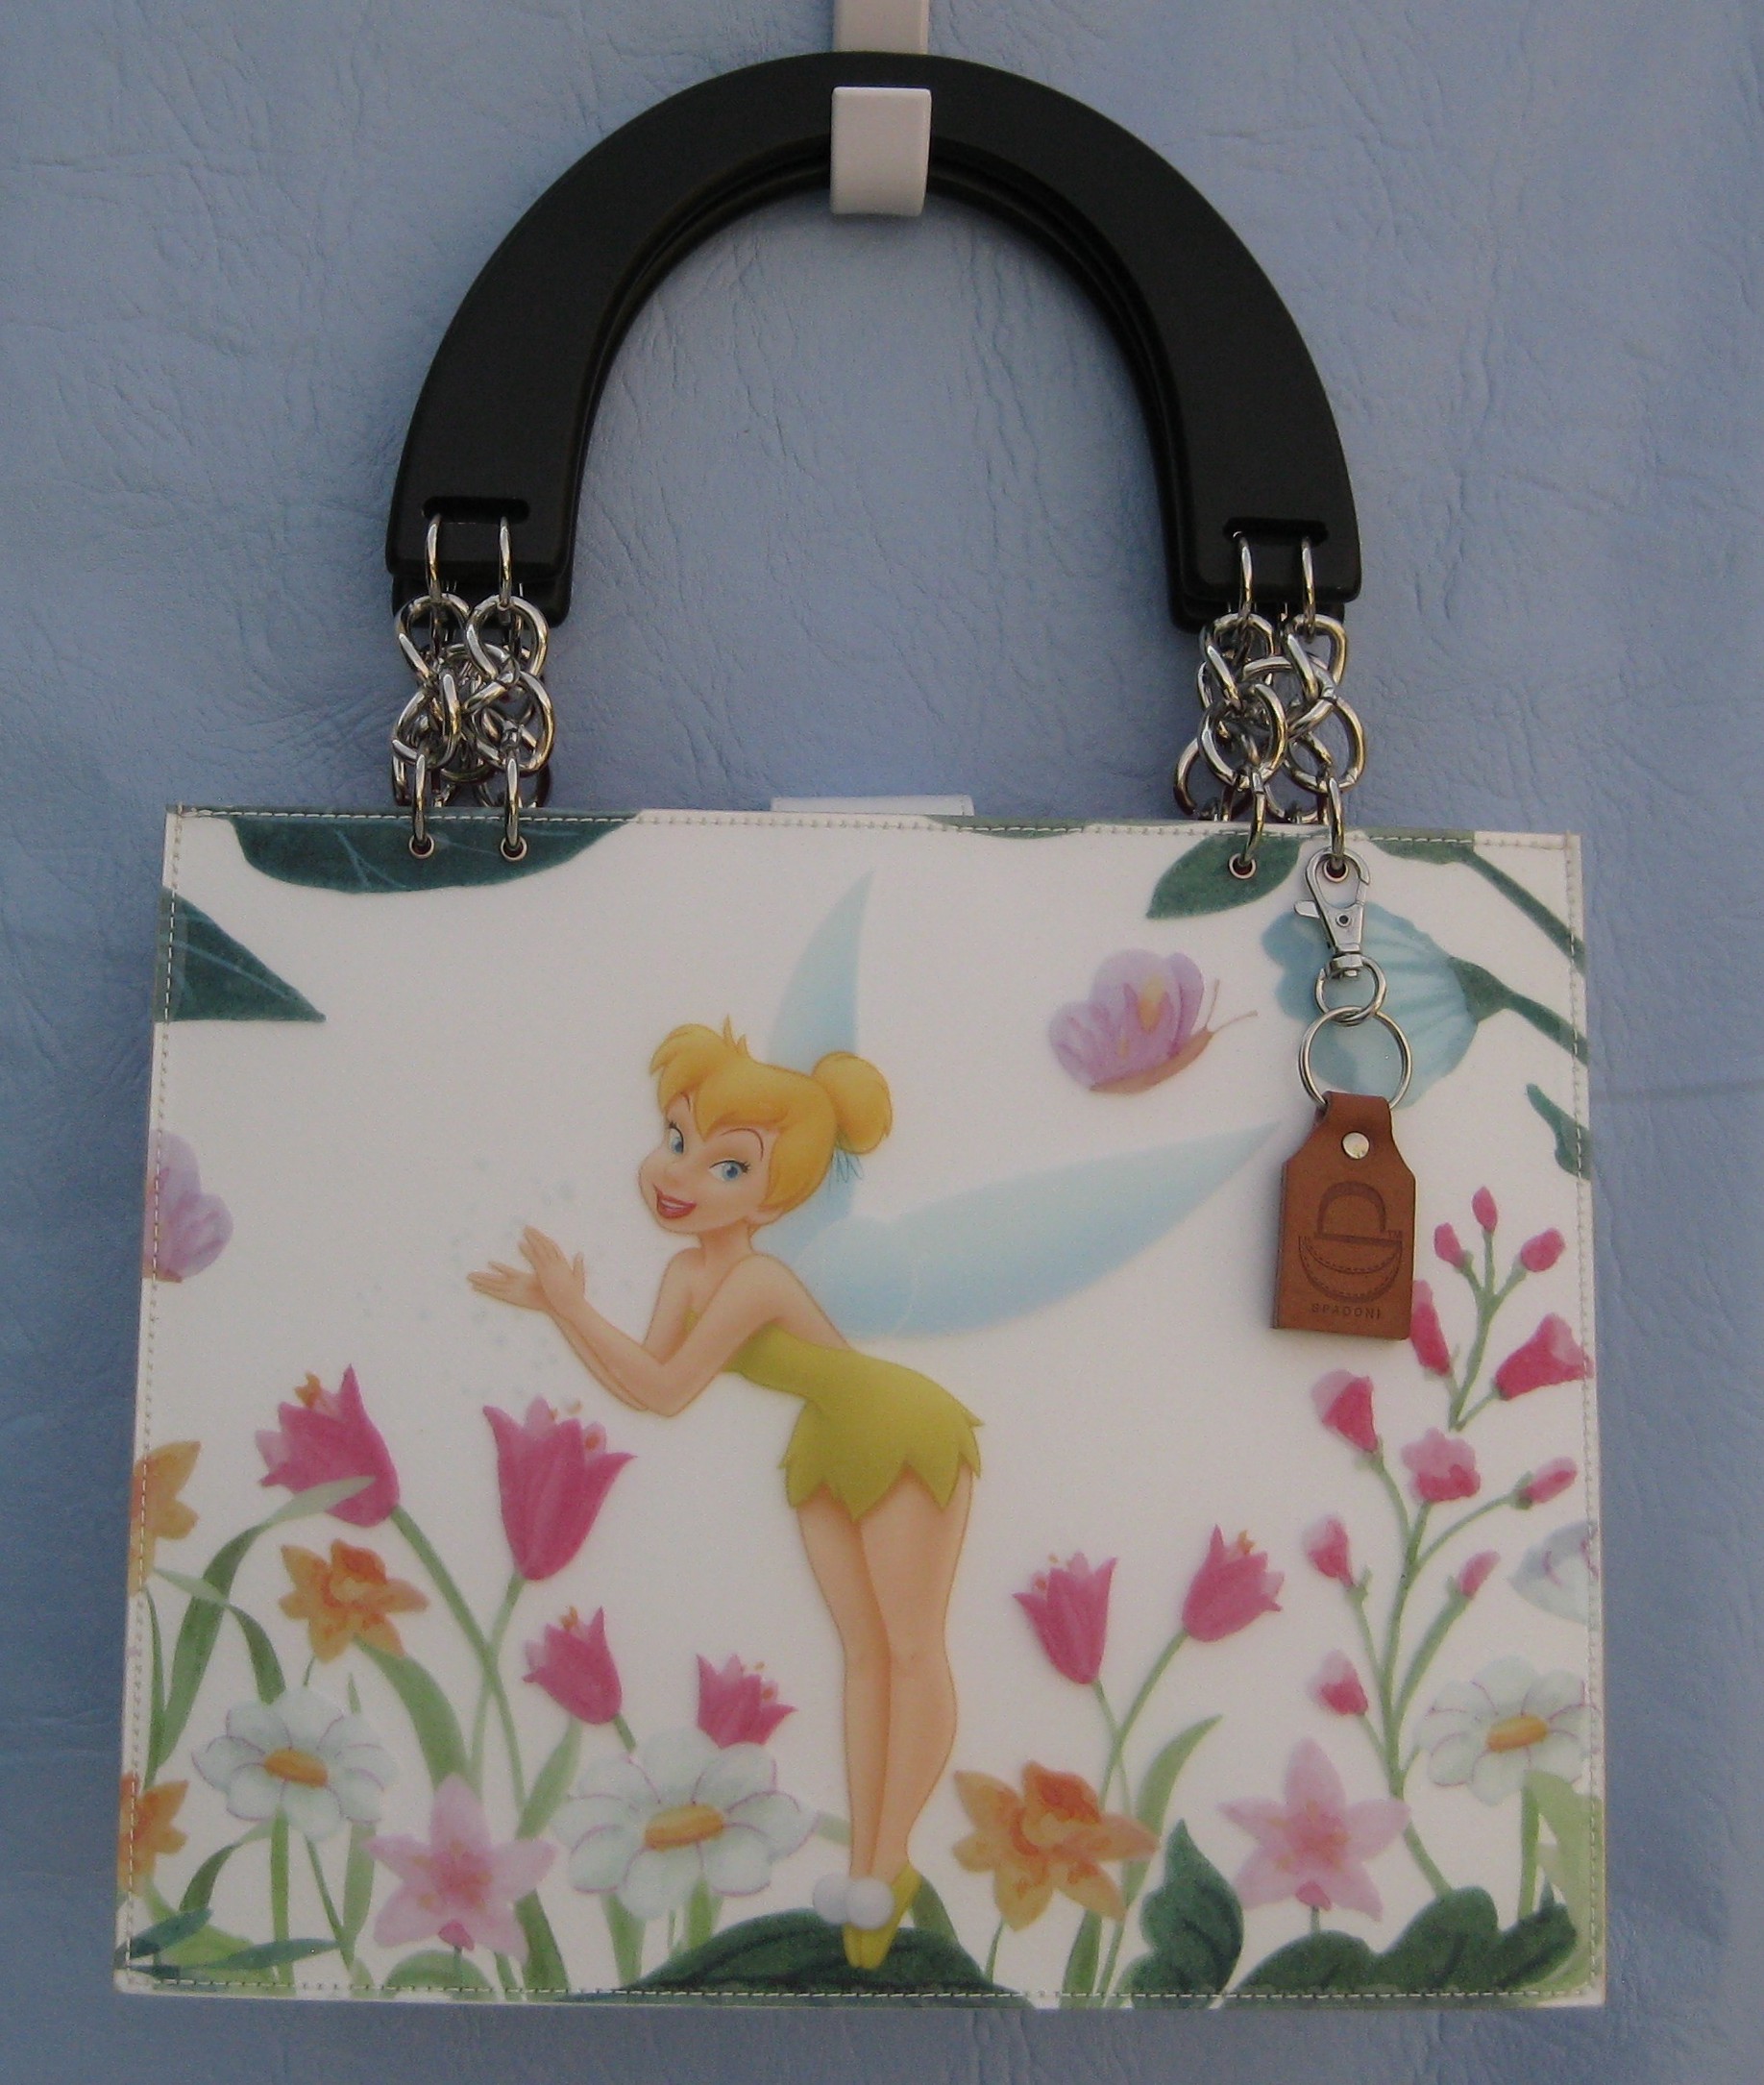
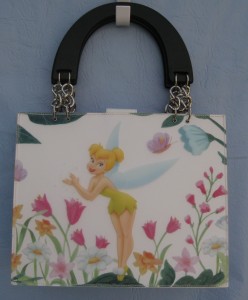
This fairy-themed bag was made with upcycled placemats.
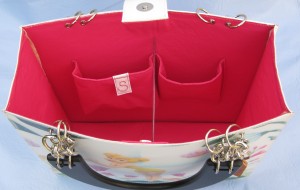
This bag is a little larger than the other similarly styled ones. I used store-bought wooden handles, a hint of silver colored metal chain, and added the spring hook keychain with my logo.The back is exactly the same as the front; I used a magnetic snap on an interior tab so the image is fully visible.I made the back pocket a little larger and gave them more depth. I intentionally turned the eyelets so the rims were inside the bag to keep the focus on the main character depicted on the outside front & back.A white shiny, textured vinyl on the sides and bottom detracted the least from the design. (Hmm perhaps traditionalists would consider this a spring/summer bag)
Well, the faux crox purple and black bag was not as fun to carry as expected, but a grand opportunity to determine flaws. Perhaps I will re-visit the design and try again in the future.
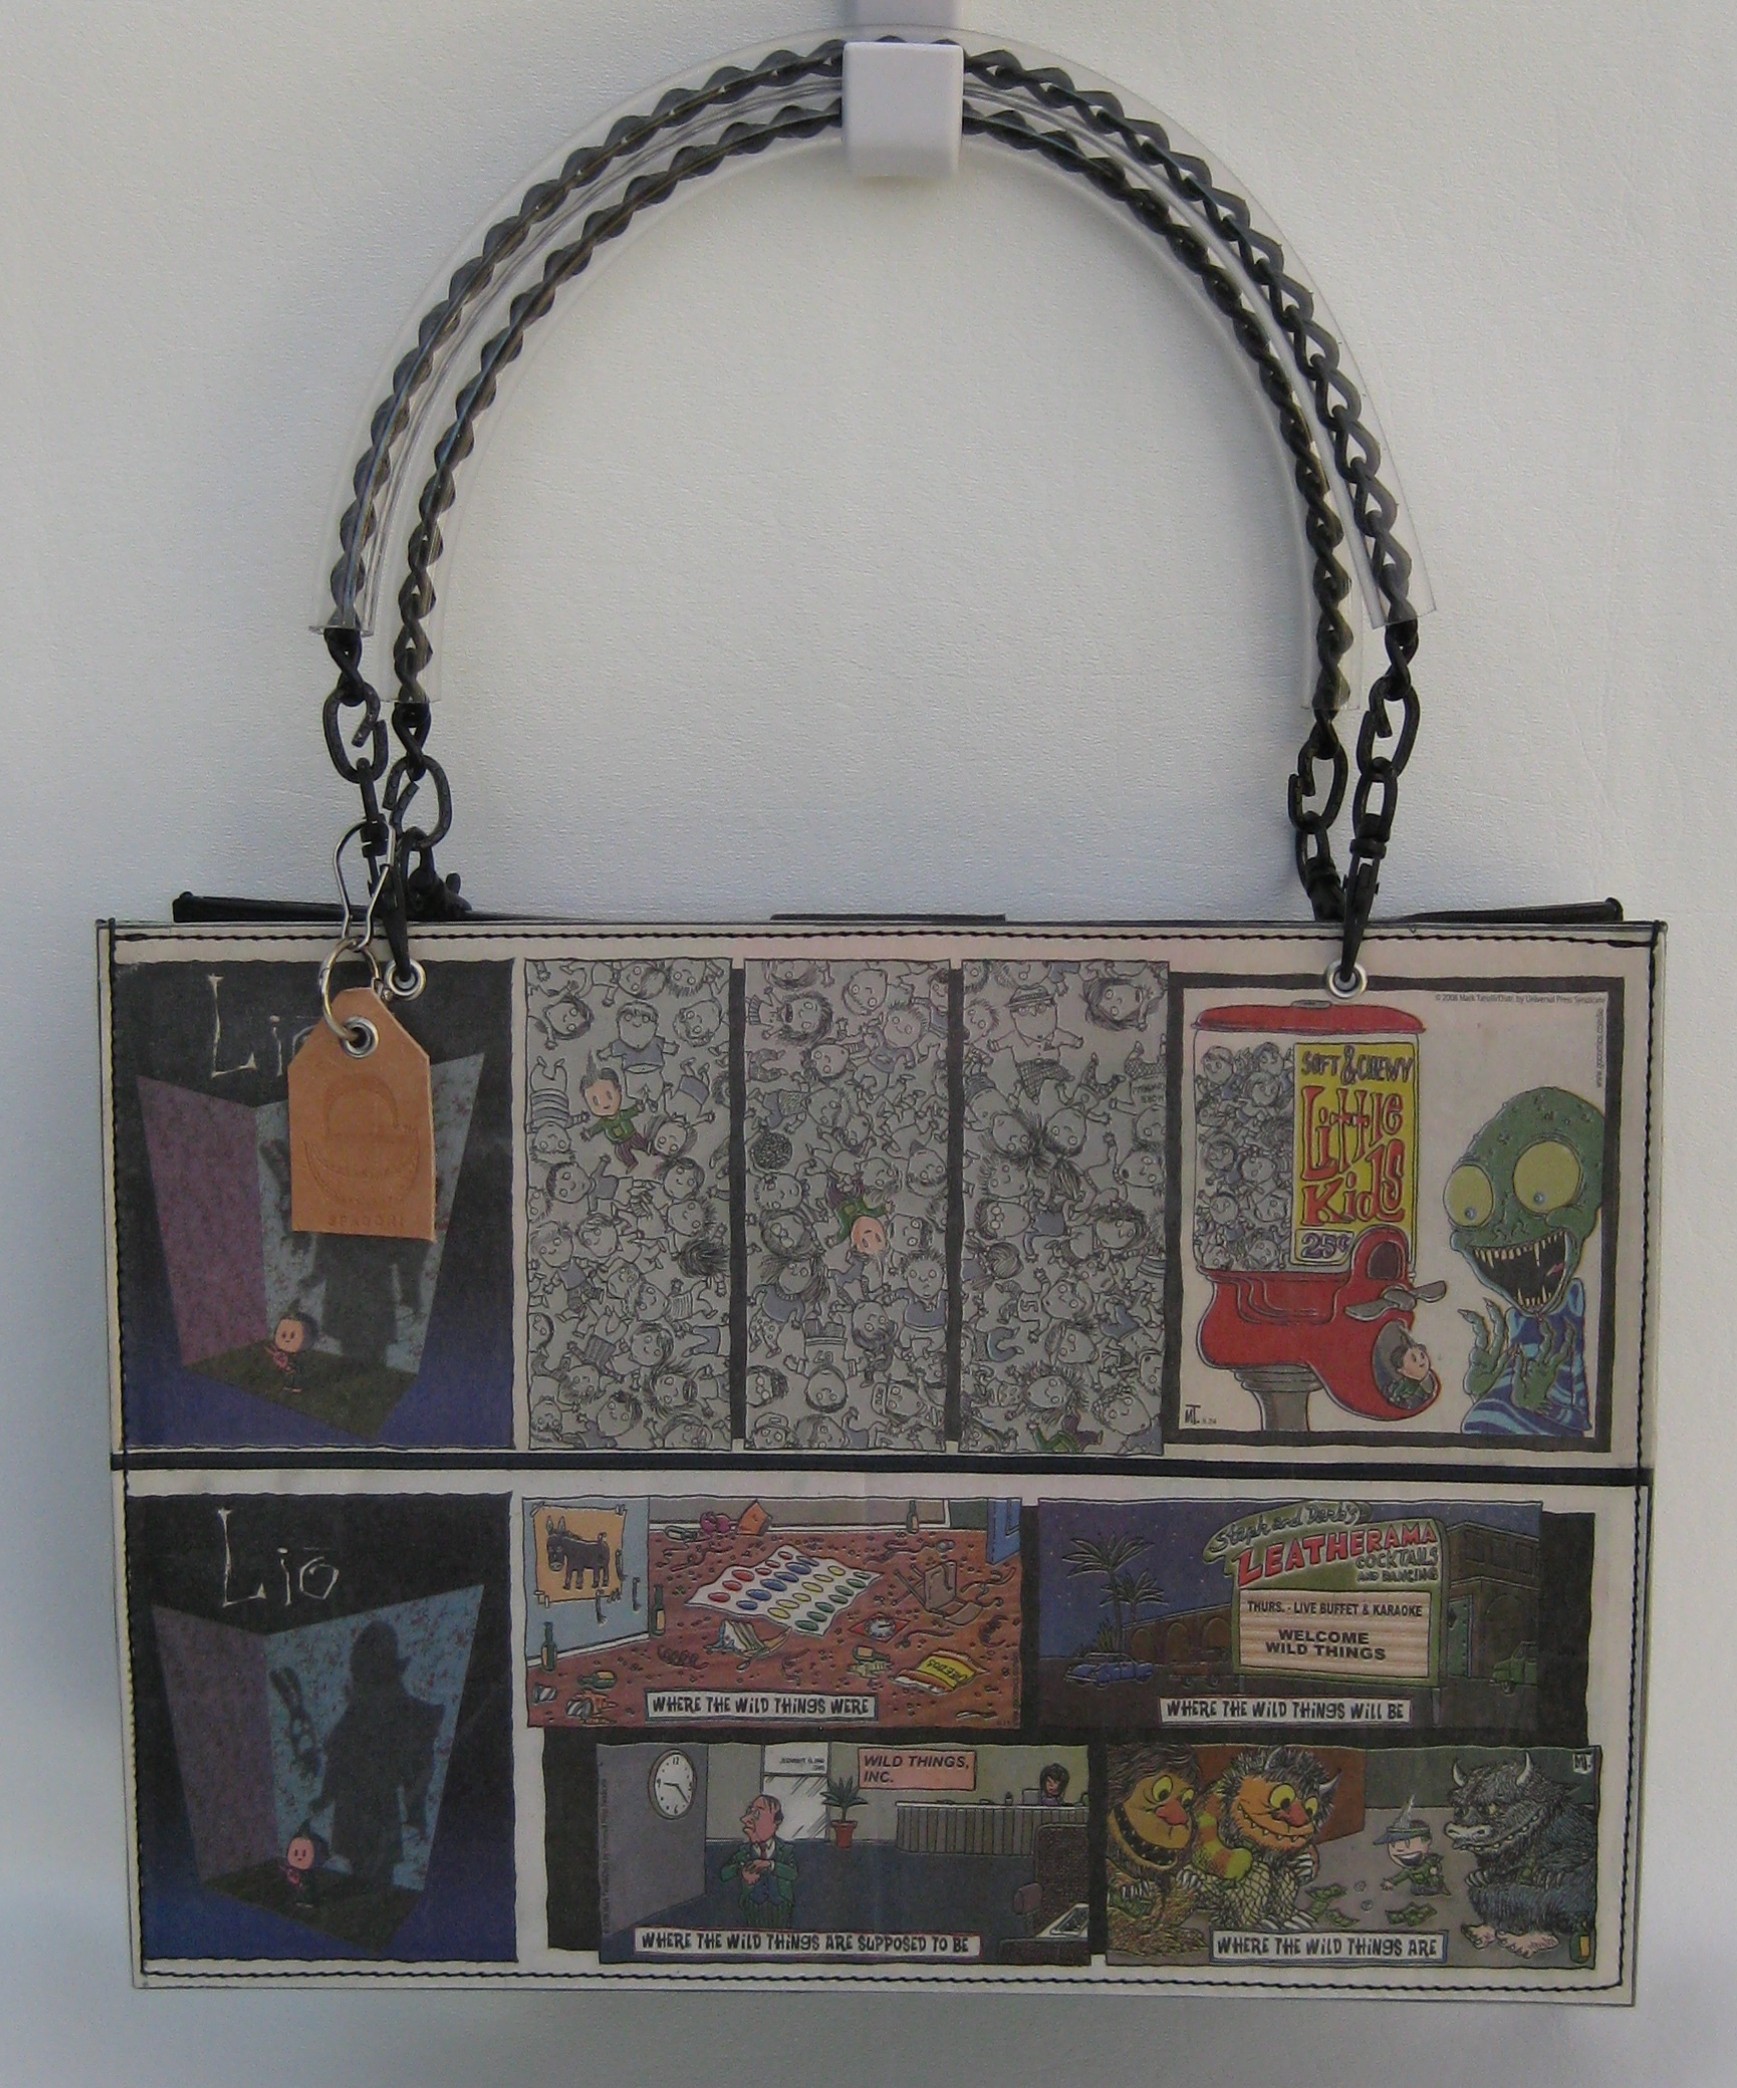
I made this little ditty instead and am carrying it now – a good way to advertise…comments while shopping – even men stop to read the comics, but no orders yet!
Front view with logo tag.Back view – this time I used black chain for repetition with the black leather napa sides and bottom.I changed up the back interior pocket to a split pleated pocket in that grand shade of green for a “pop” of color. The interior tabbed closure has a magnetic snap so the outside comics are fully visible.This side view shows the bag can open to a 4″ depth.
This is my take on a commercially available handbag made by one of the big name, mass-producers.
(Approximate dimensions: 13″ x 8.5″x 4″ 8.75″ drop)
Black upcycled napa leather with purple faux crocodile vinyl and my new logo on the front. I considered putting the logo on the back, but I opted to show it off!This is the back side of the bag. I tried using different internal components and will carry the bag to see how the materials hold up to daily wear and tear.The side is upcycled garment grade leather; I am not sure I like the way it lays. The straps were a new technique too; I like the way they look and will test them for length and durability.This was an experiment in that it is a flat-bottom bag and stitched differently than my “theme” bags. This being the case, feet were a must!Back interior zip pocket – this individual pocket was no big deal to make, but the whole lining! Lots of work – not sure if I will attempt this type of divided lining again…This is the front inside pocket; I like the “pleat” of this divided patch pocket. My stuff is more accessible.Center divider zippered pocket. Just loading my junk into this bag, I can see how much I do like the pockets and space…now how to morph this pattern so it is less labor intensive and more forgiving of my “engineering” skills!
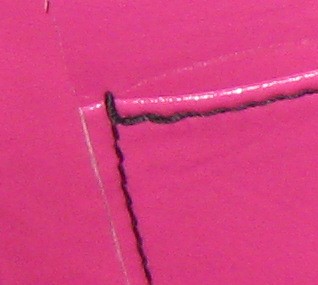
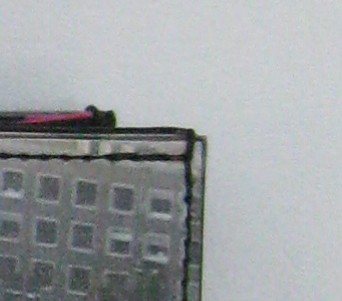
The front and back of this bag are the same image with a matt plastic coating; magnetic snap closure inside the bag.As with the majority of my designs, I used up-cycled leather for the sides and bottom of this bag. This leather has a rougher texture to complement the monster theme.Not sure if you can really see the texture in this shot…Per the client’s request, hot pink vinyl for the interior.Most people don’t notice little details, but I use a little finishing touch on the top edge of my pockets.I finish the top edges of my bags too.
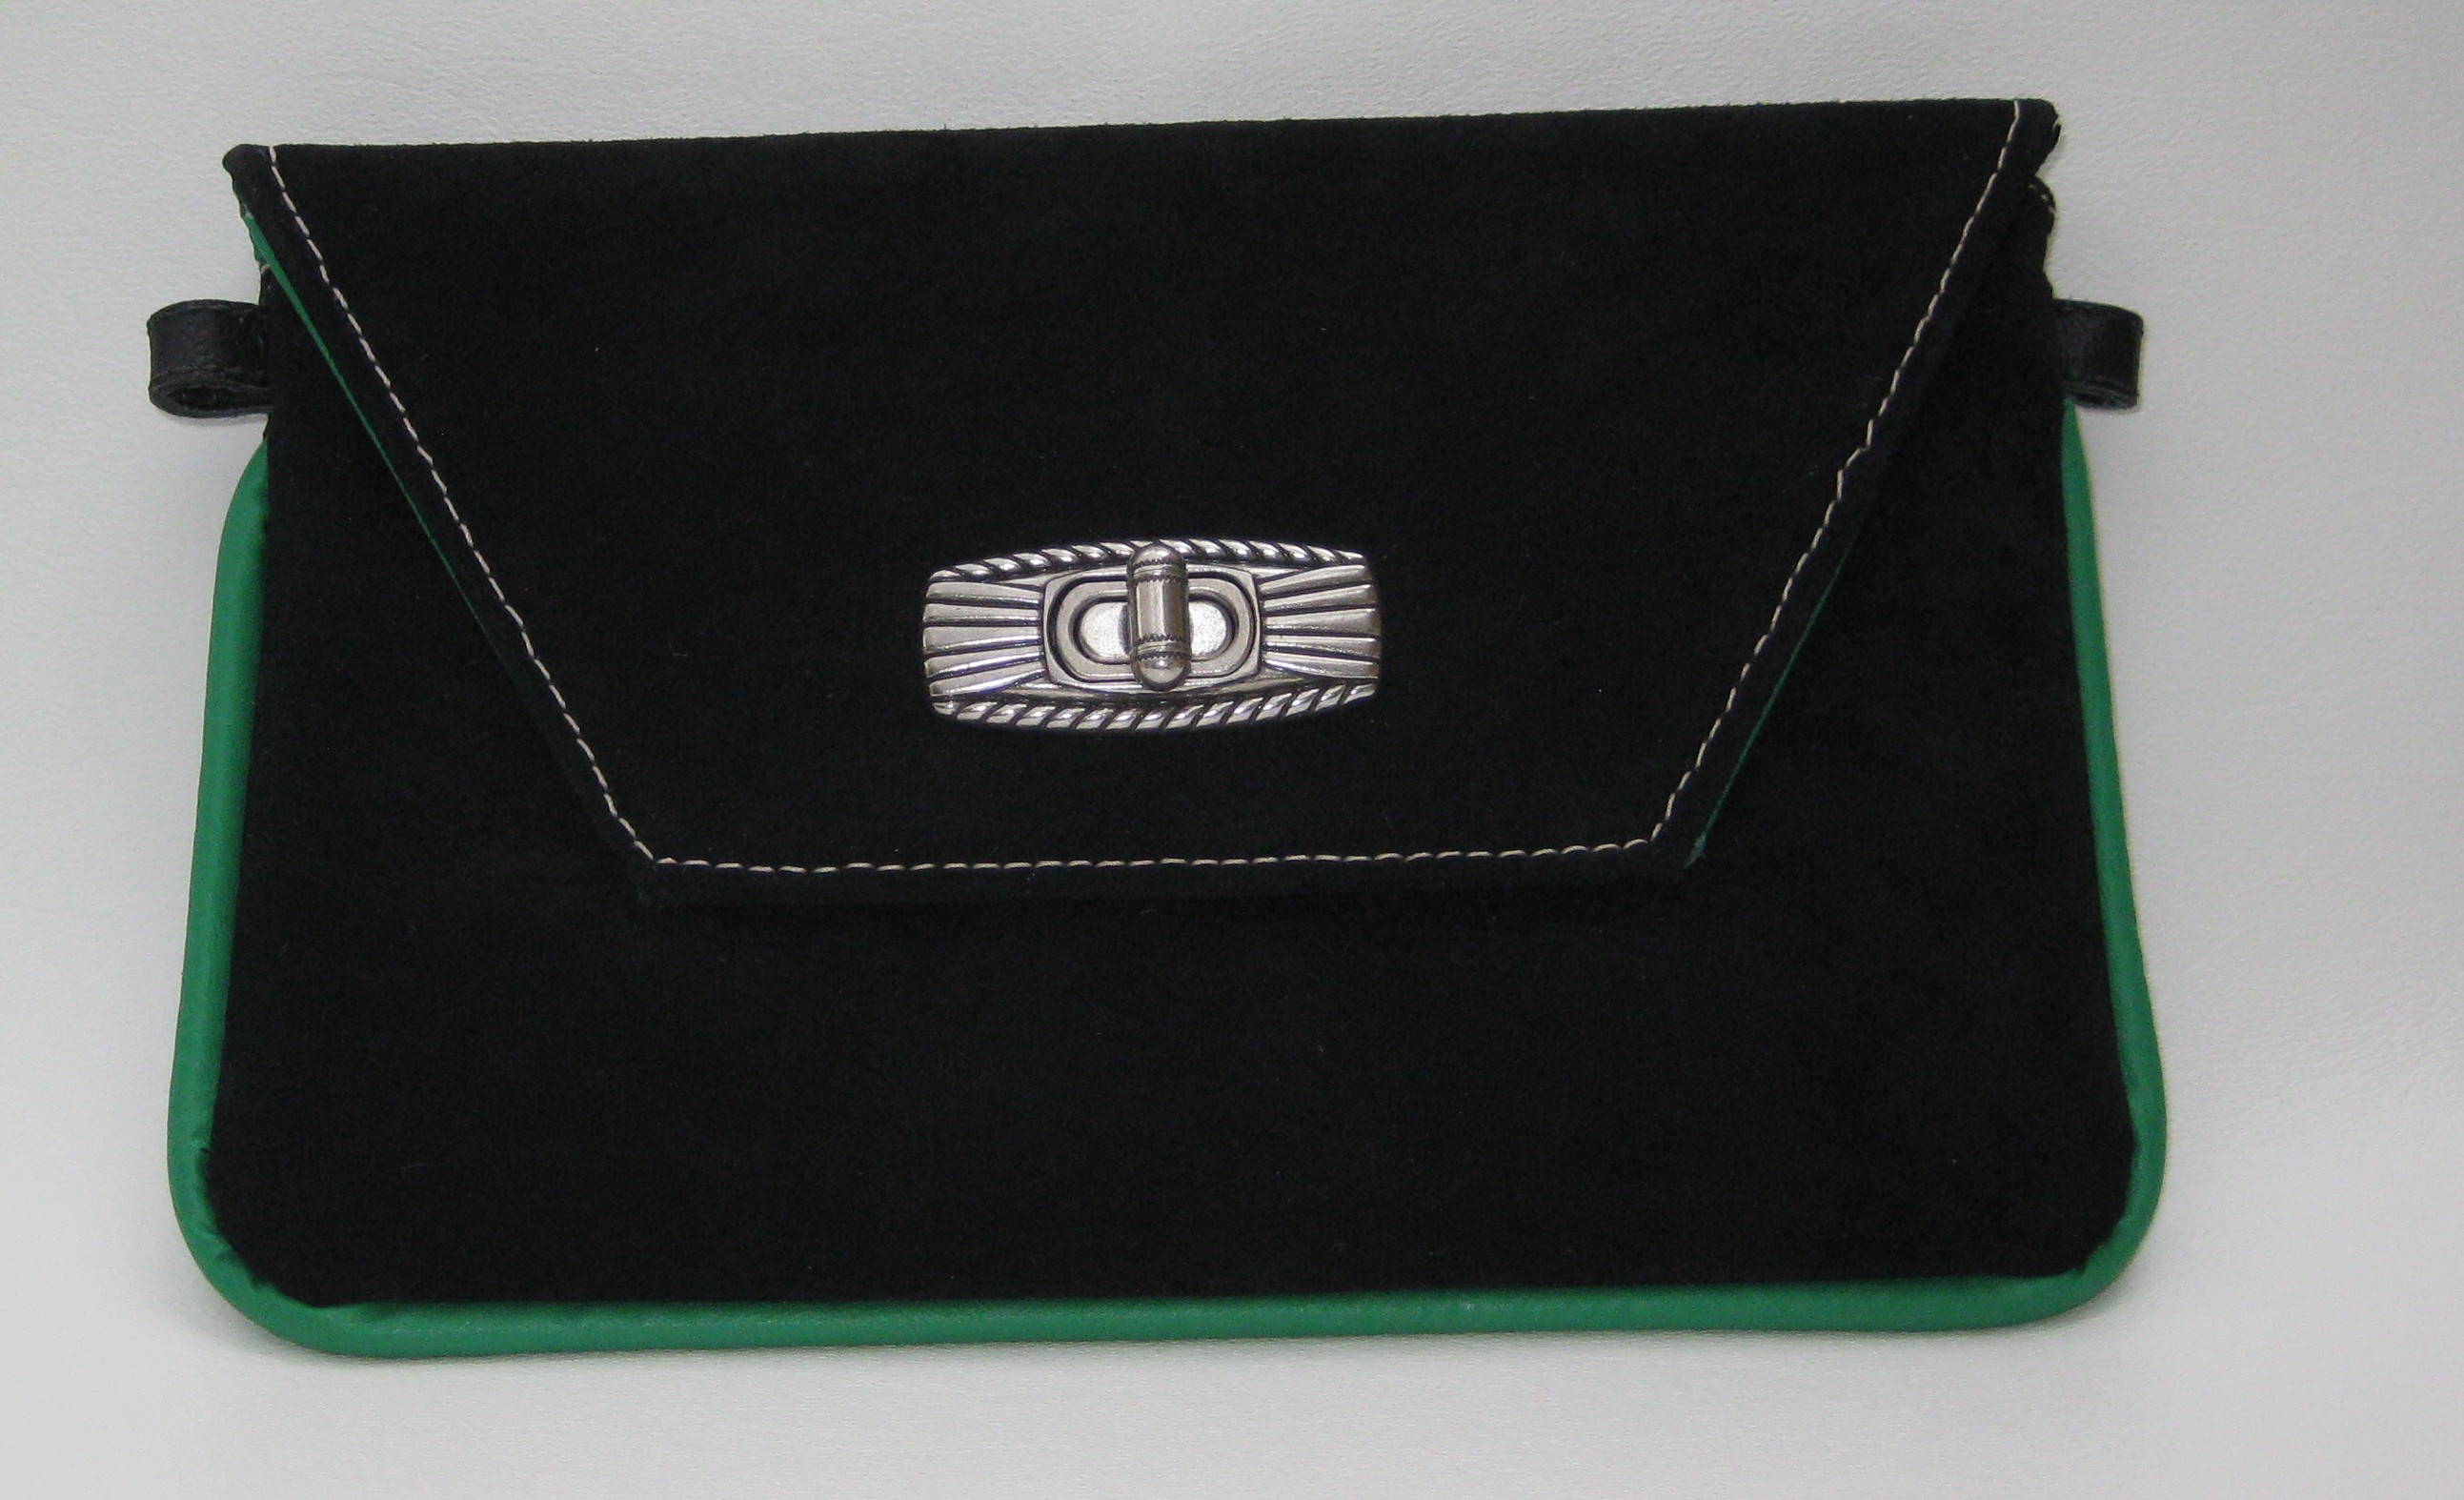
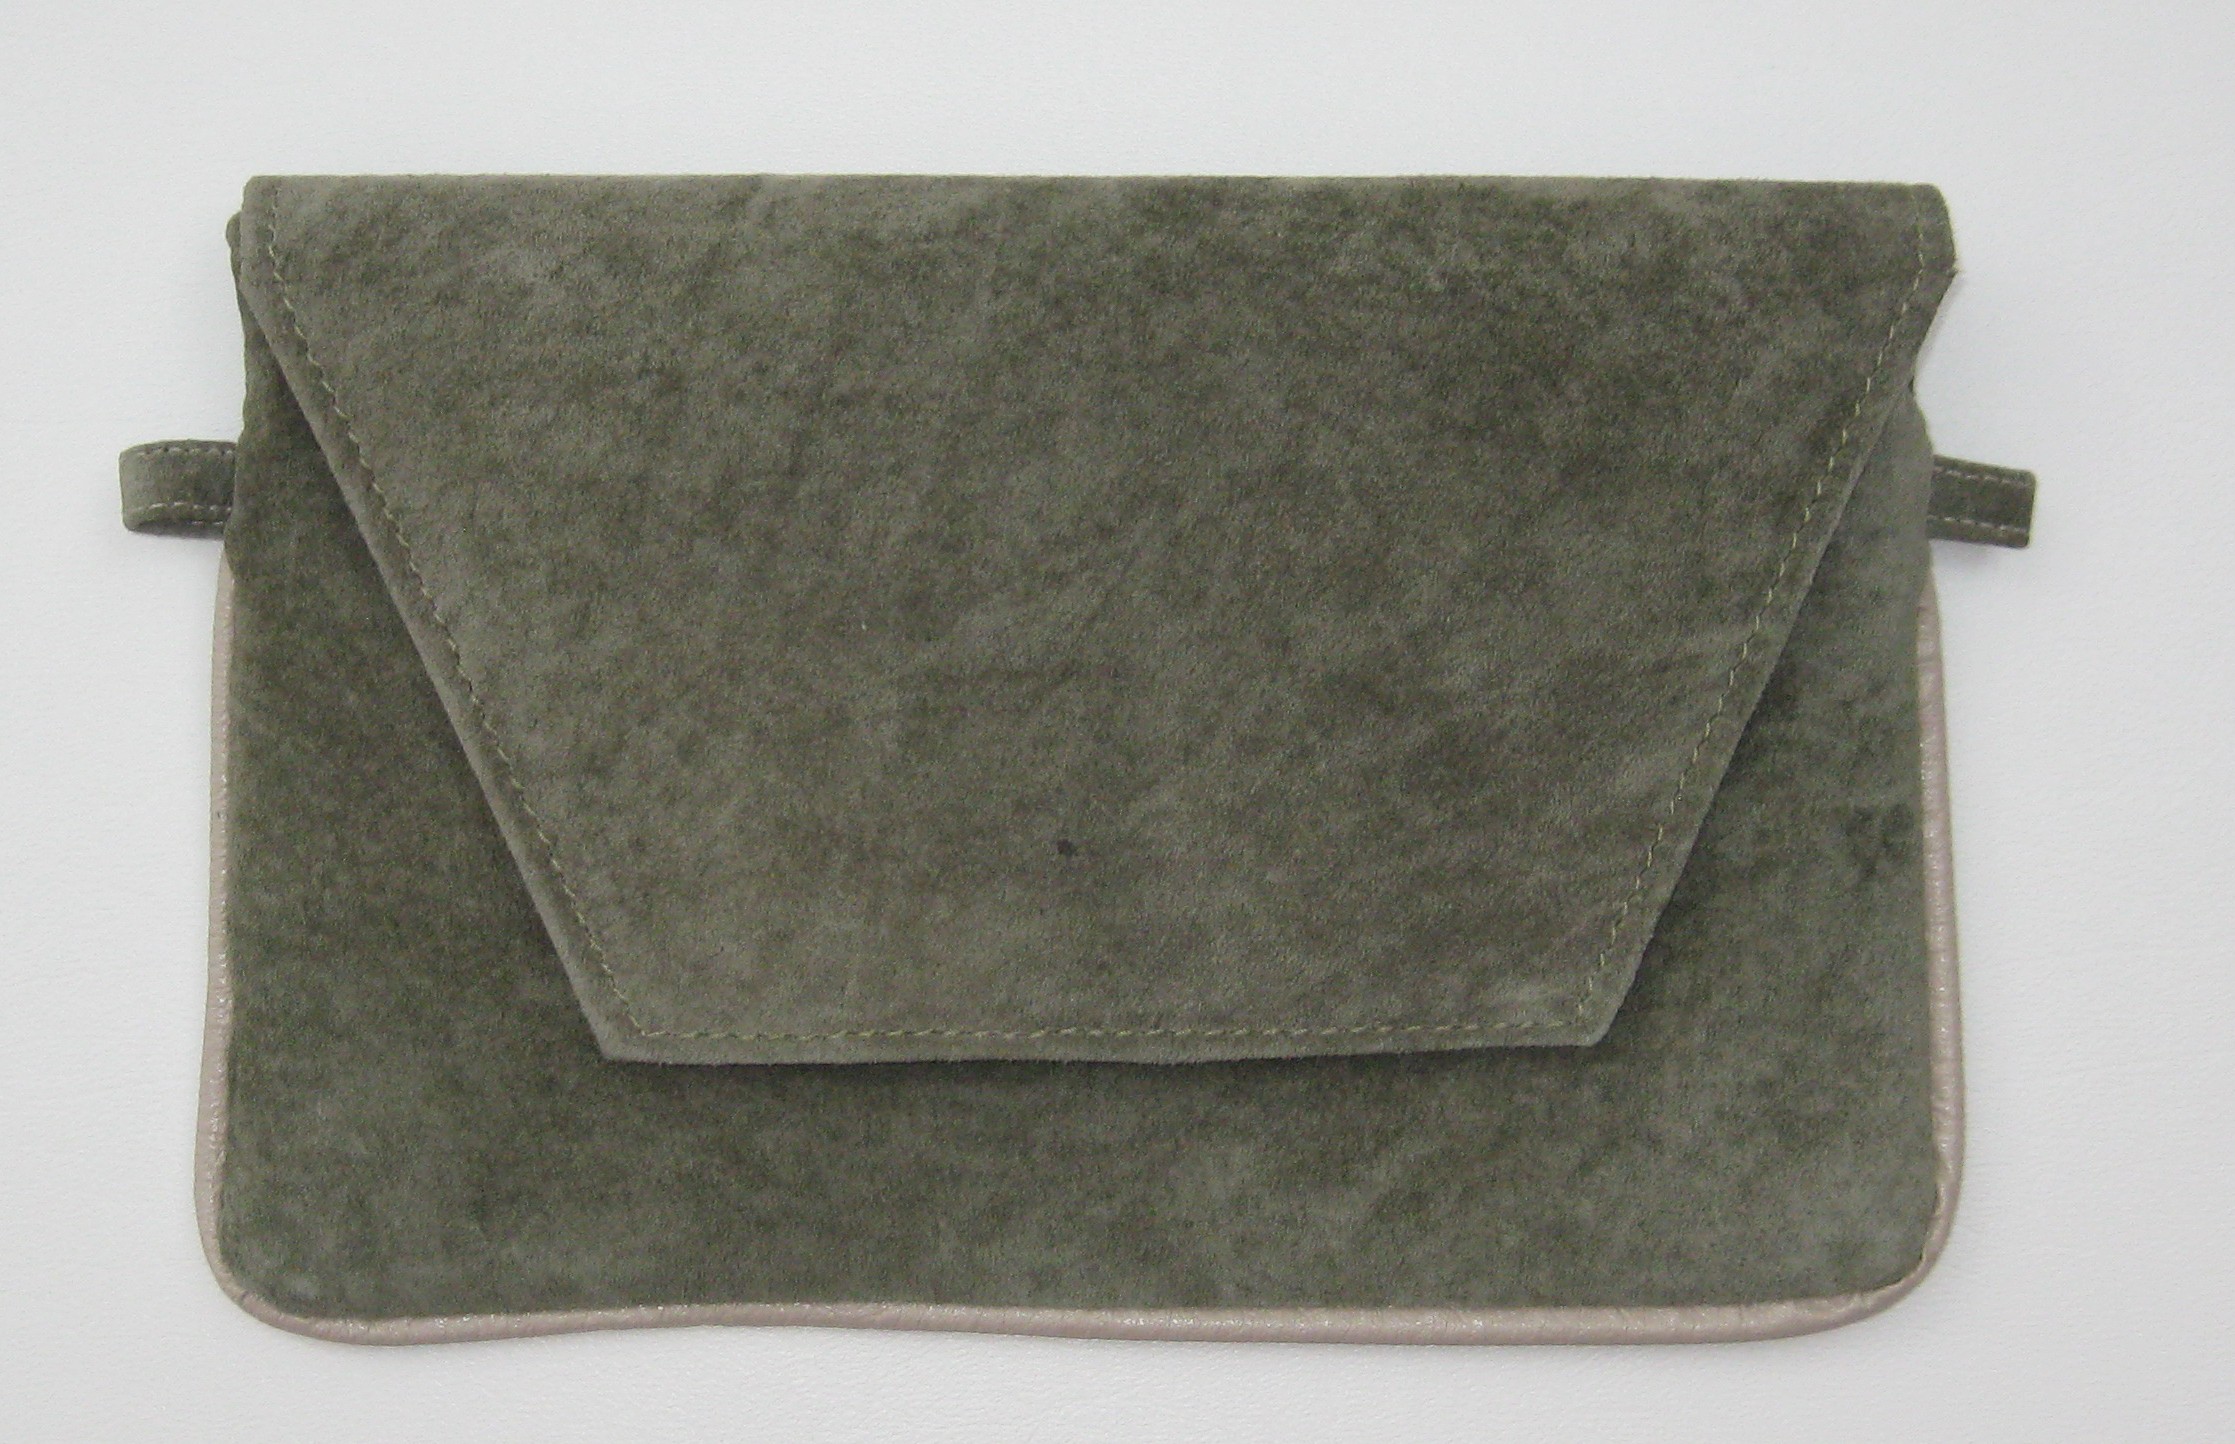
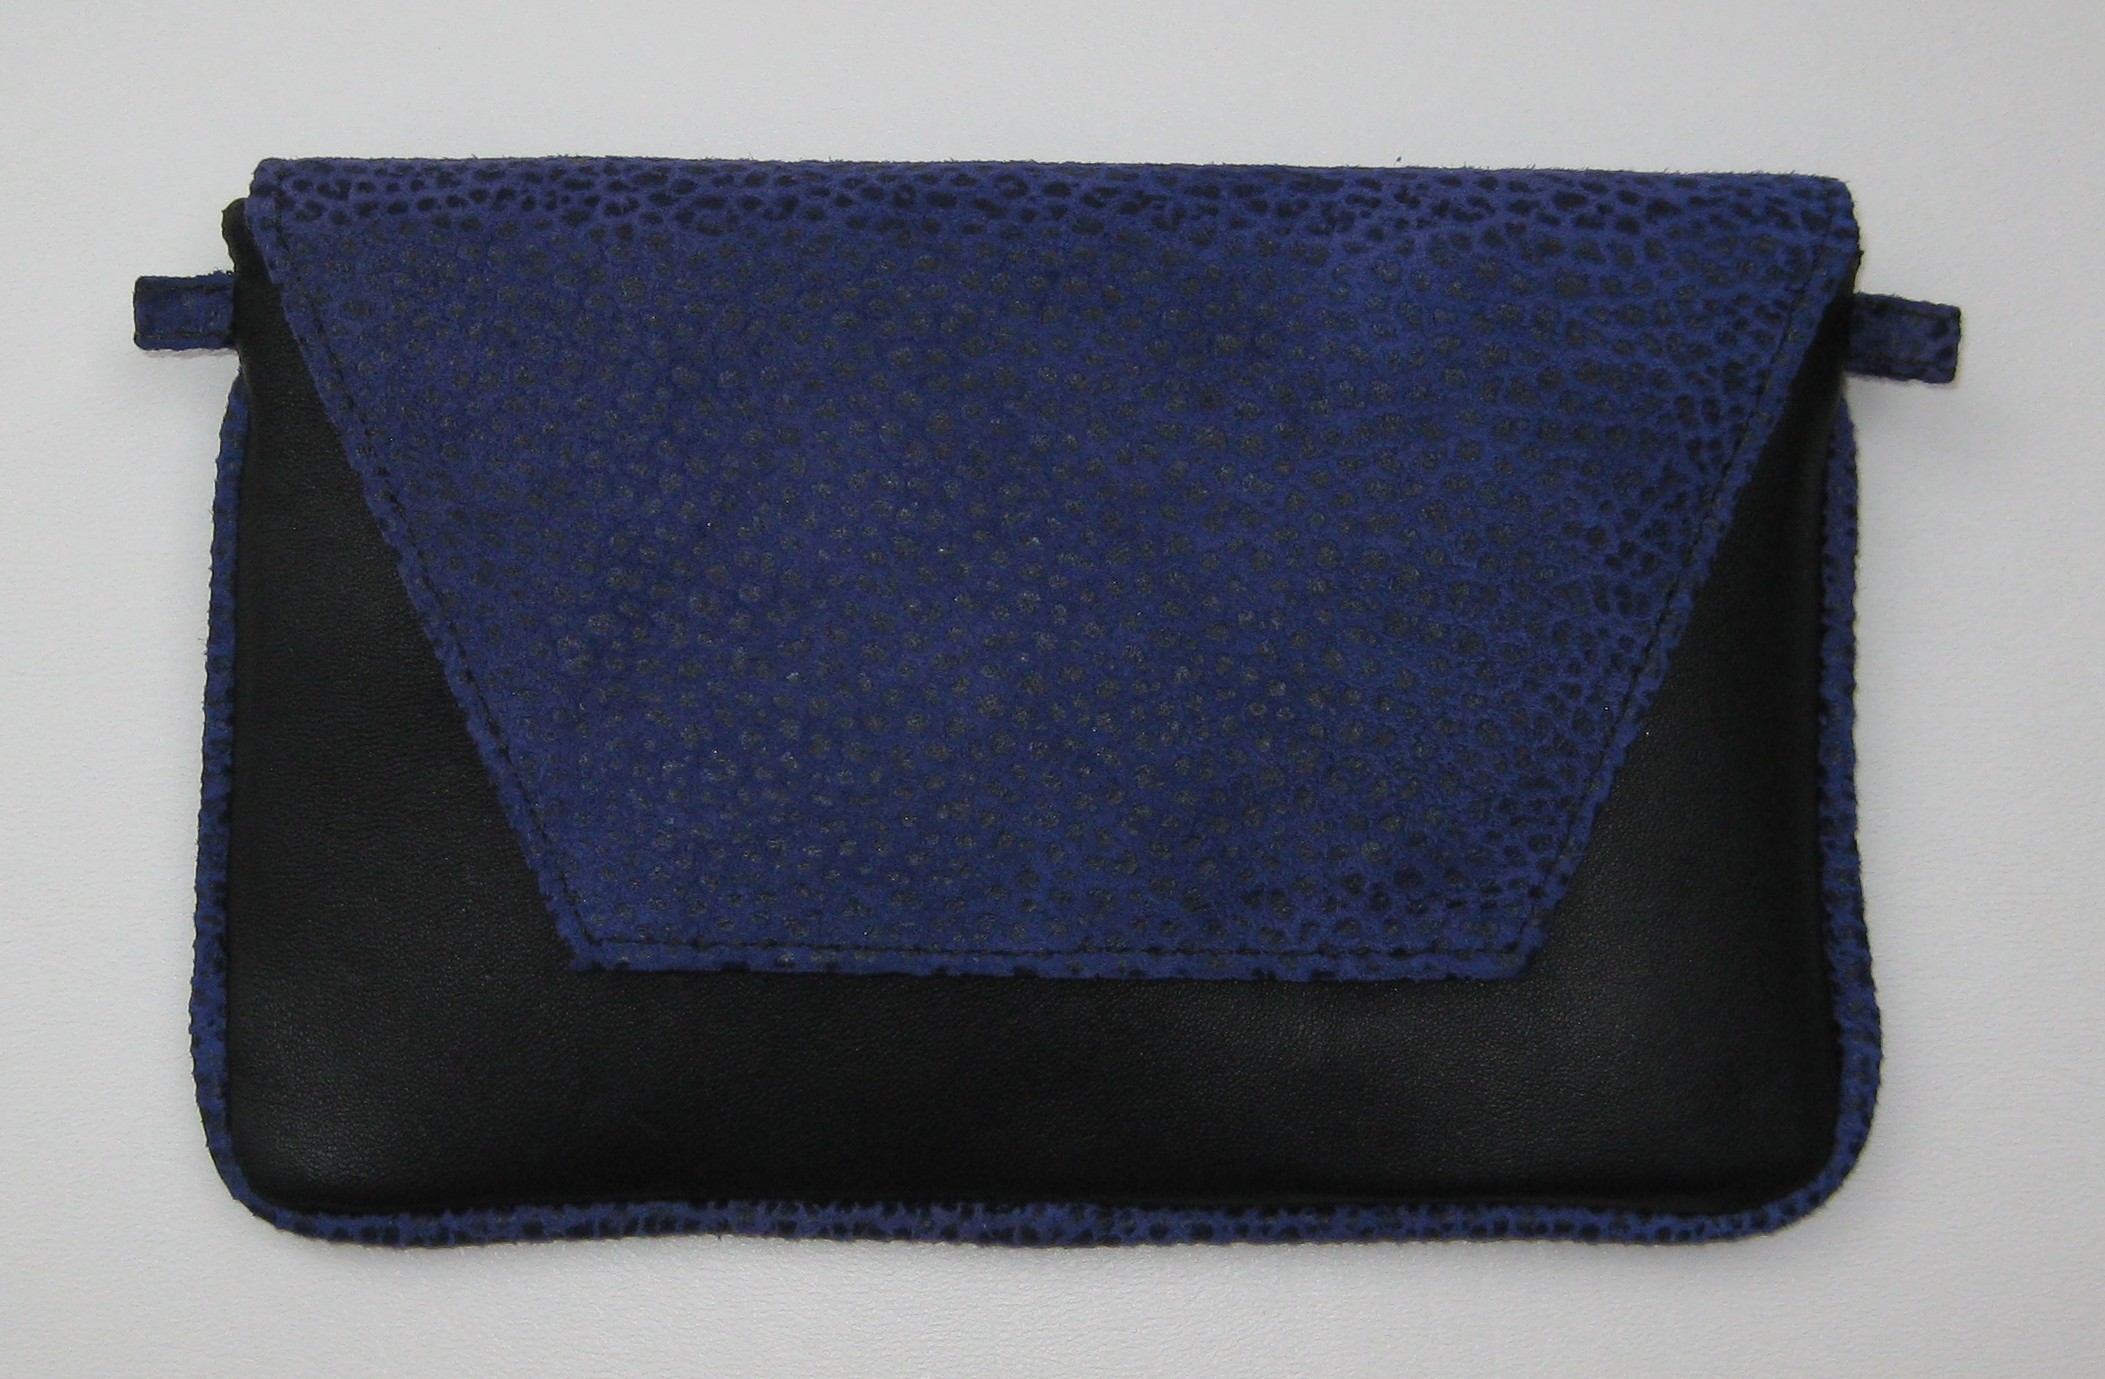
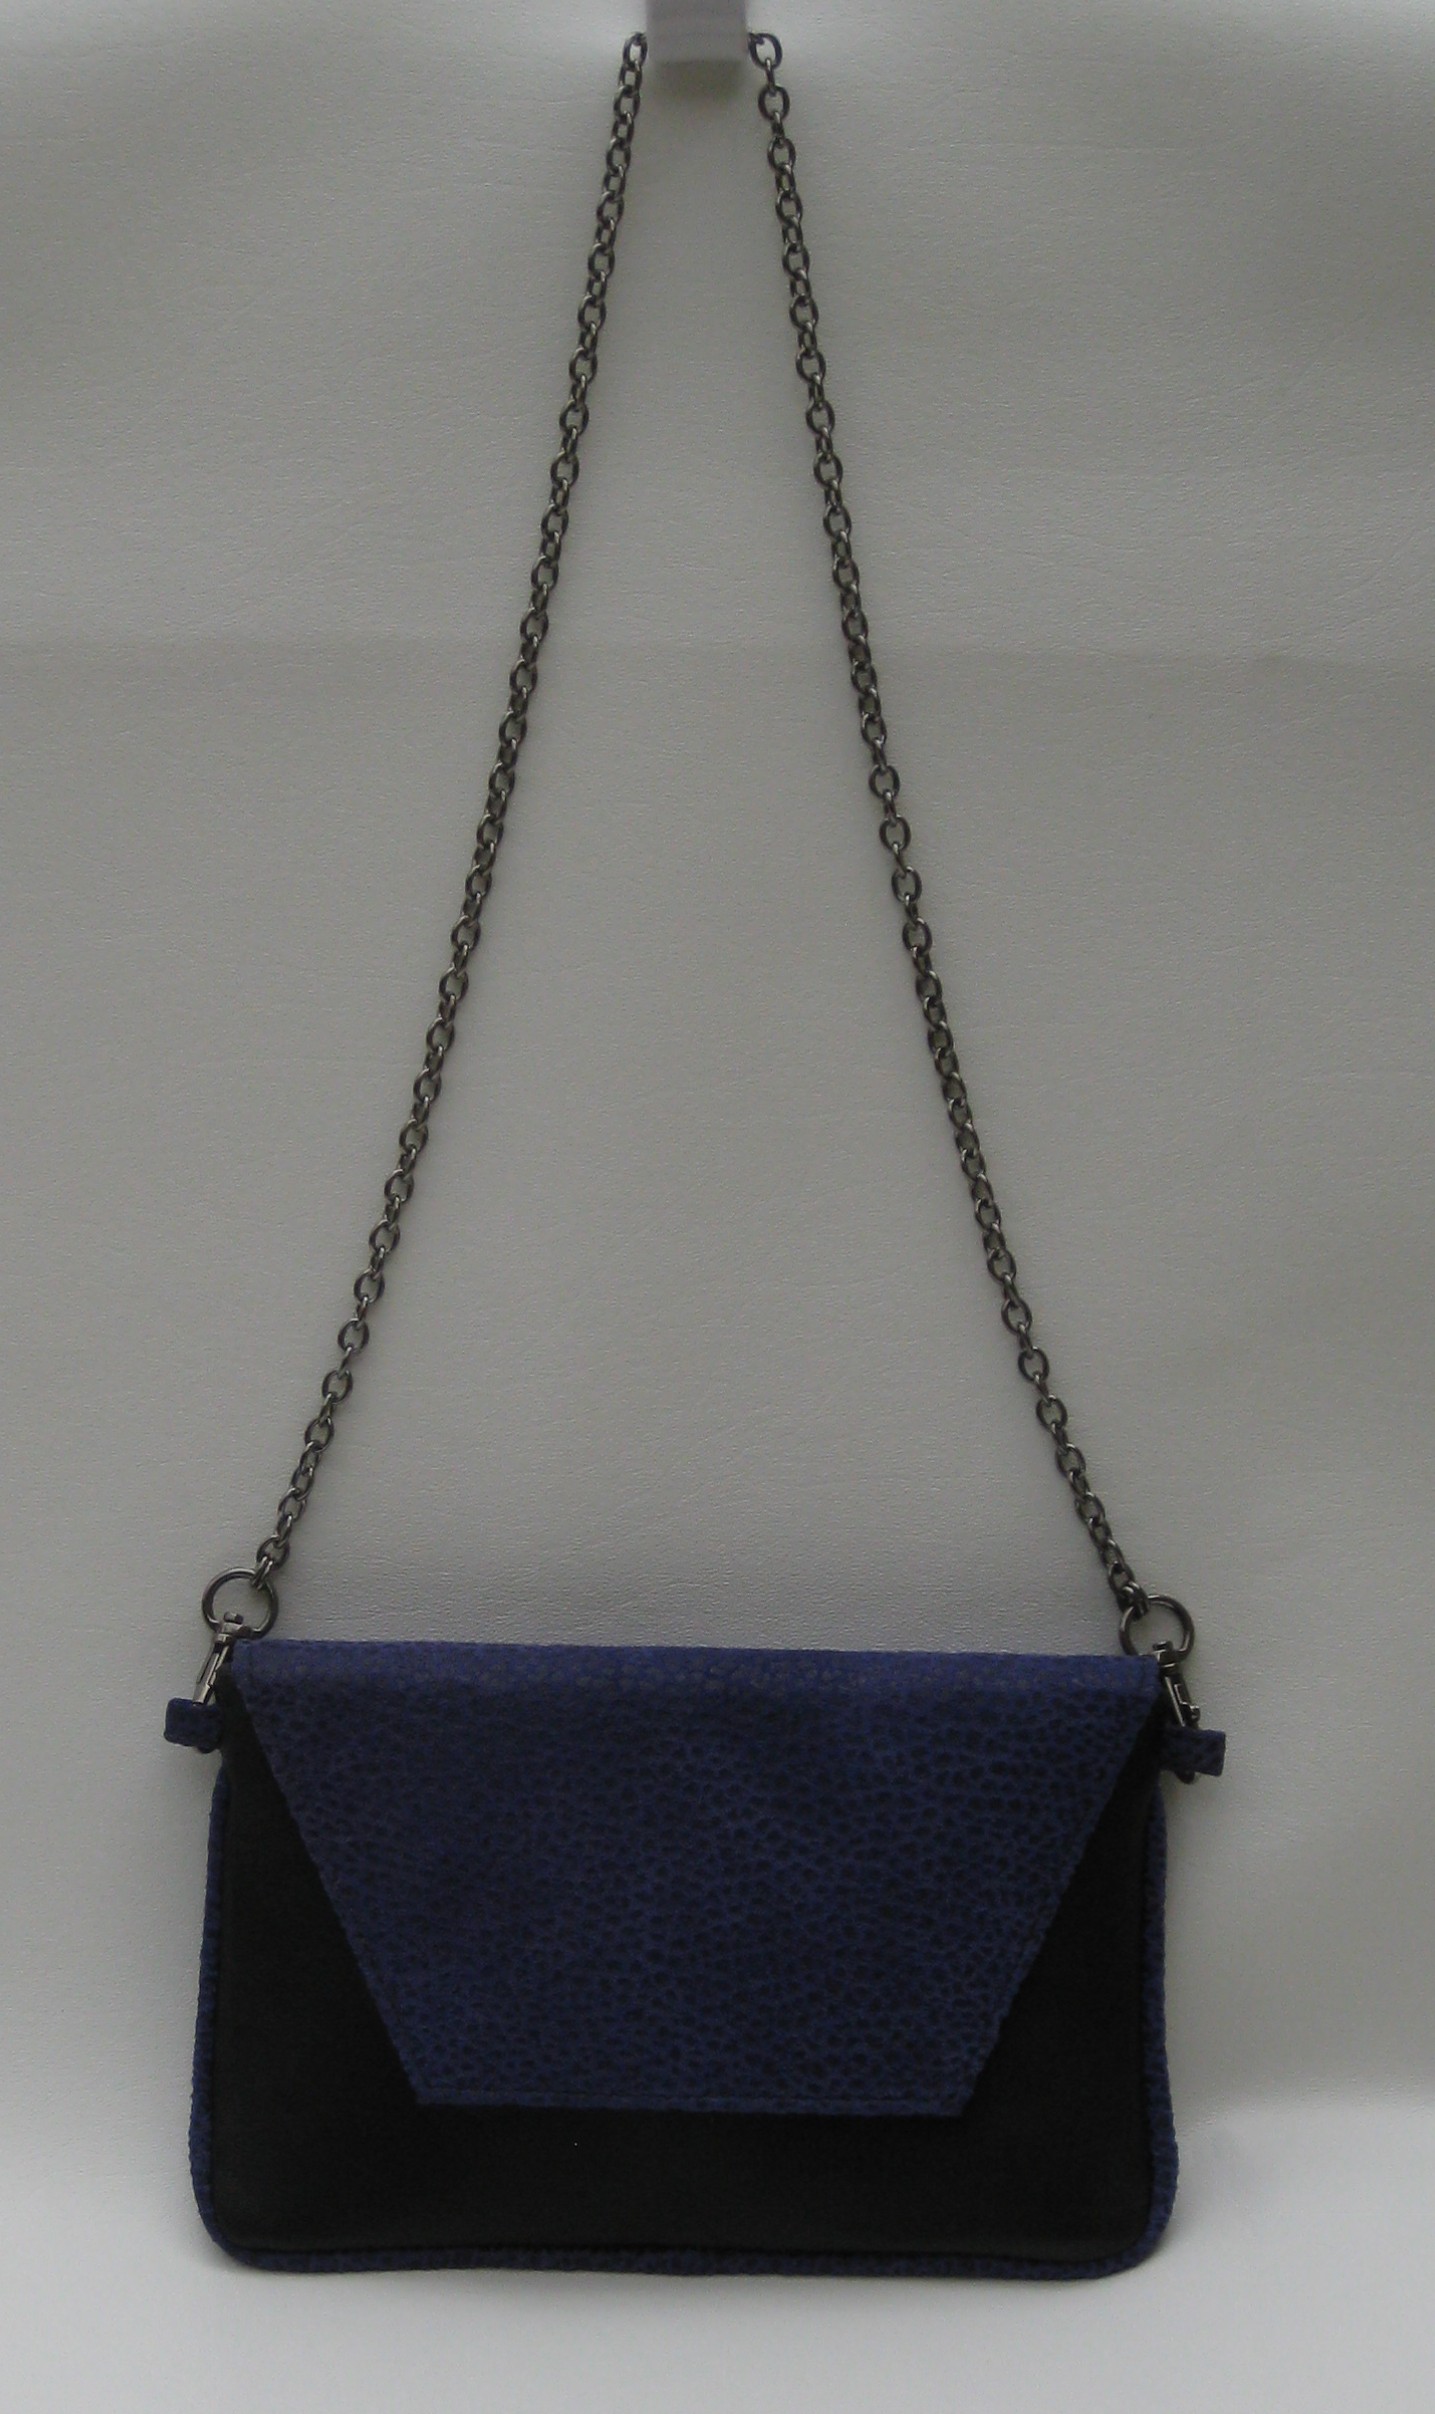
This was the first re-work of my wristlet pattern. I liked the contrast of the green with sharp black suede and white stitching (the stitches were too crooked for me though!)This was the second – I made the flap longer & used a magnetic snap instead of the turn lock.This was the final version with the longer flap and magnetic snap closure.This is another carrying option – a single chain.