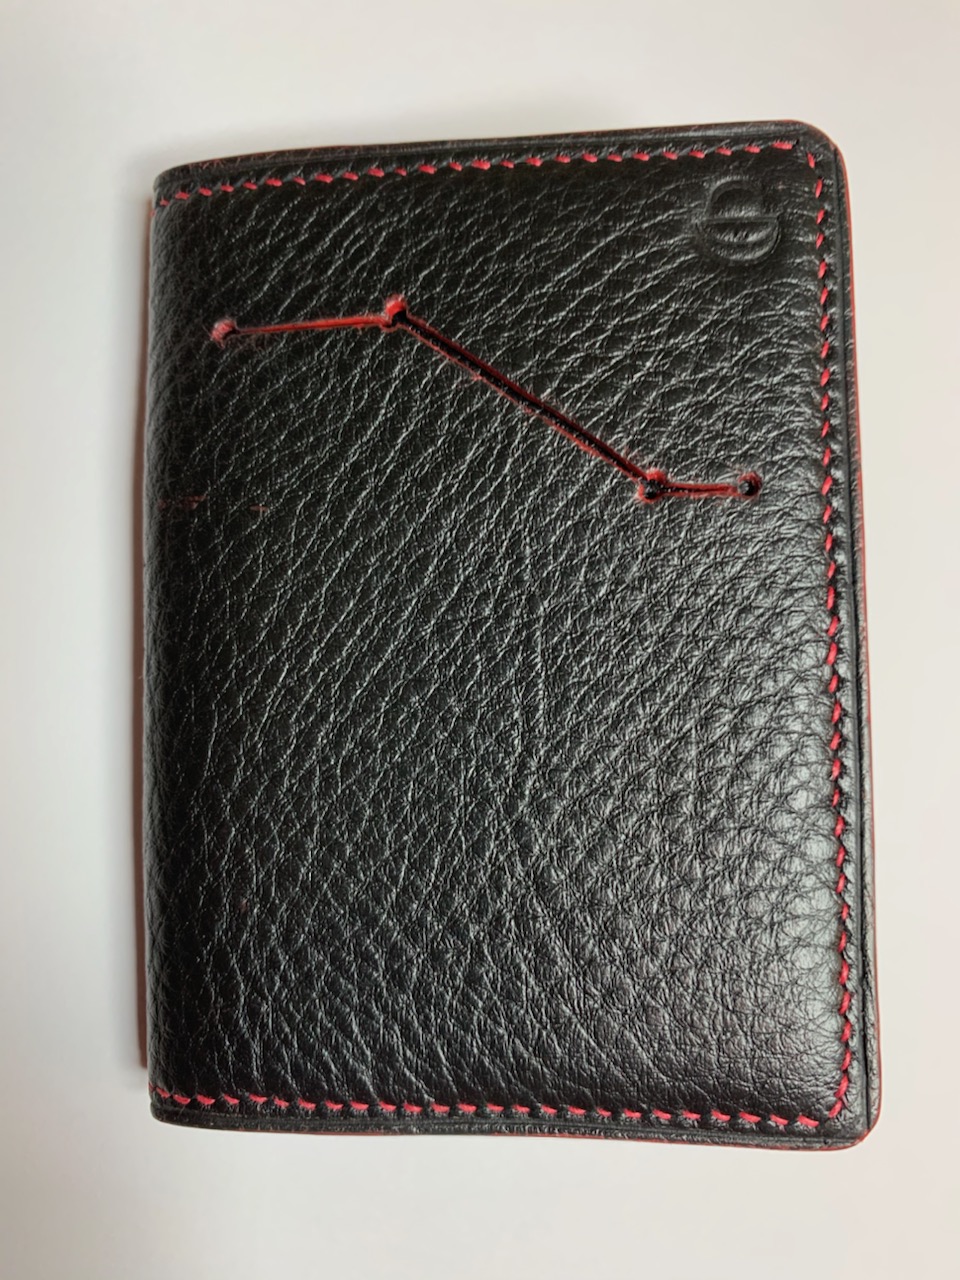
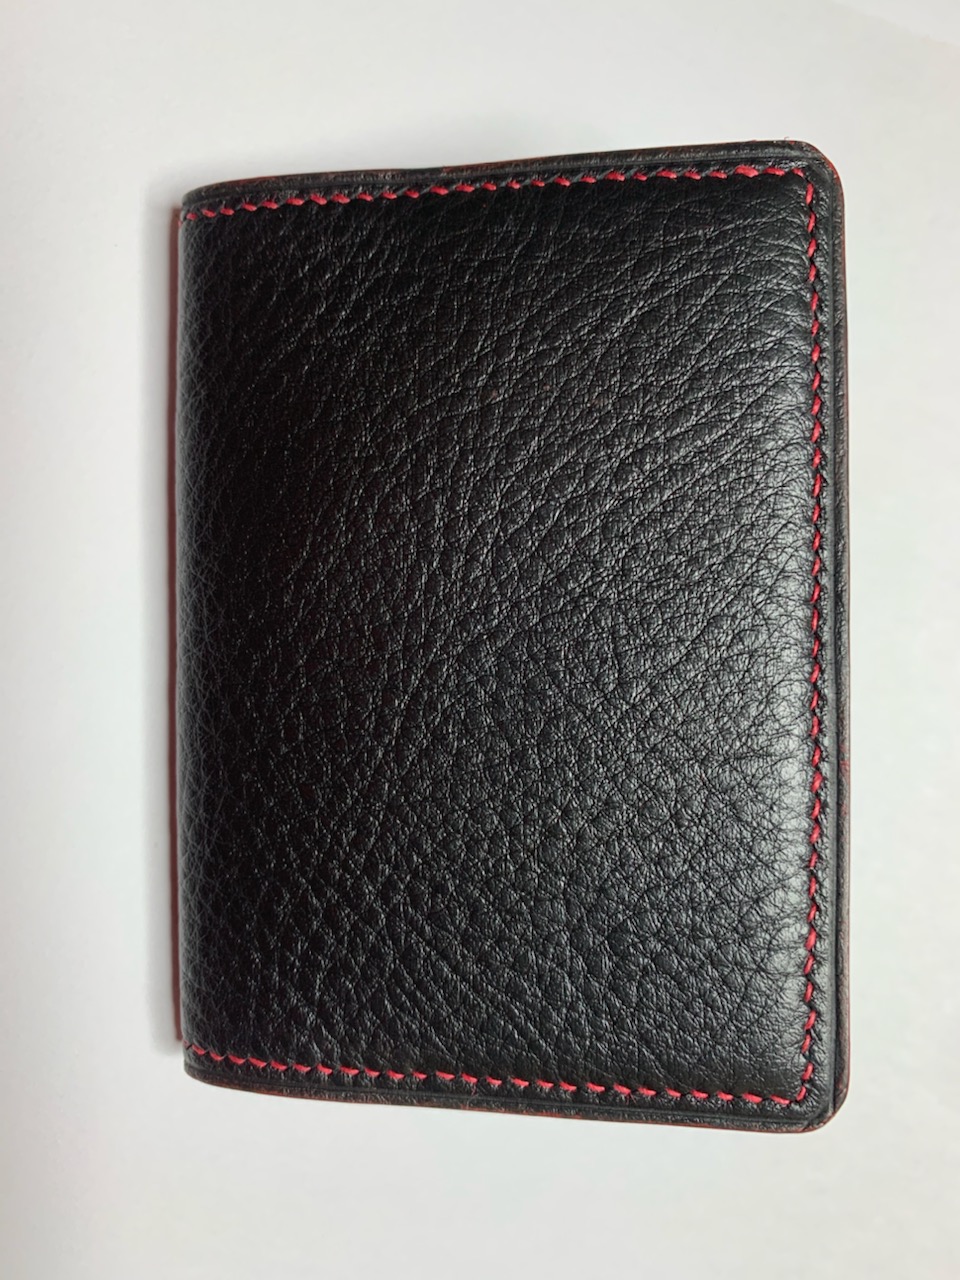
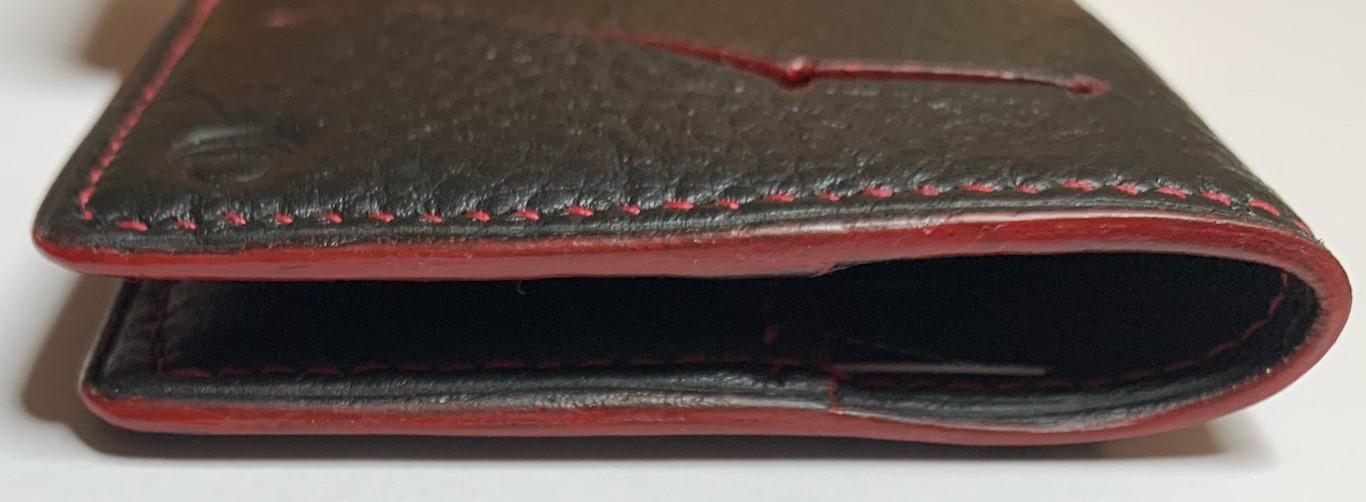
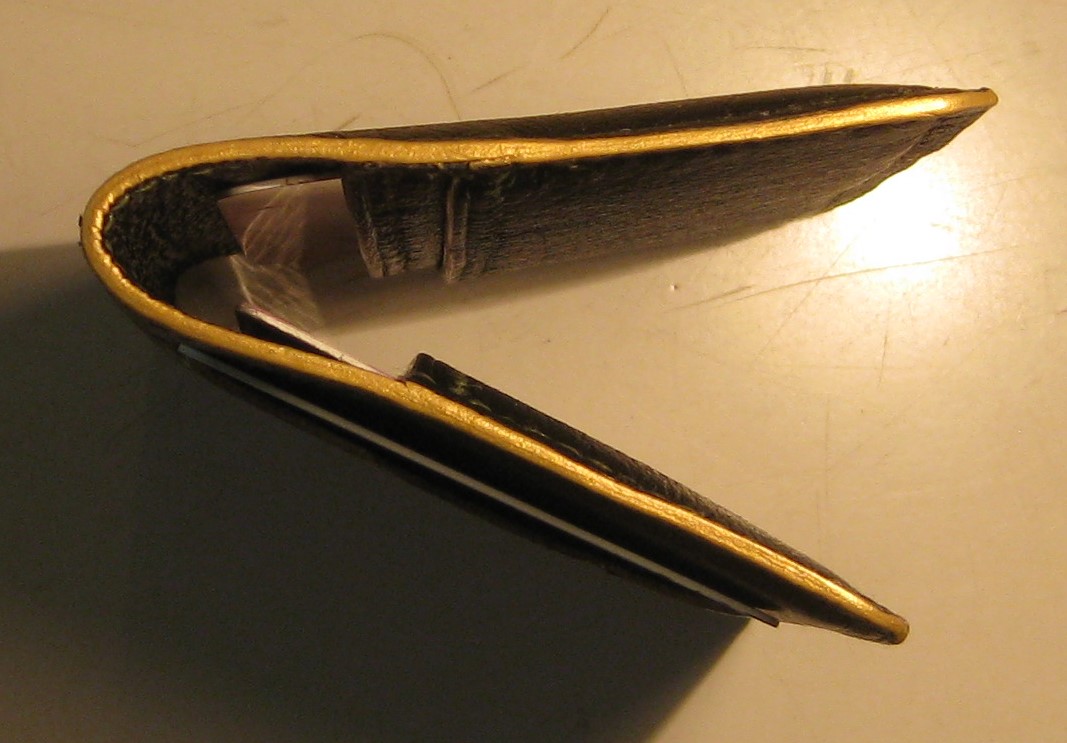
I created this all-leather version of a men’s wallet from scratch. It took a while, but each piece was individually hand cut from black cowhide remnant leather from a local upholstery shop.
I used my FAV skiver to split and skive each piece and my decision to use thinly split leather to line the pockets was to prevent the pockets from stretching out. I switched from all-purpose cement to a German made water-based adhesive for assembly and used the saddle stitch with black French linen thread.
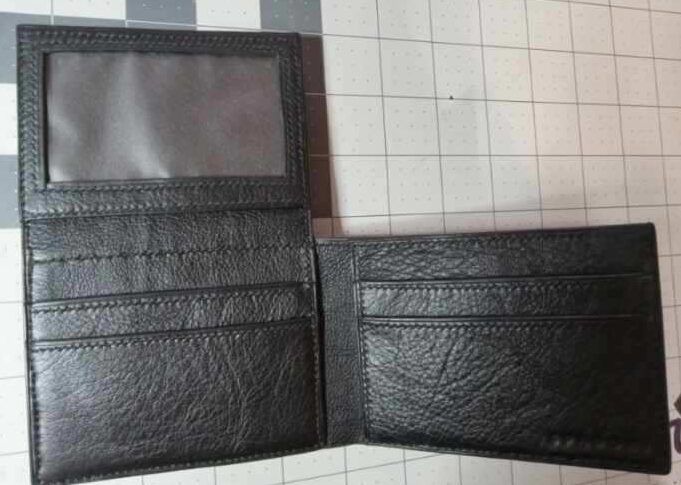
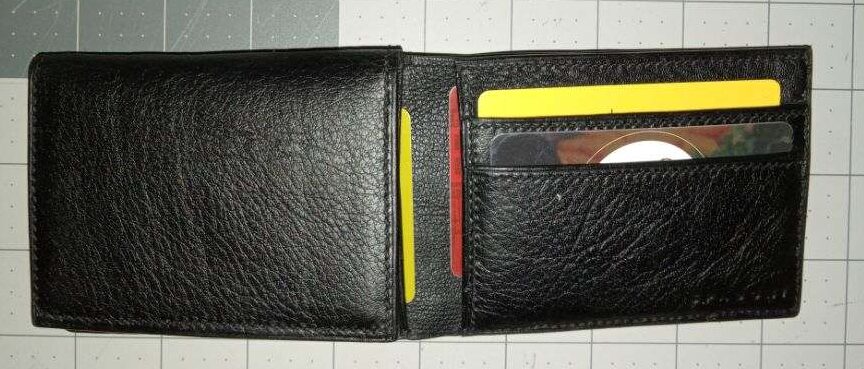
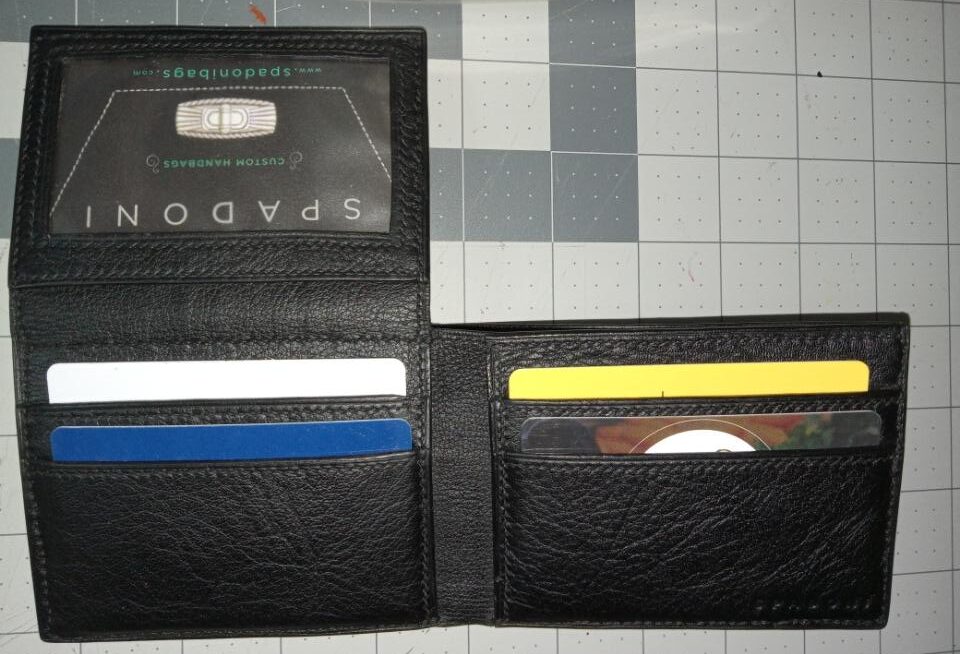
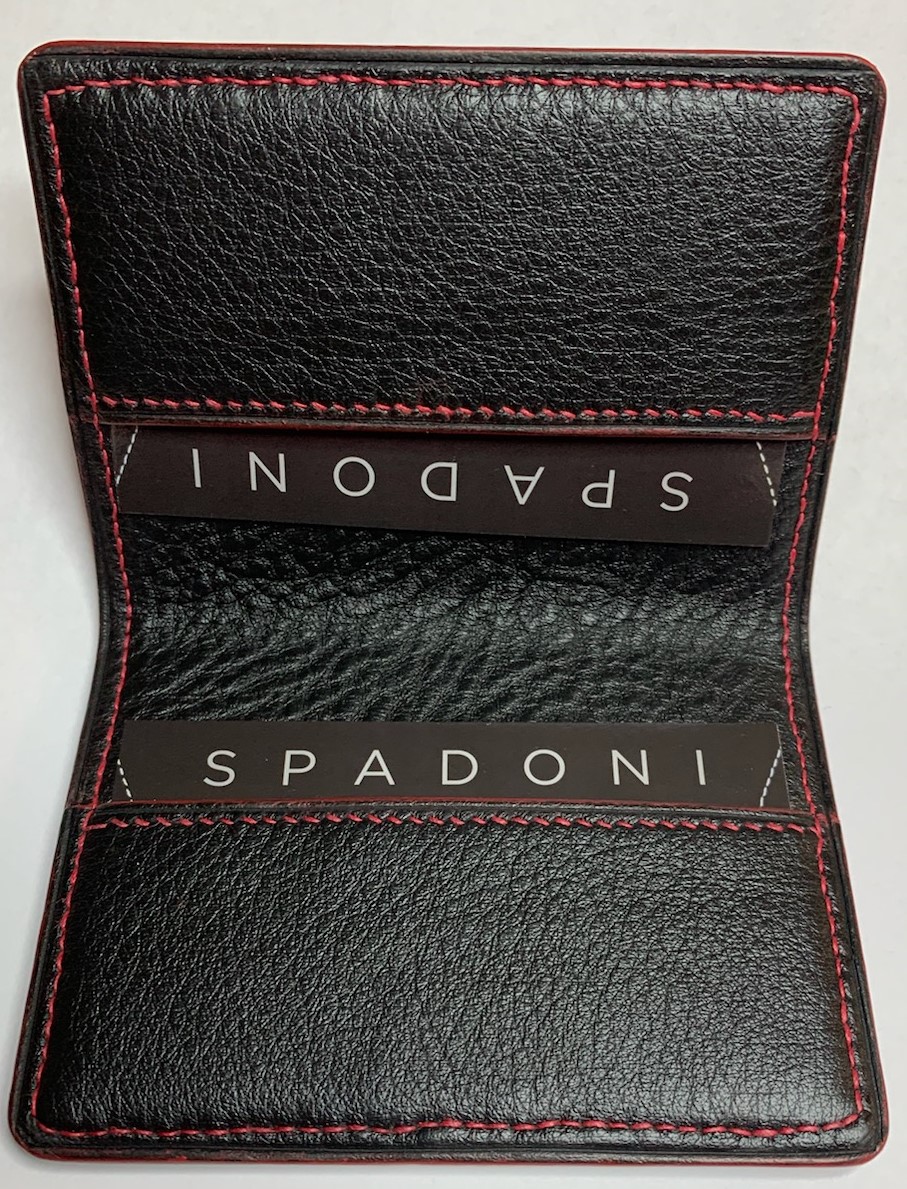
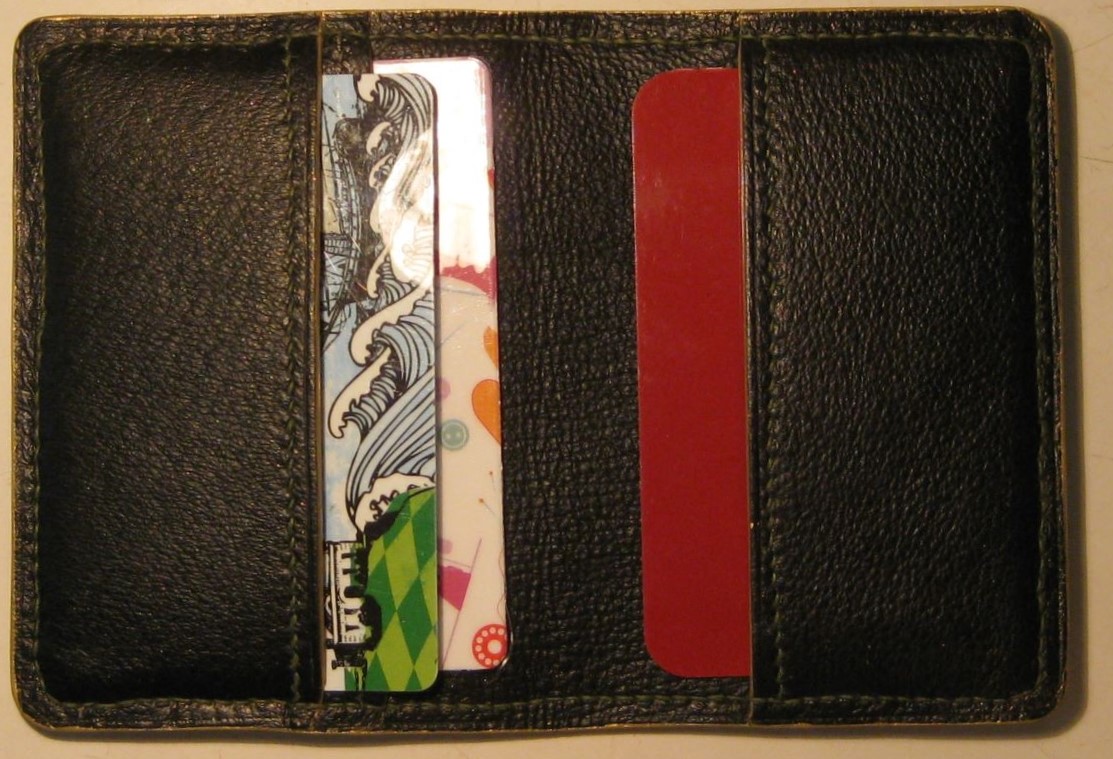
Here is the inside without props.This is the inside too but the id flap on the left is down and the vertical yellow and rust center bits are do demonstrate the two hidden pockets under the two horizontal pockets.
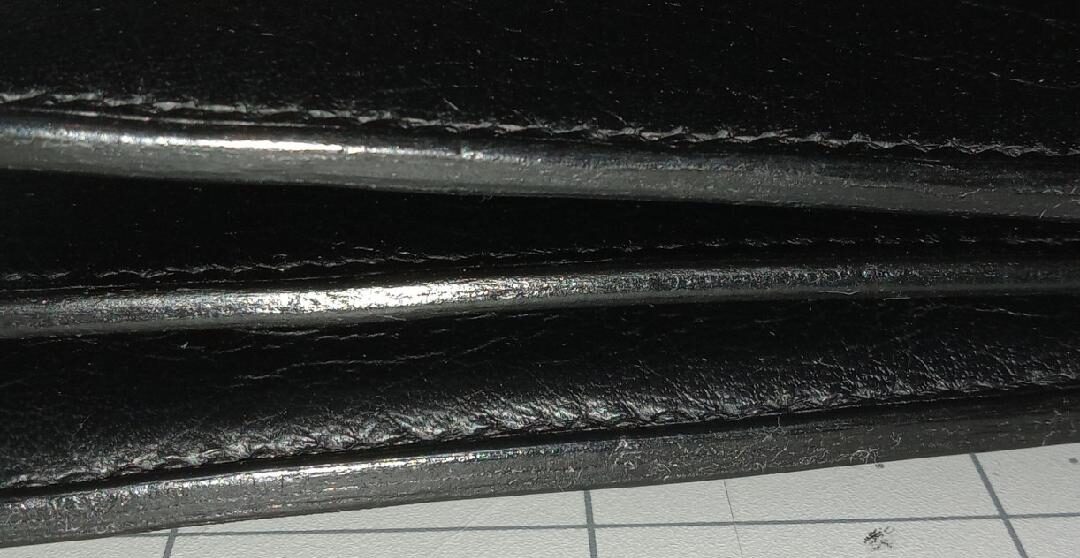
I hand finished the edges and tested the final product for size…
Hard to believe I first started making wallets back in 2016!Regardless time and practice (and retirement) make all the difference in the world. 🙂
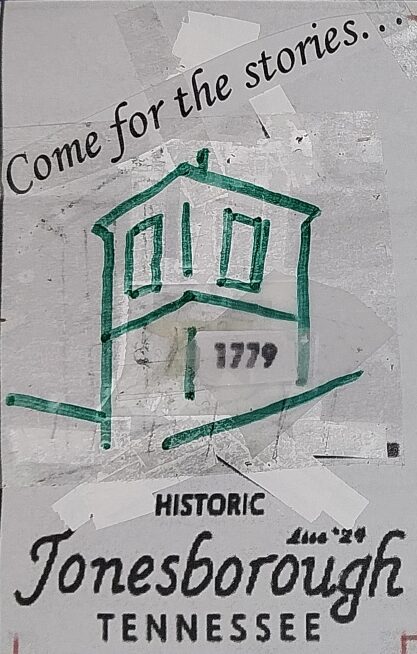
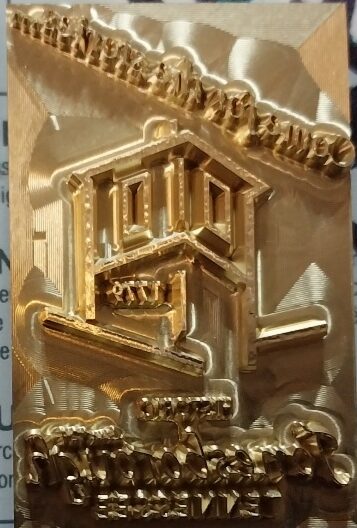
Well Chris P and the Team did it again – turned my crude little sketch of the International Storytelling Center
into a beautiful brass stamp to use with my Regad creaser tool…
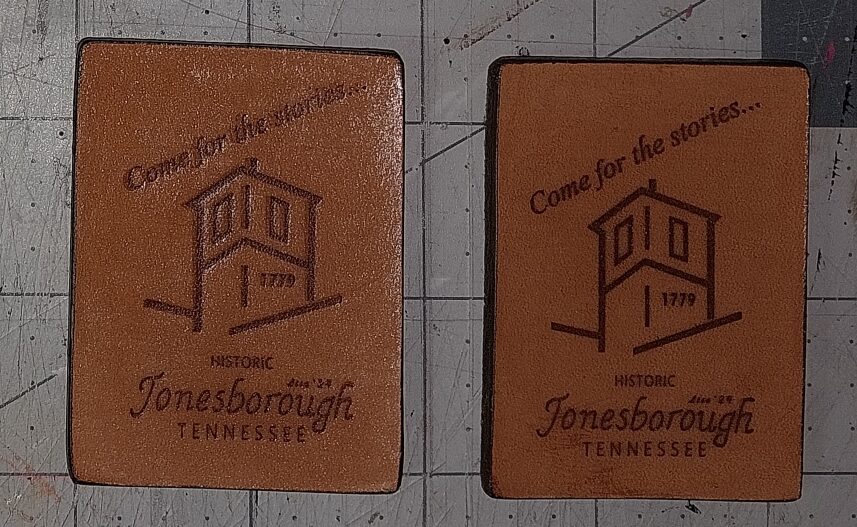
Here are some neat little fridge magnets…
So if you need some quality brass stamps, reach out to Chris and the Team an amazing, professional and personable group of folks to work with. Thank you Chris and the Team!
Made a crude sketch of the iconic courthouse and had it made into a leather stamp…some tests with temperature, foils and different types of leather. More practice needed 🙂
It works with archival ink too! I will have to take more pics.
Many thanks to Chris P., John B., and Evelyn S. over at Durable Mecco/VisiMark.com! Each of them (and likely others behind the scenes) made the time to work with me to make my idea a reality. I highly recommend them.
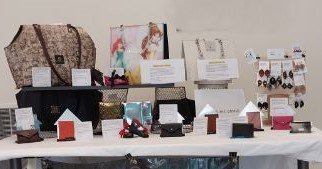
Lots of foot traffic, good feedback and possible leads – great experience – worked three months to get the projects done (not all are pictured) and most were new designs. Now time to decompress and enjoy retirement!
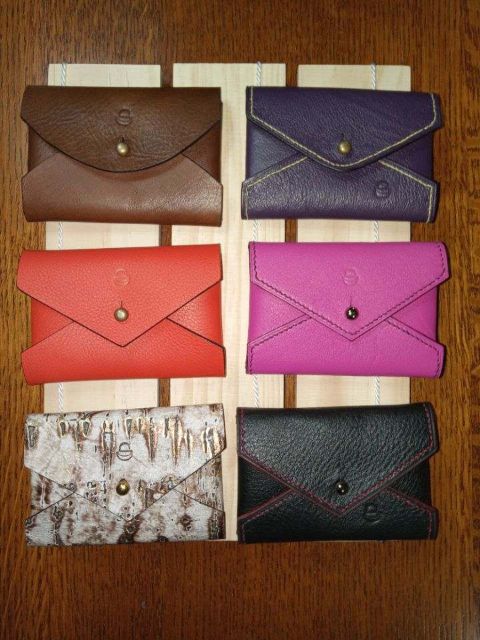
New envelope card holder/wallets; plain and stitched.
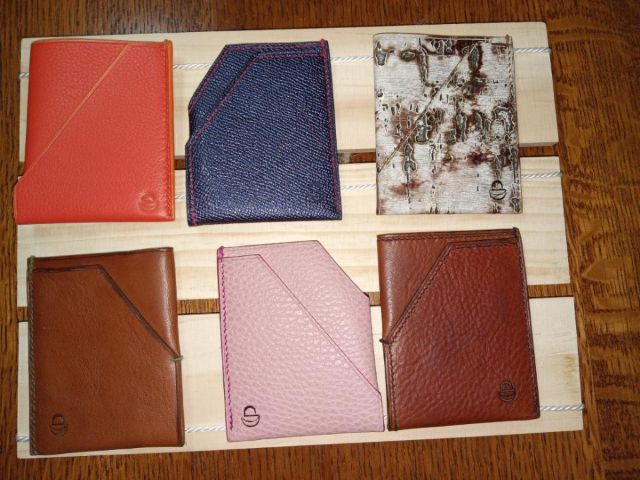
Minimalist style card holders.
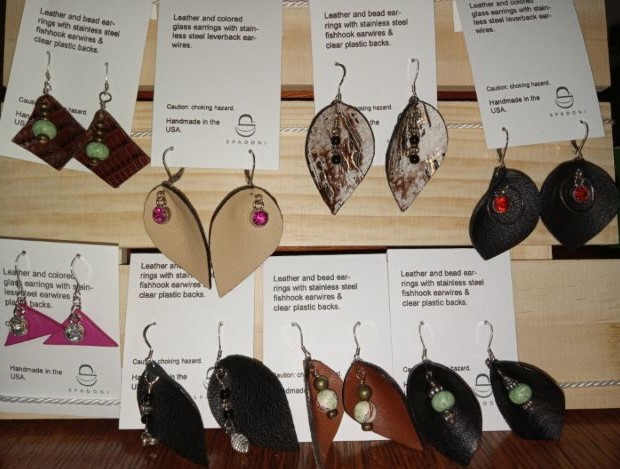
Stainless steel wire earrings crafted with scrap leather and new and upcycled costume jewelry.
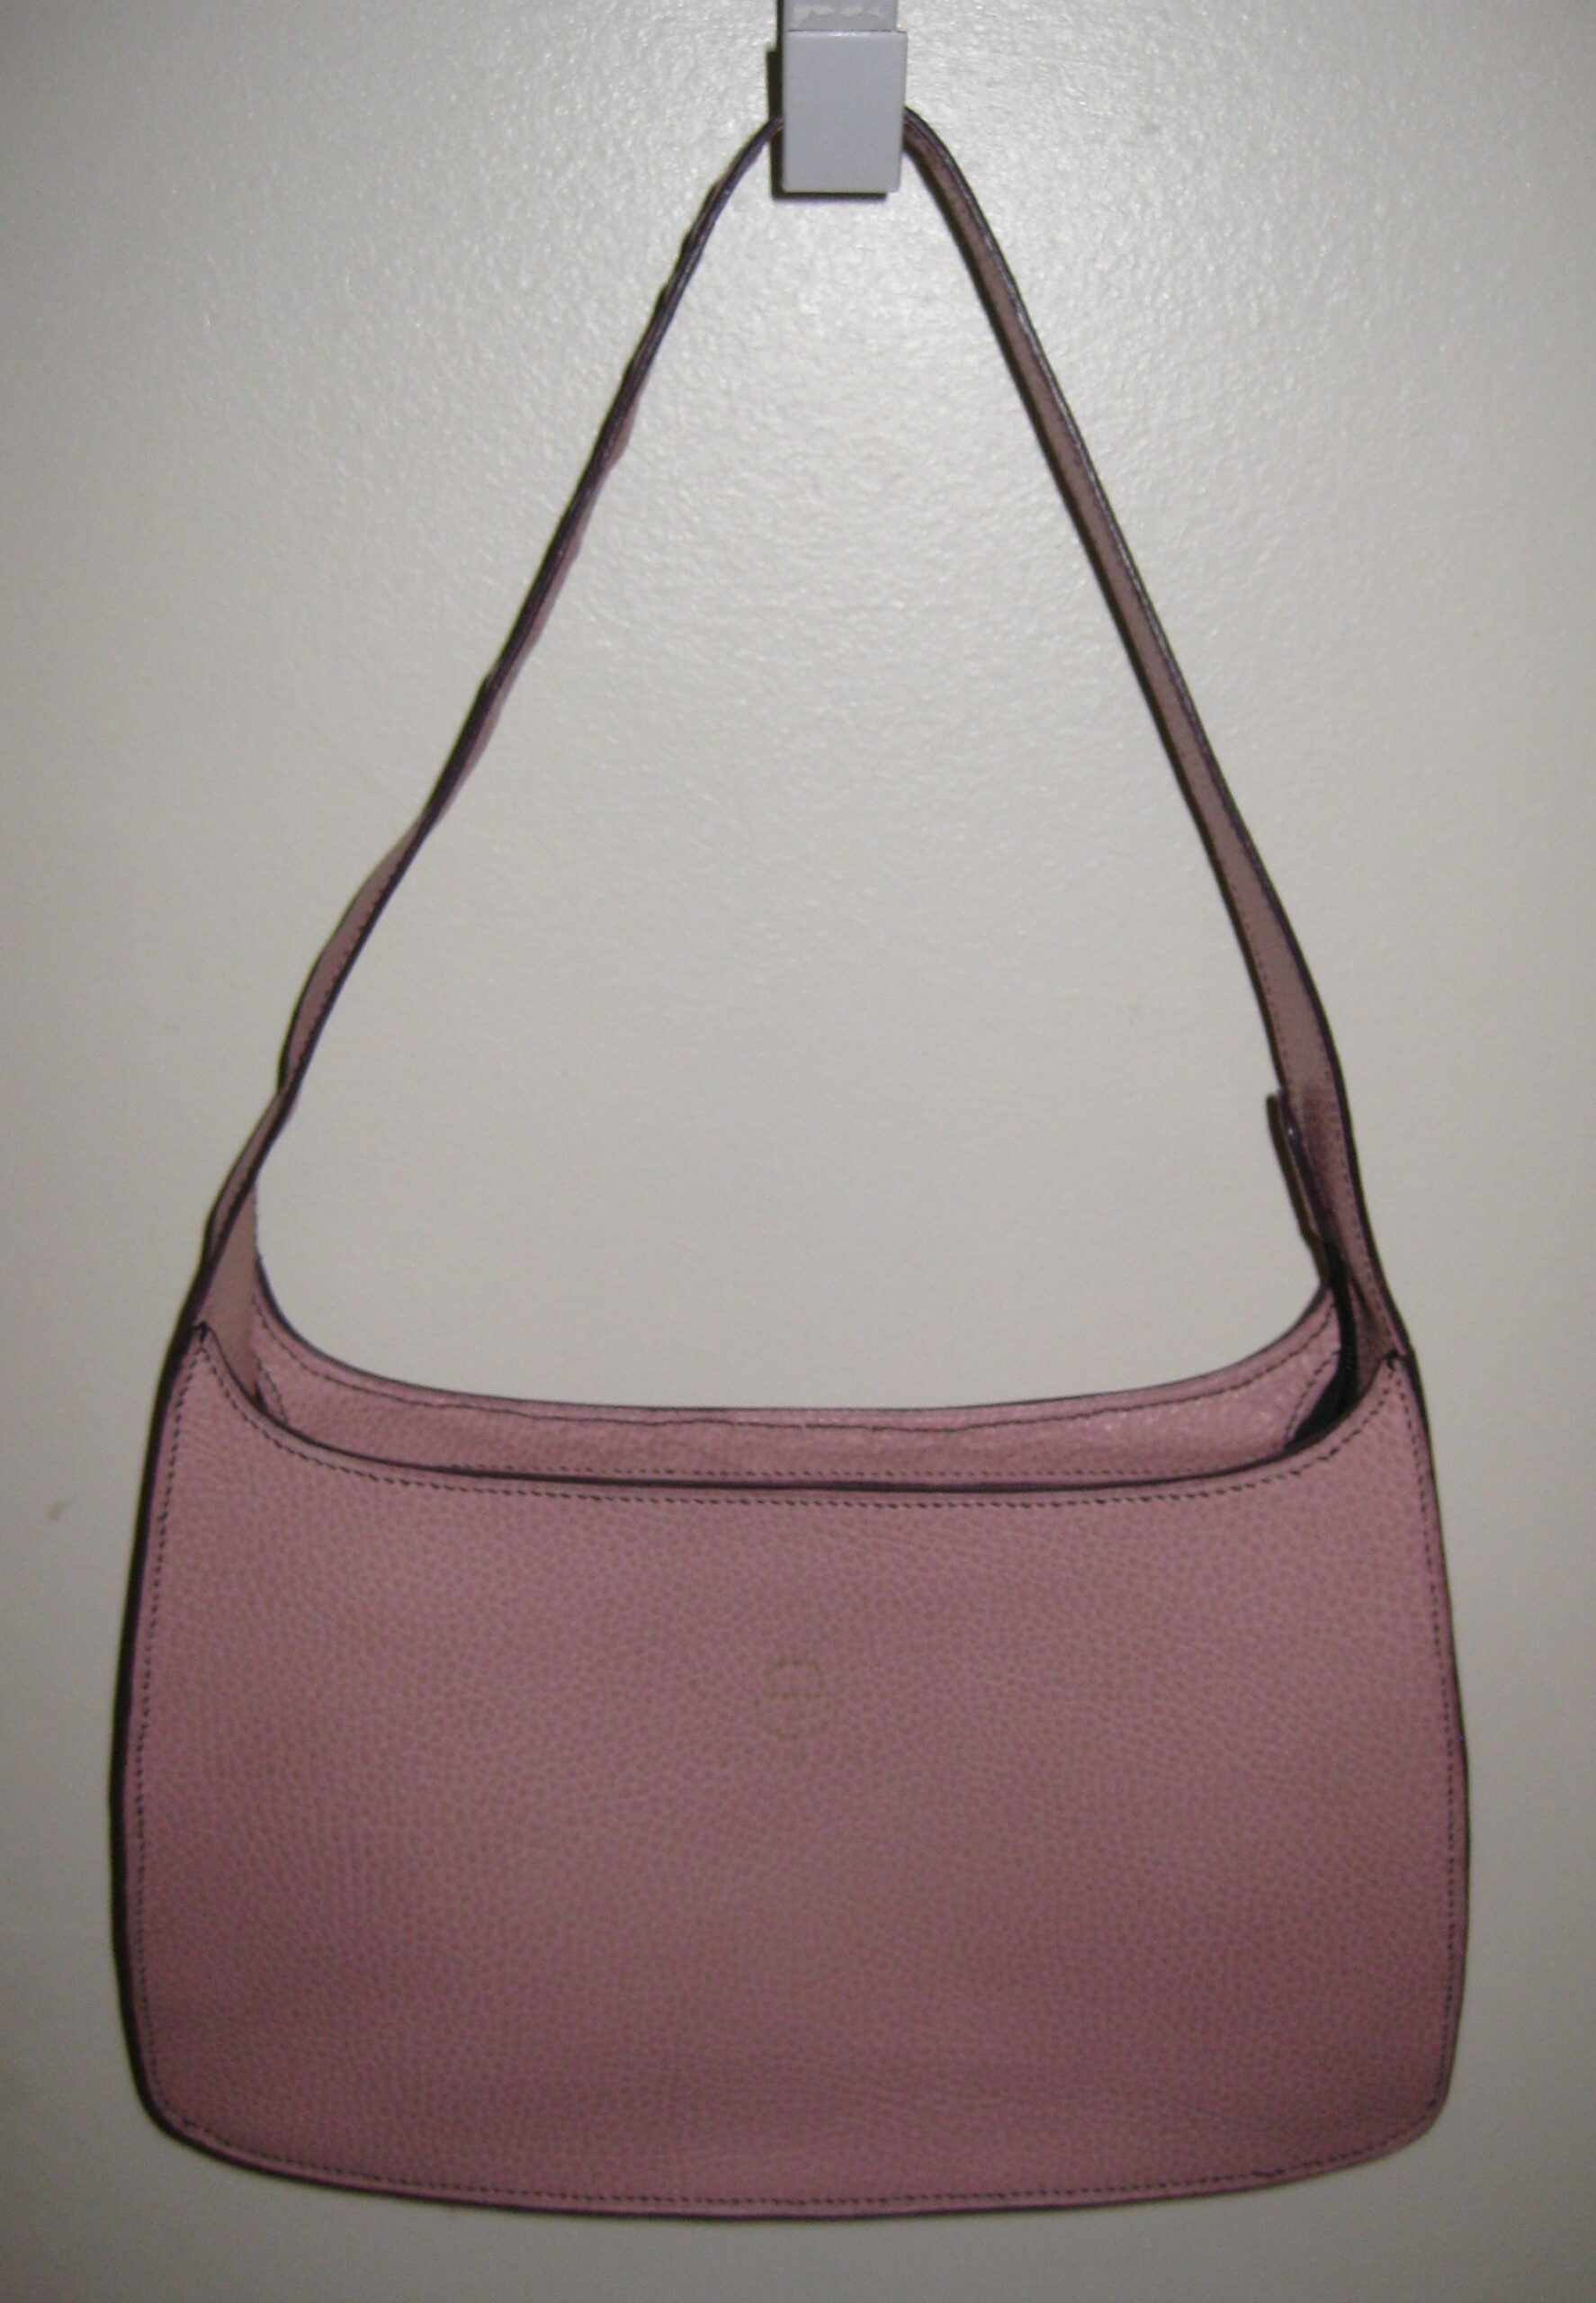
This was to thank a family friend who knows of my hobby and generously donated an old handbag with nice hardware I can upcycle into a new bag.
I split a remnant piece of black chaps leather for all the visible parts. The pocked backs (not visible) are recycled garment leather (from a skirt); hand stitched with sage green linen thread and finished with gold edge paint.
Interior has three pockets.Profile – finished with metallic gold edge paint and burnished.
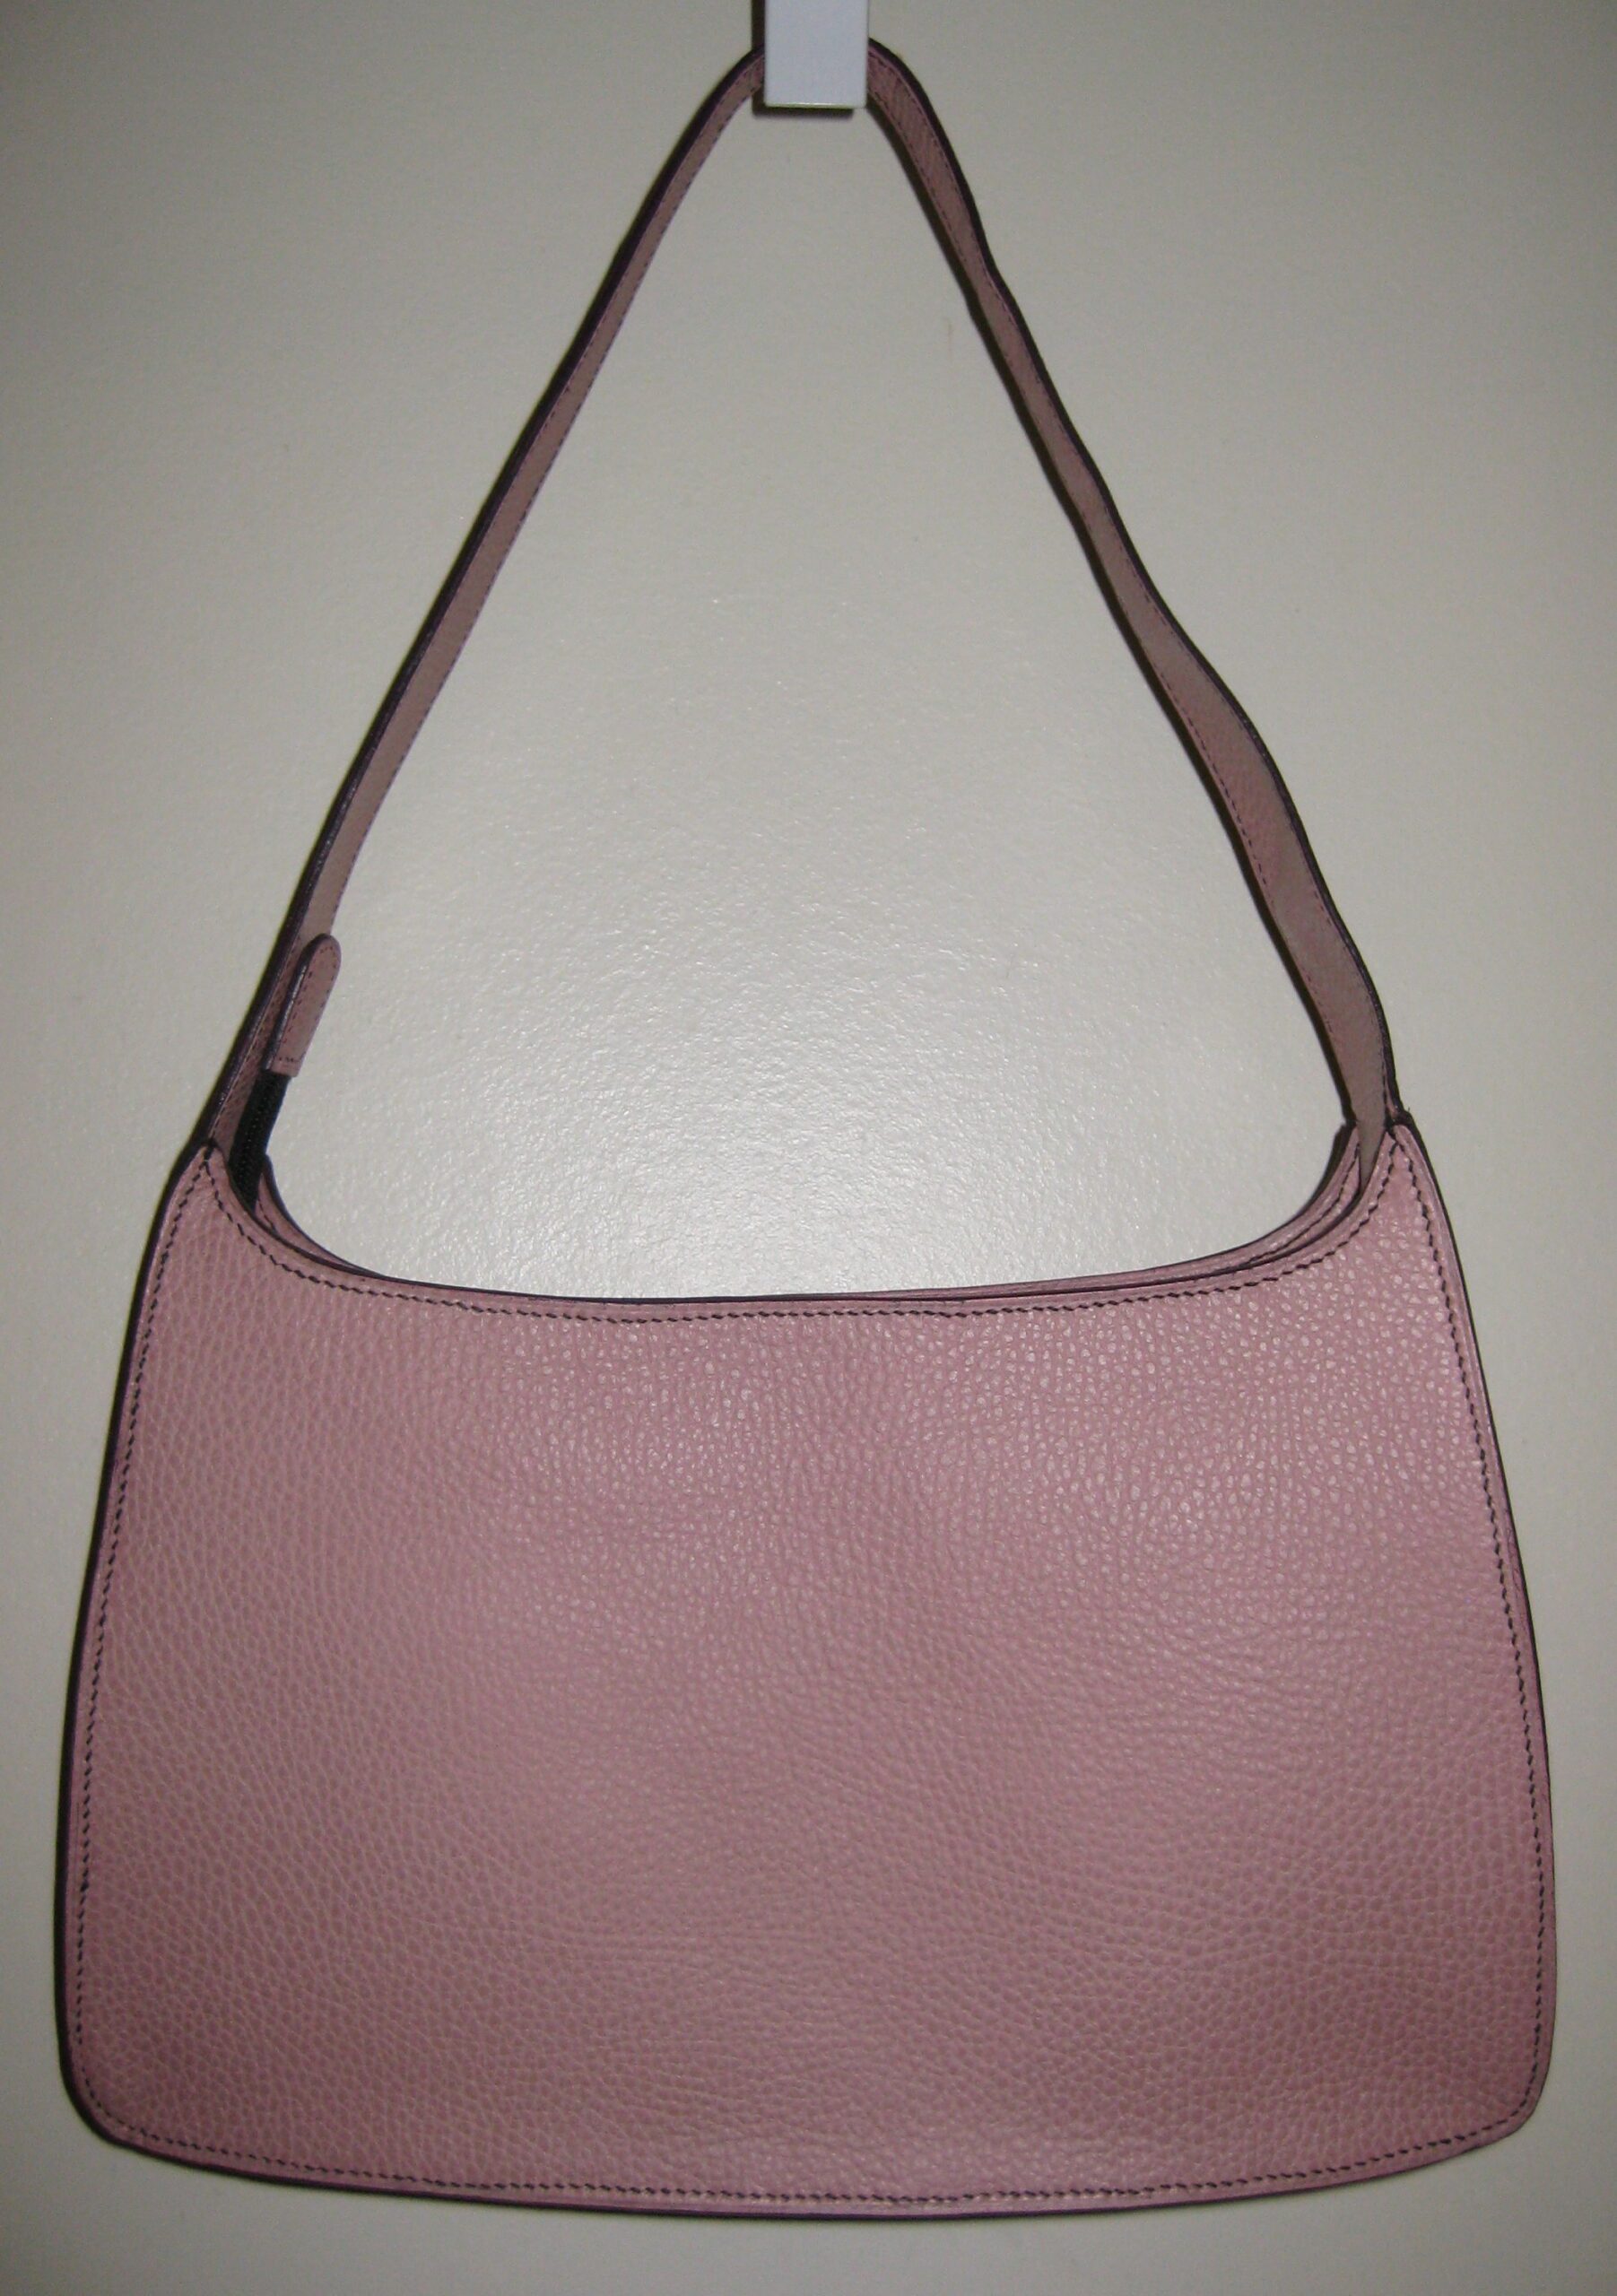
The main difference between the front and the back is the front view has my logo; it was more difficult to add my logo on this textured leather.
Back view
Other than that, the front and back views of this version of the Cana are basically the same.
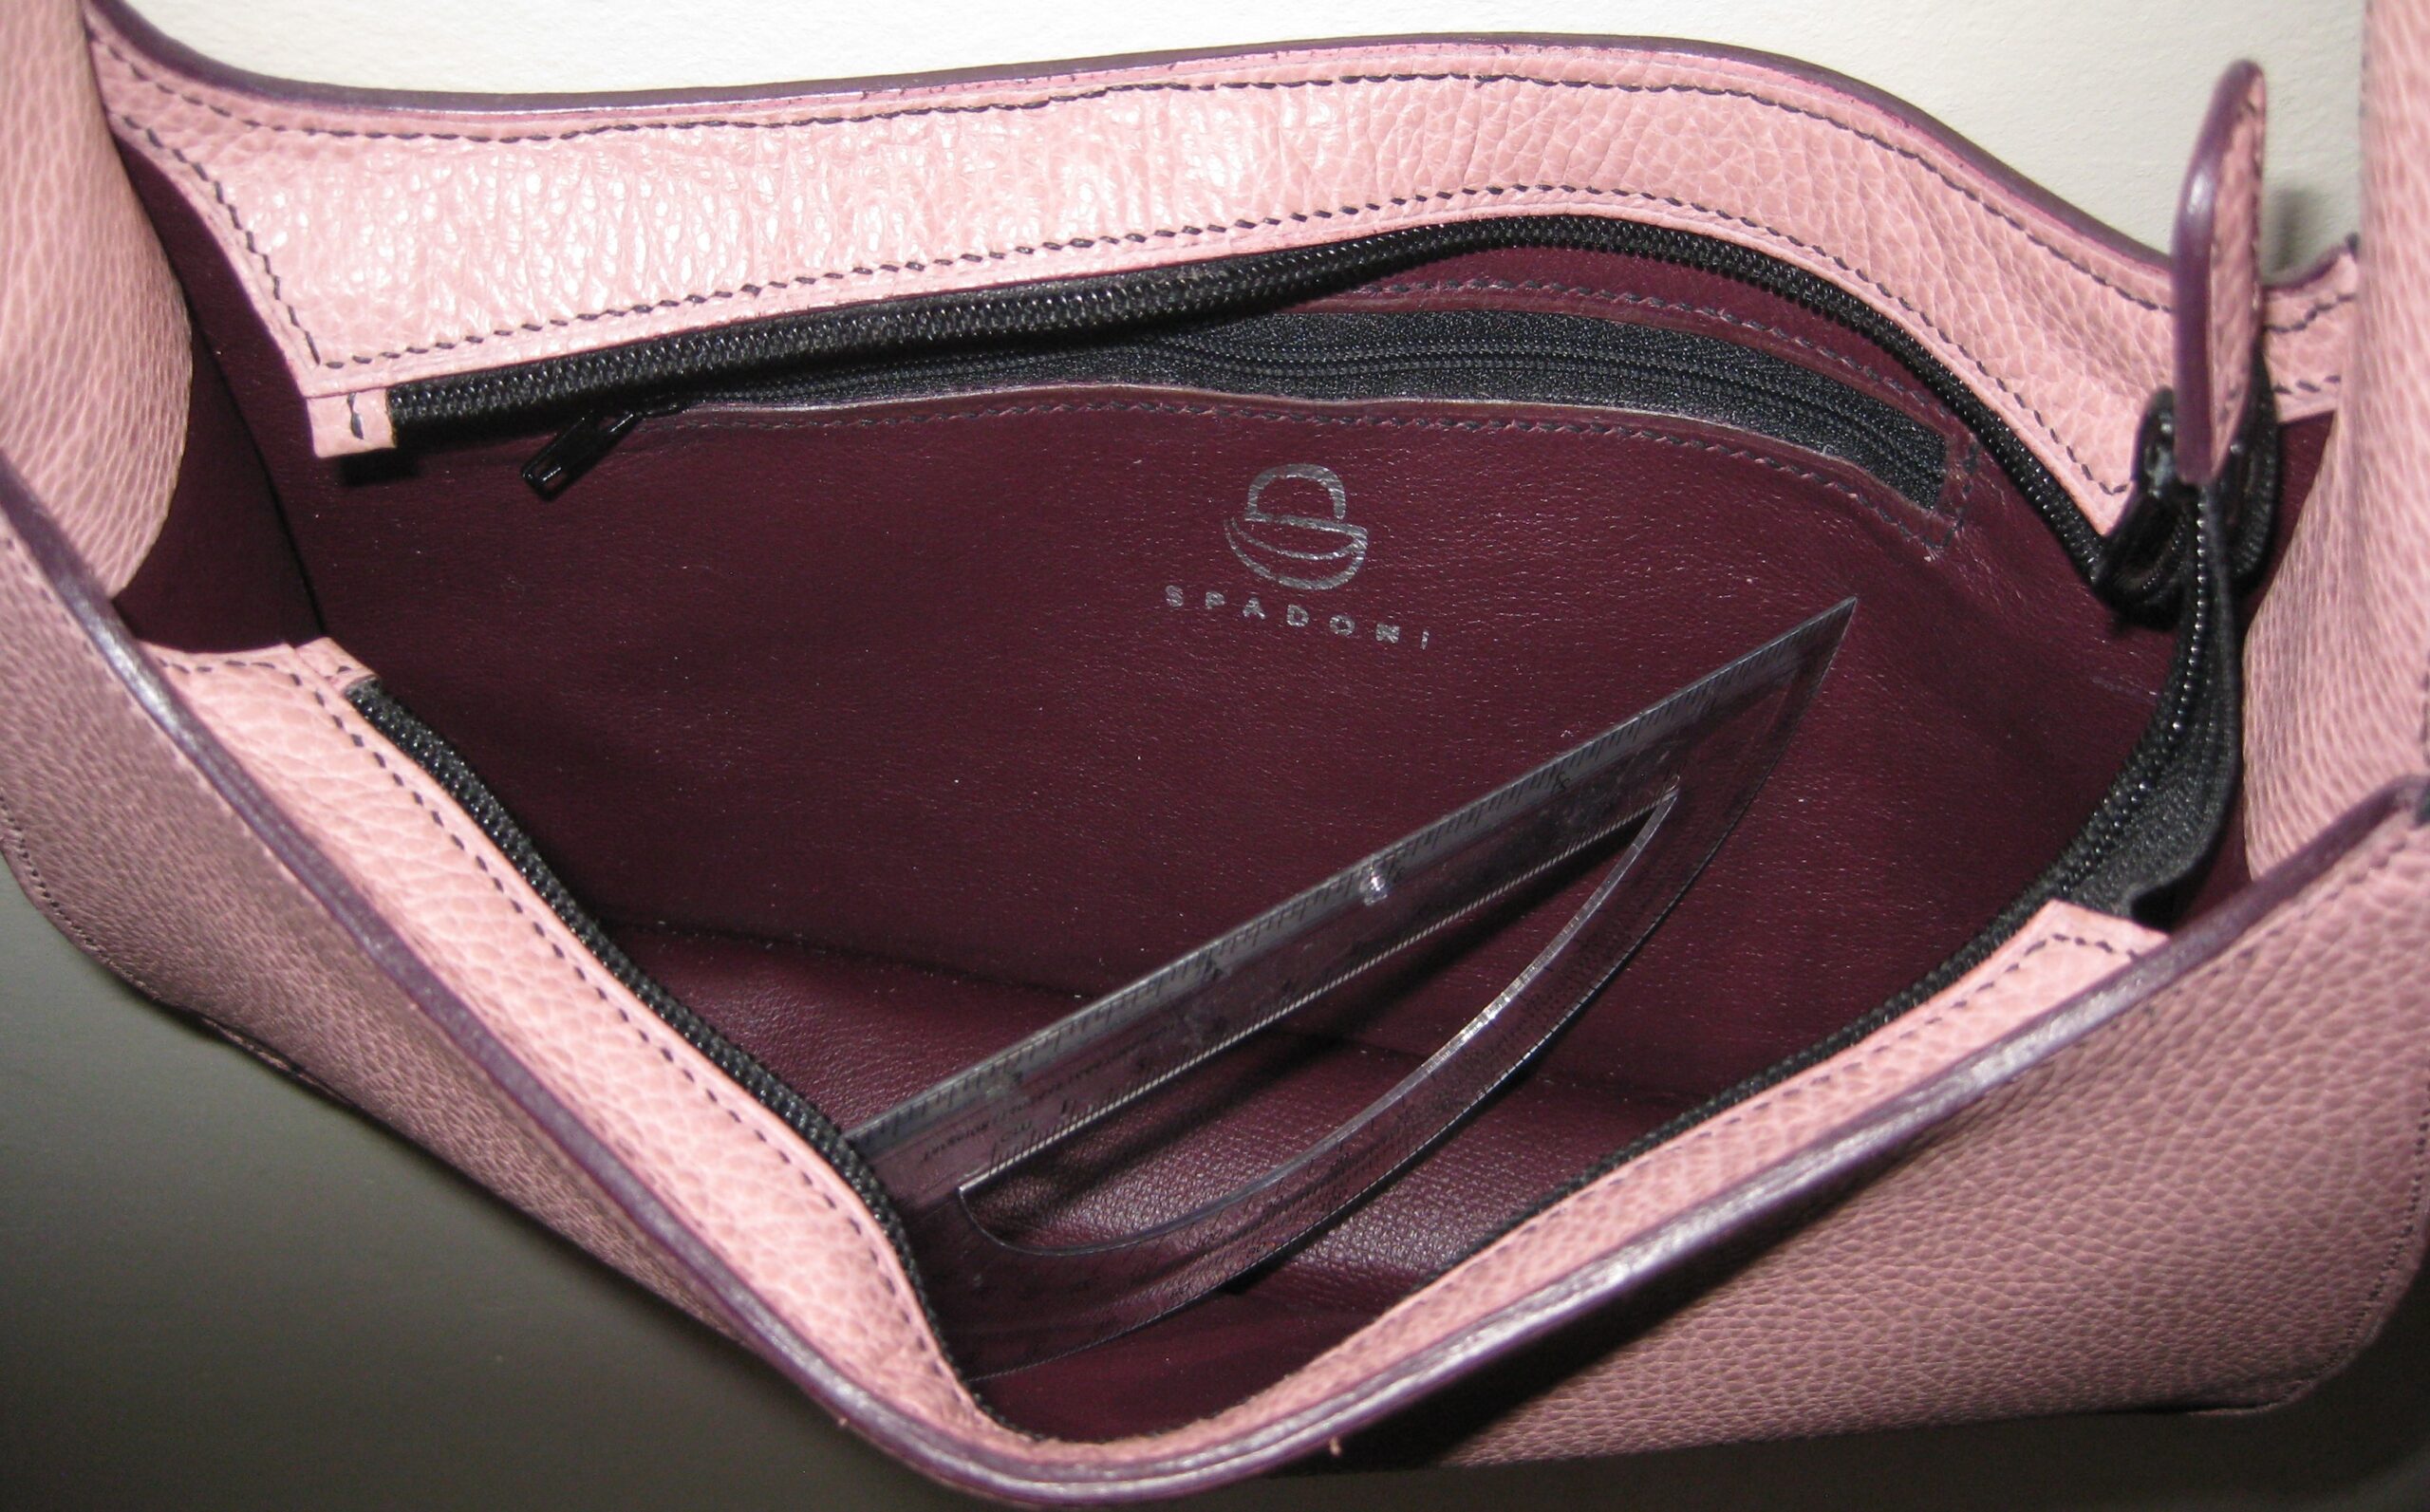
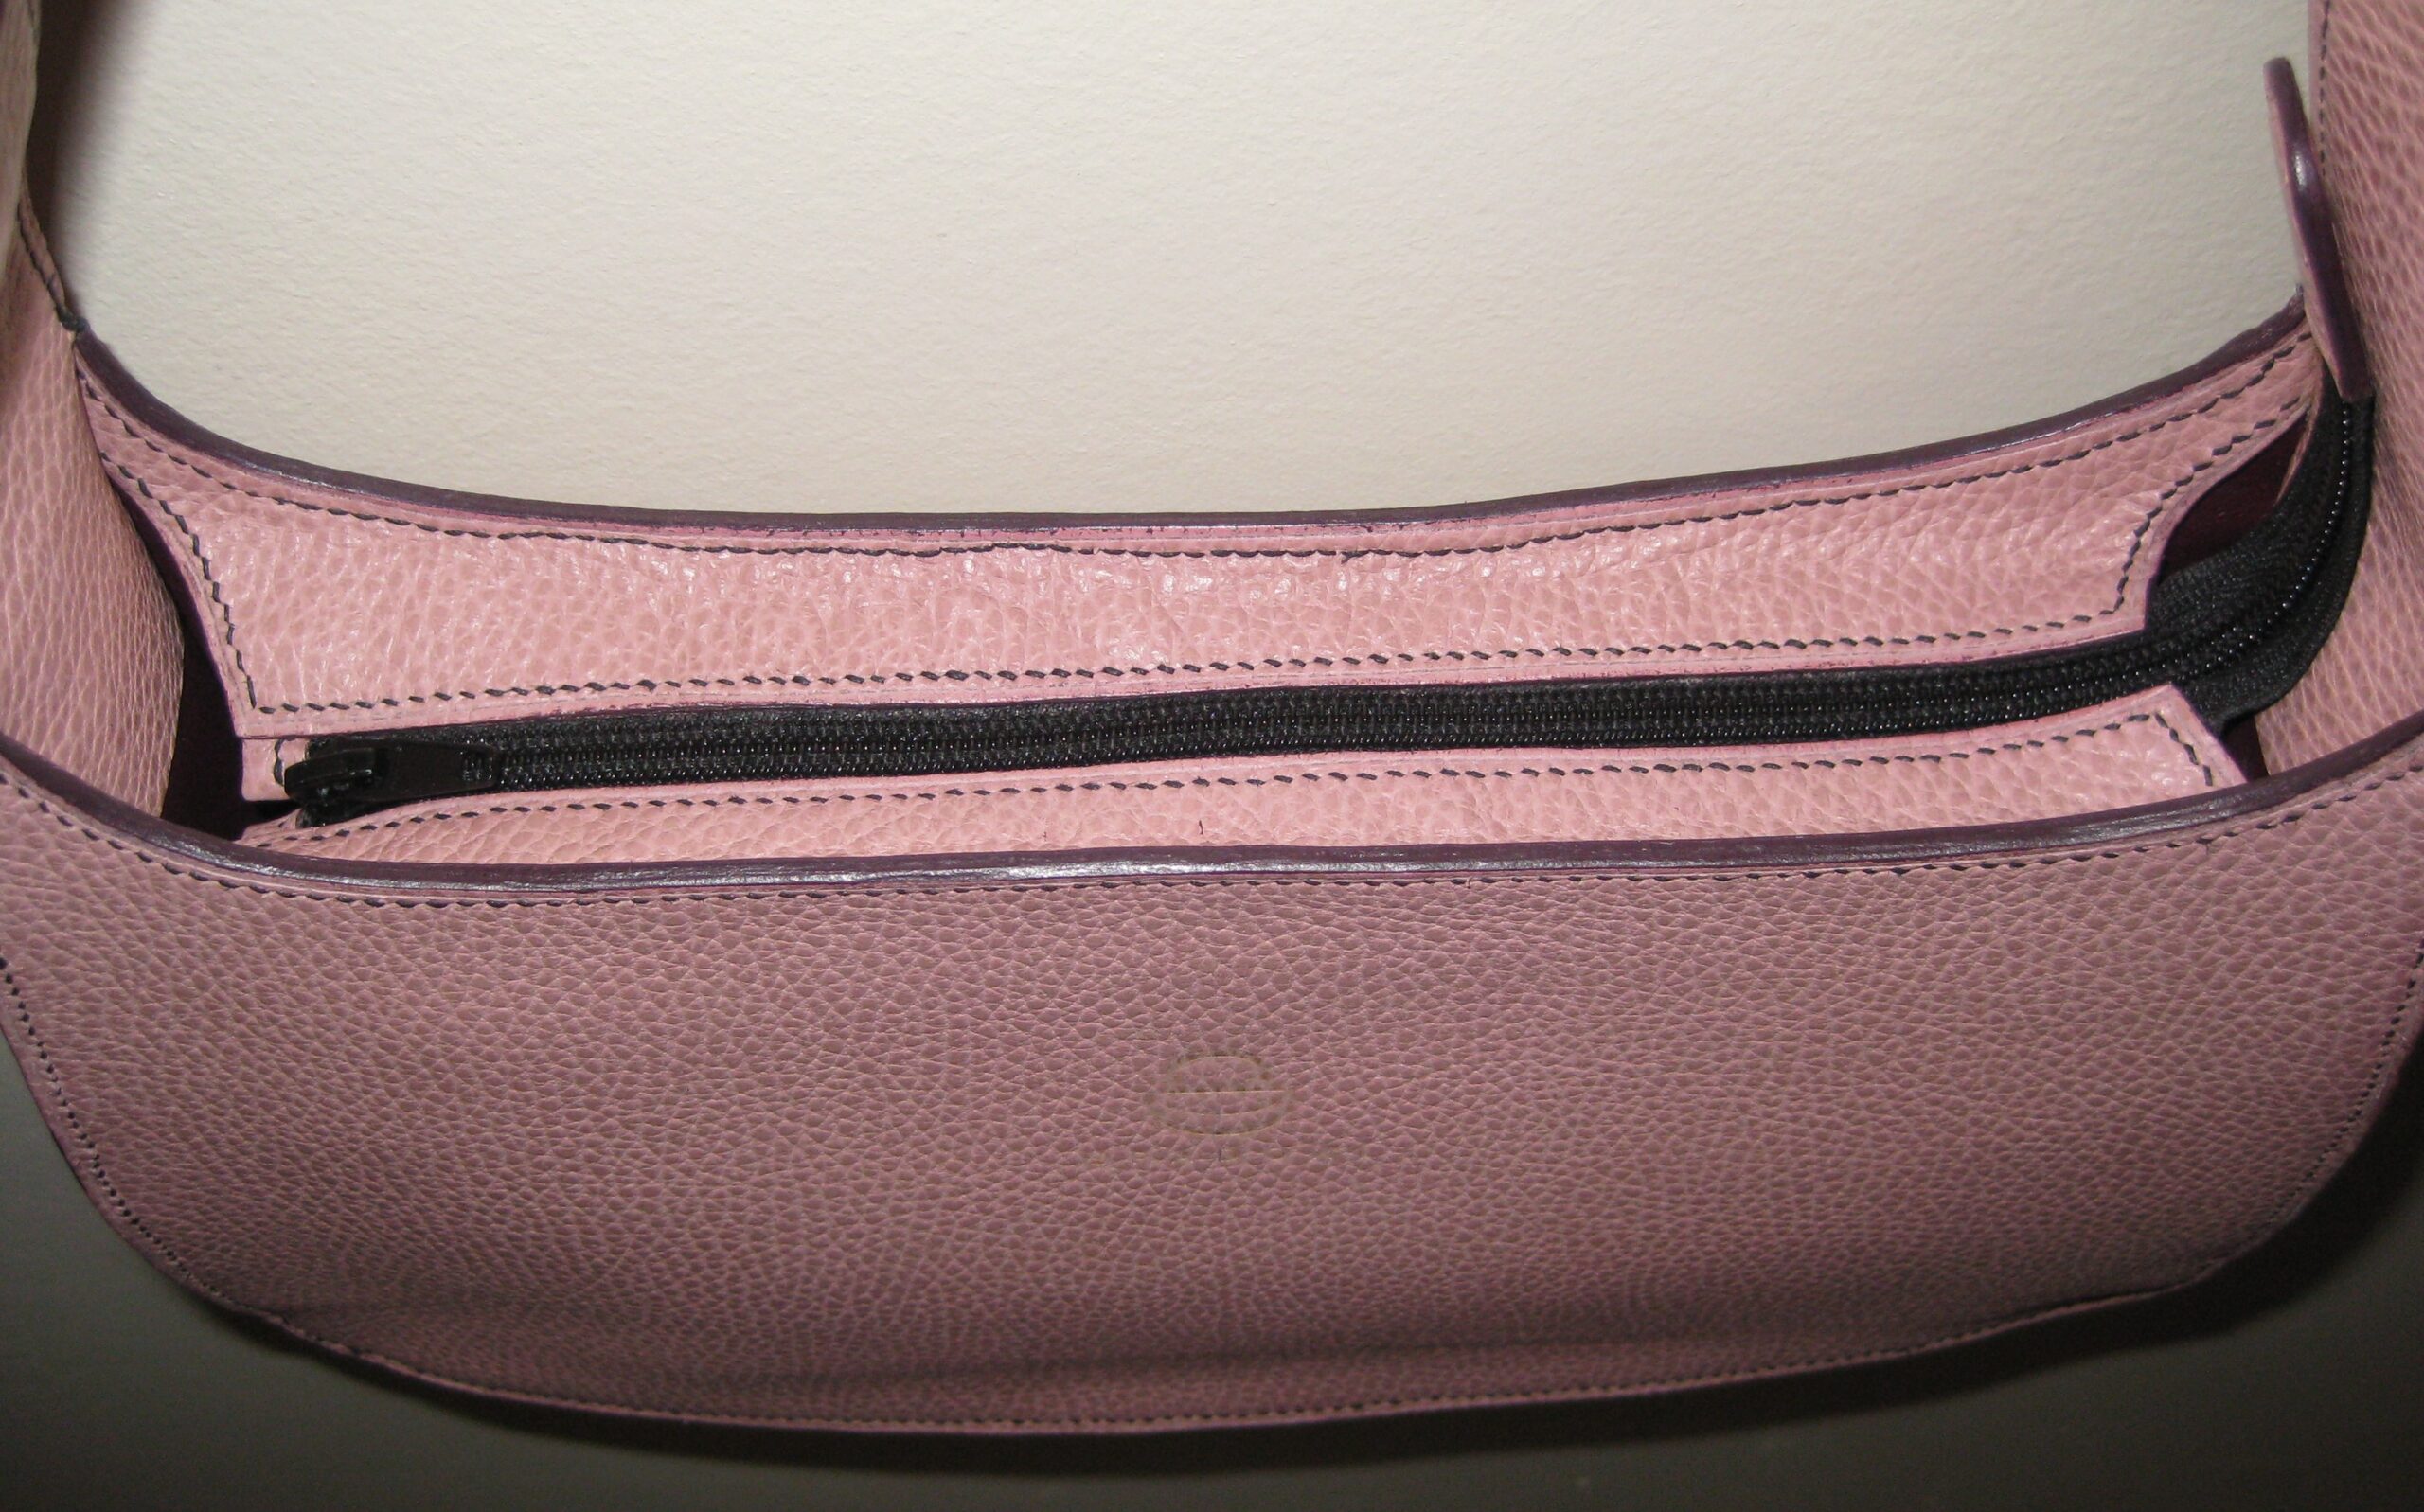
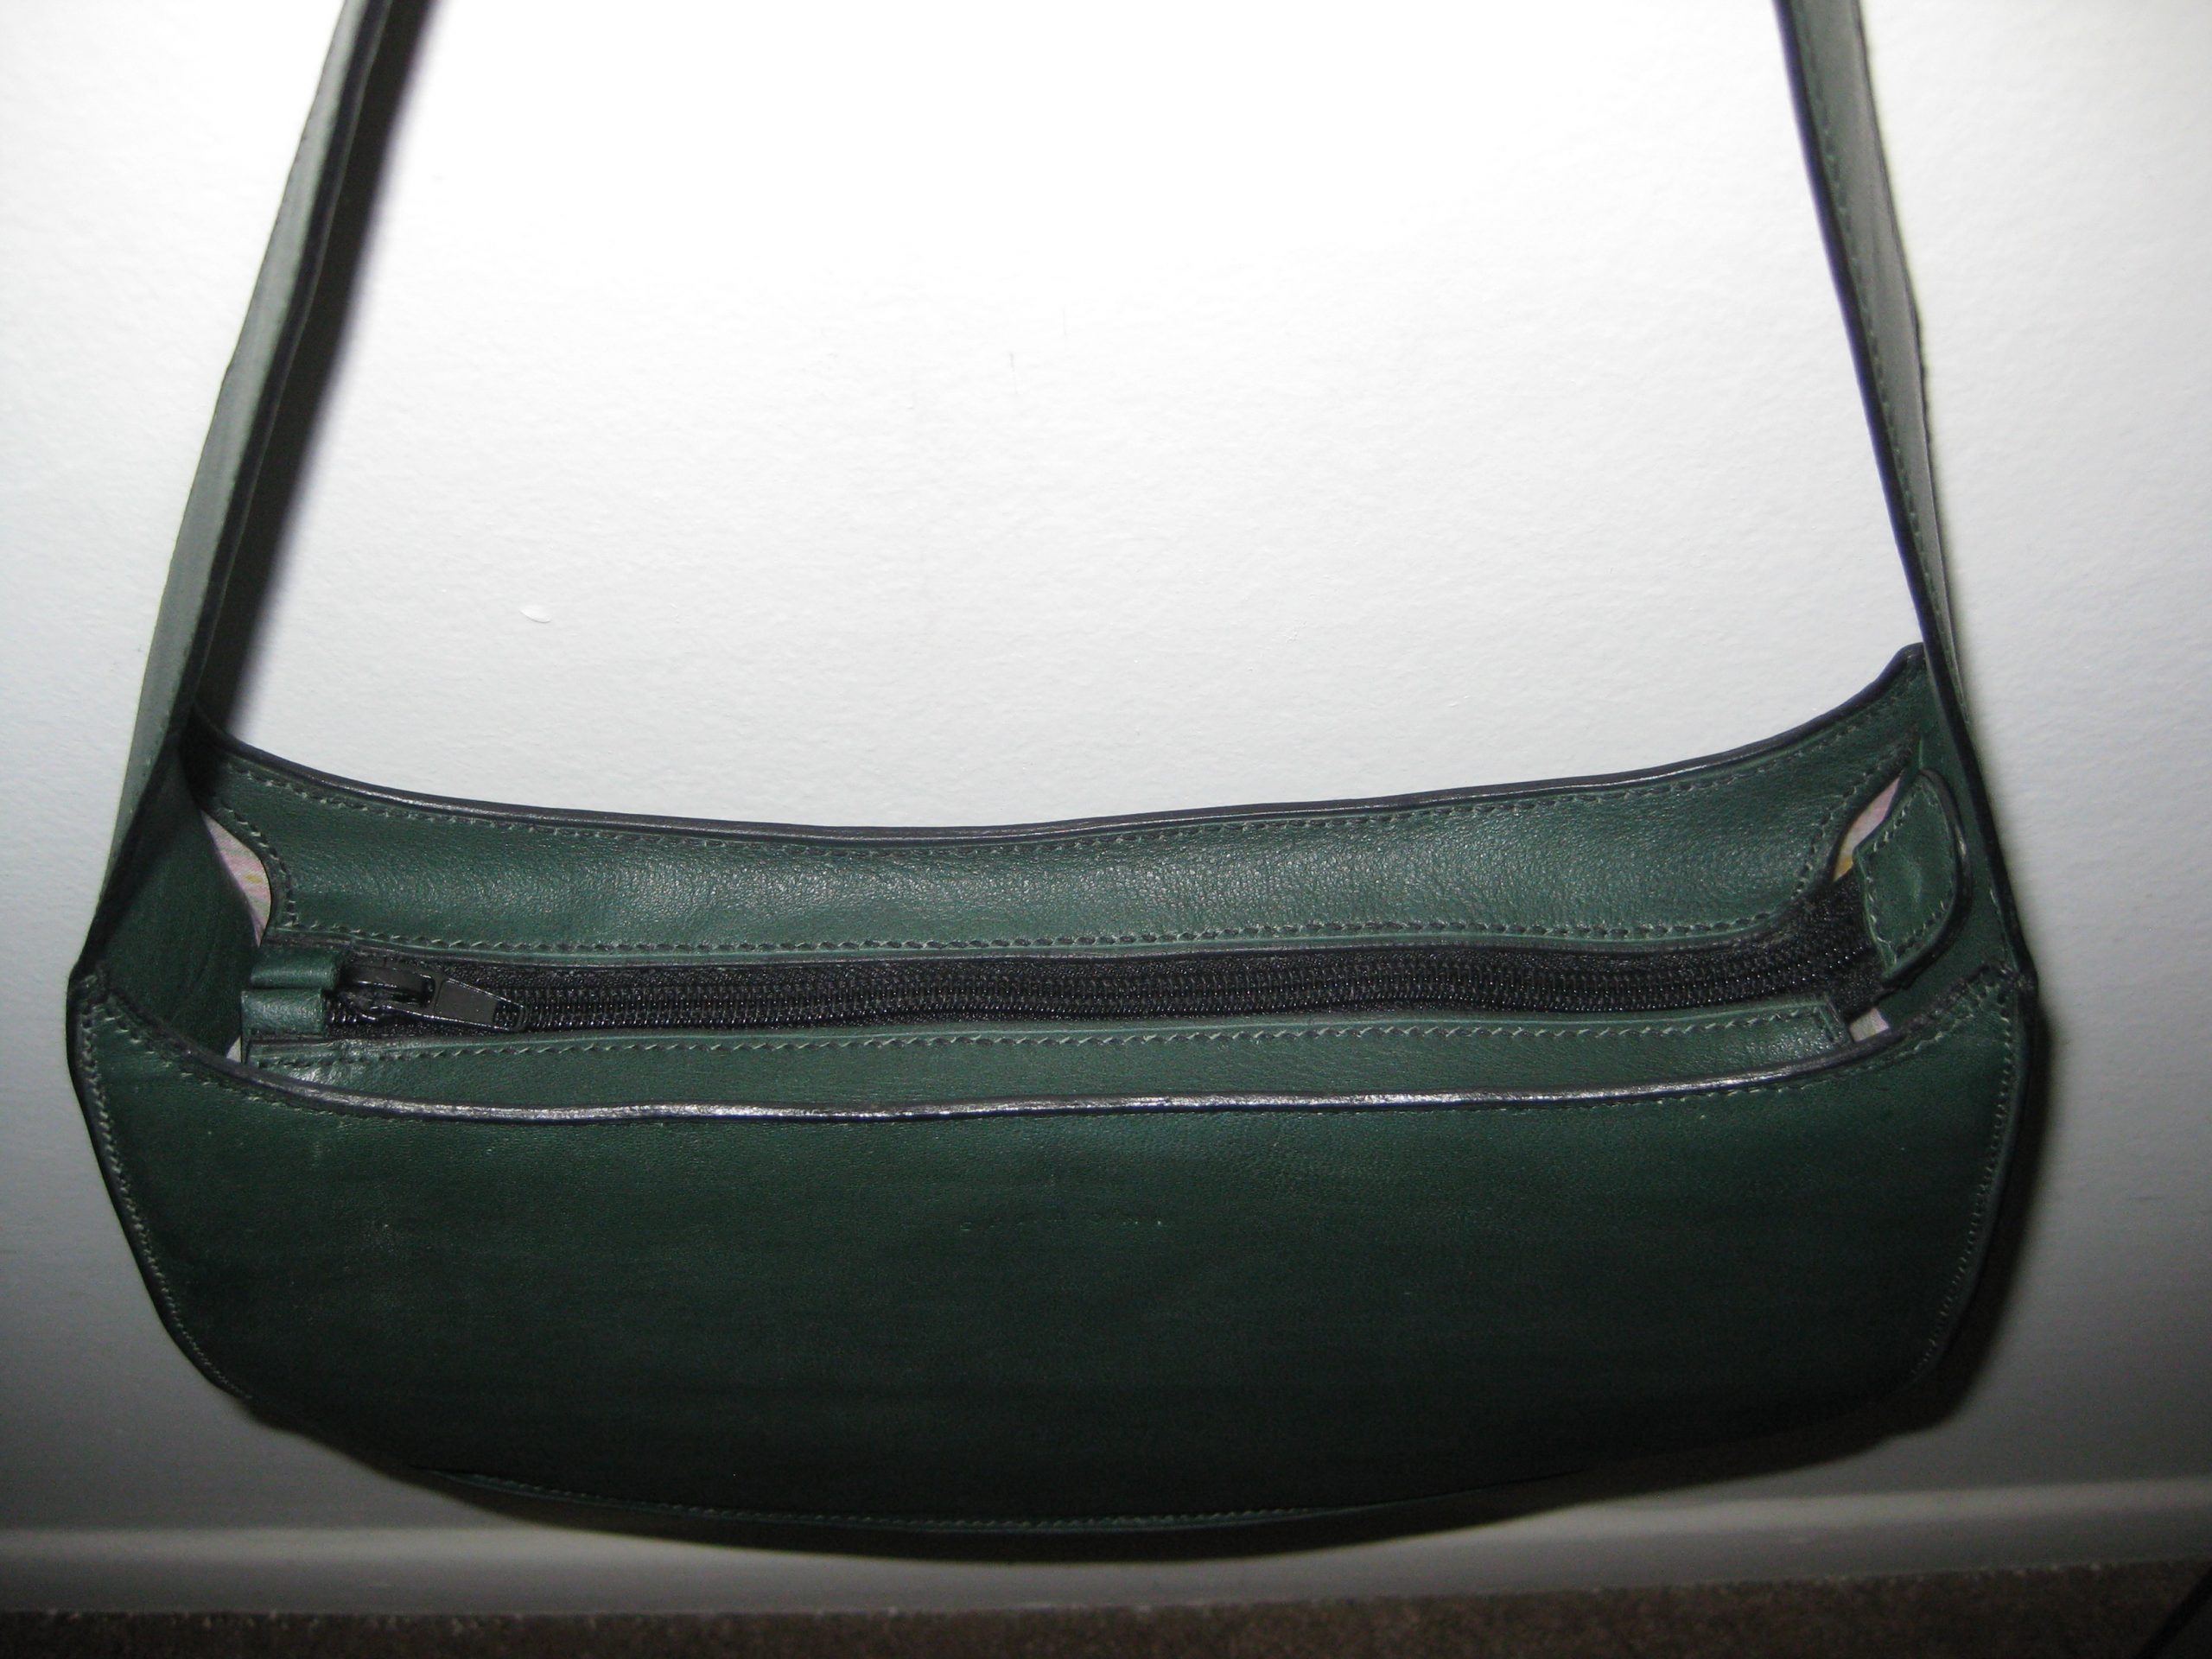
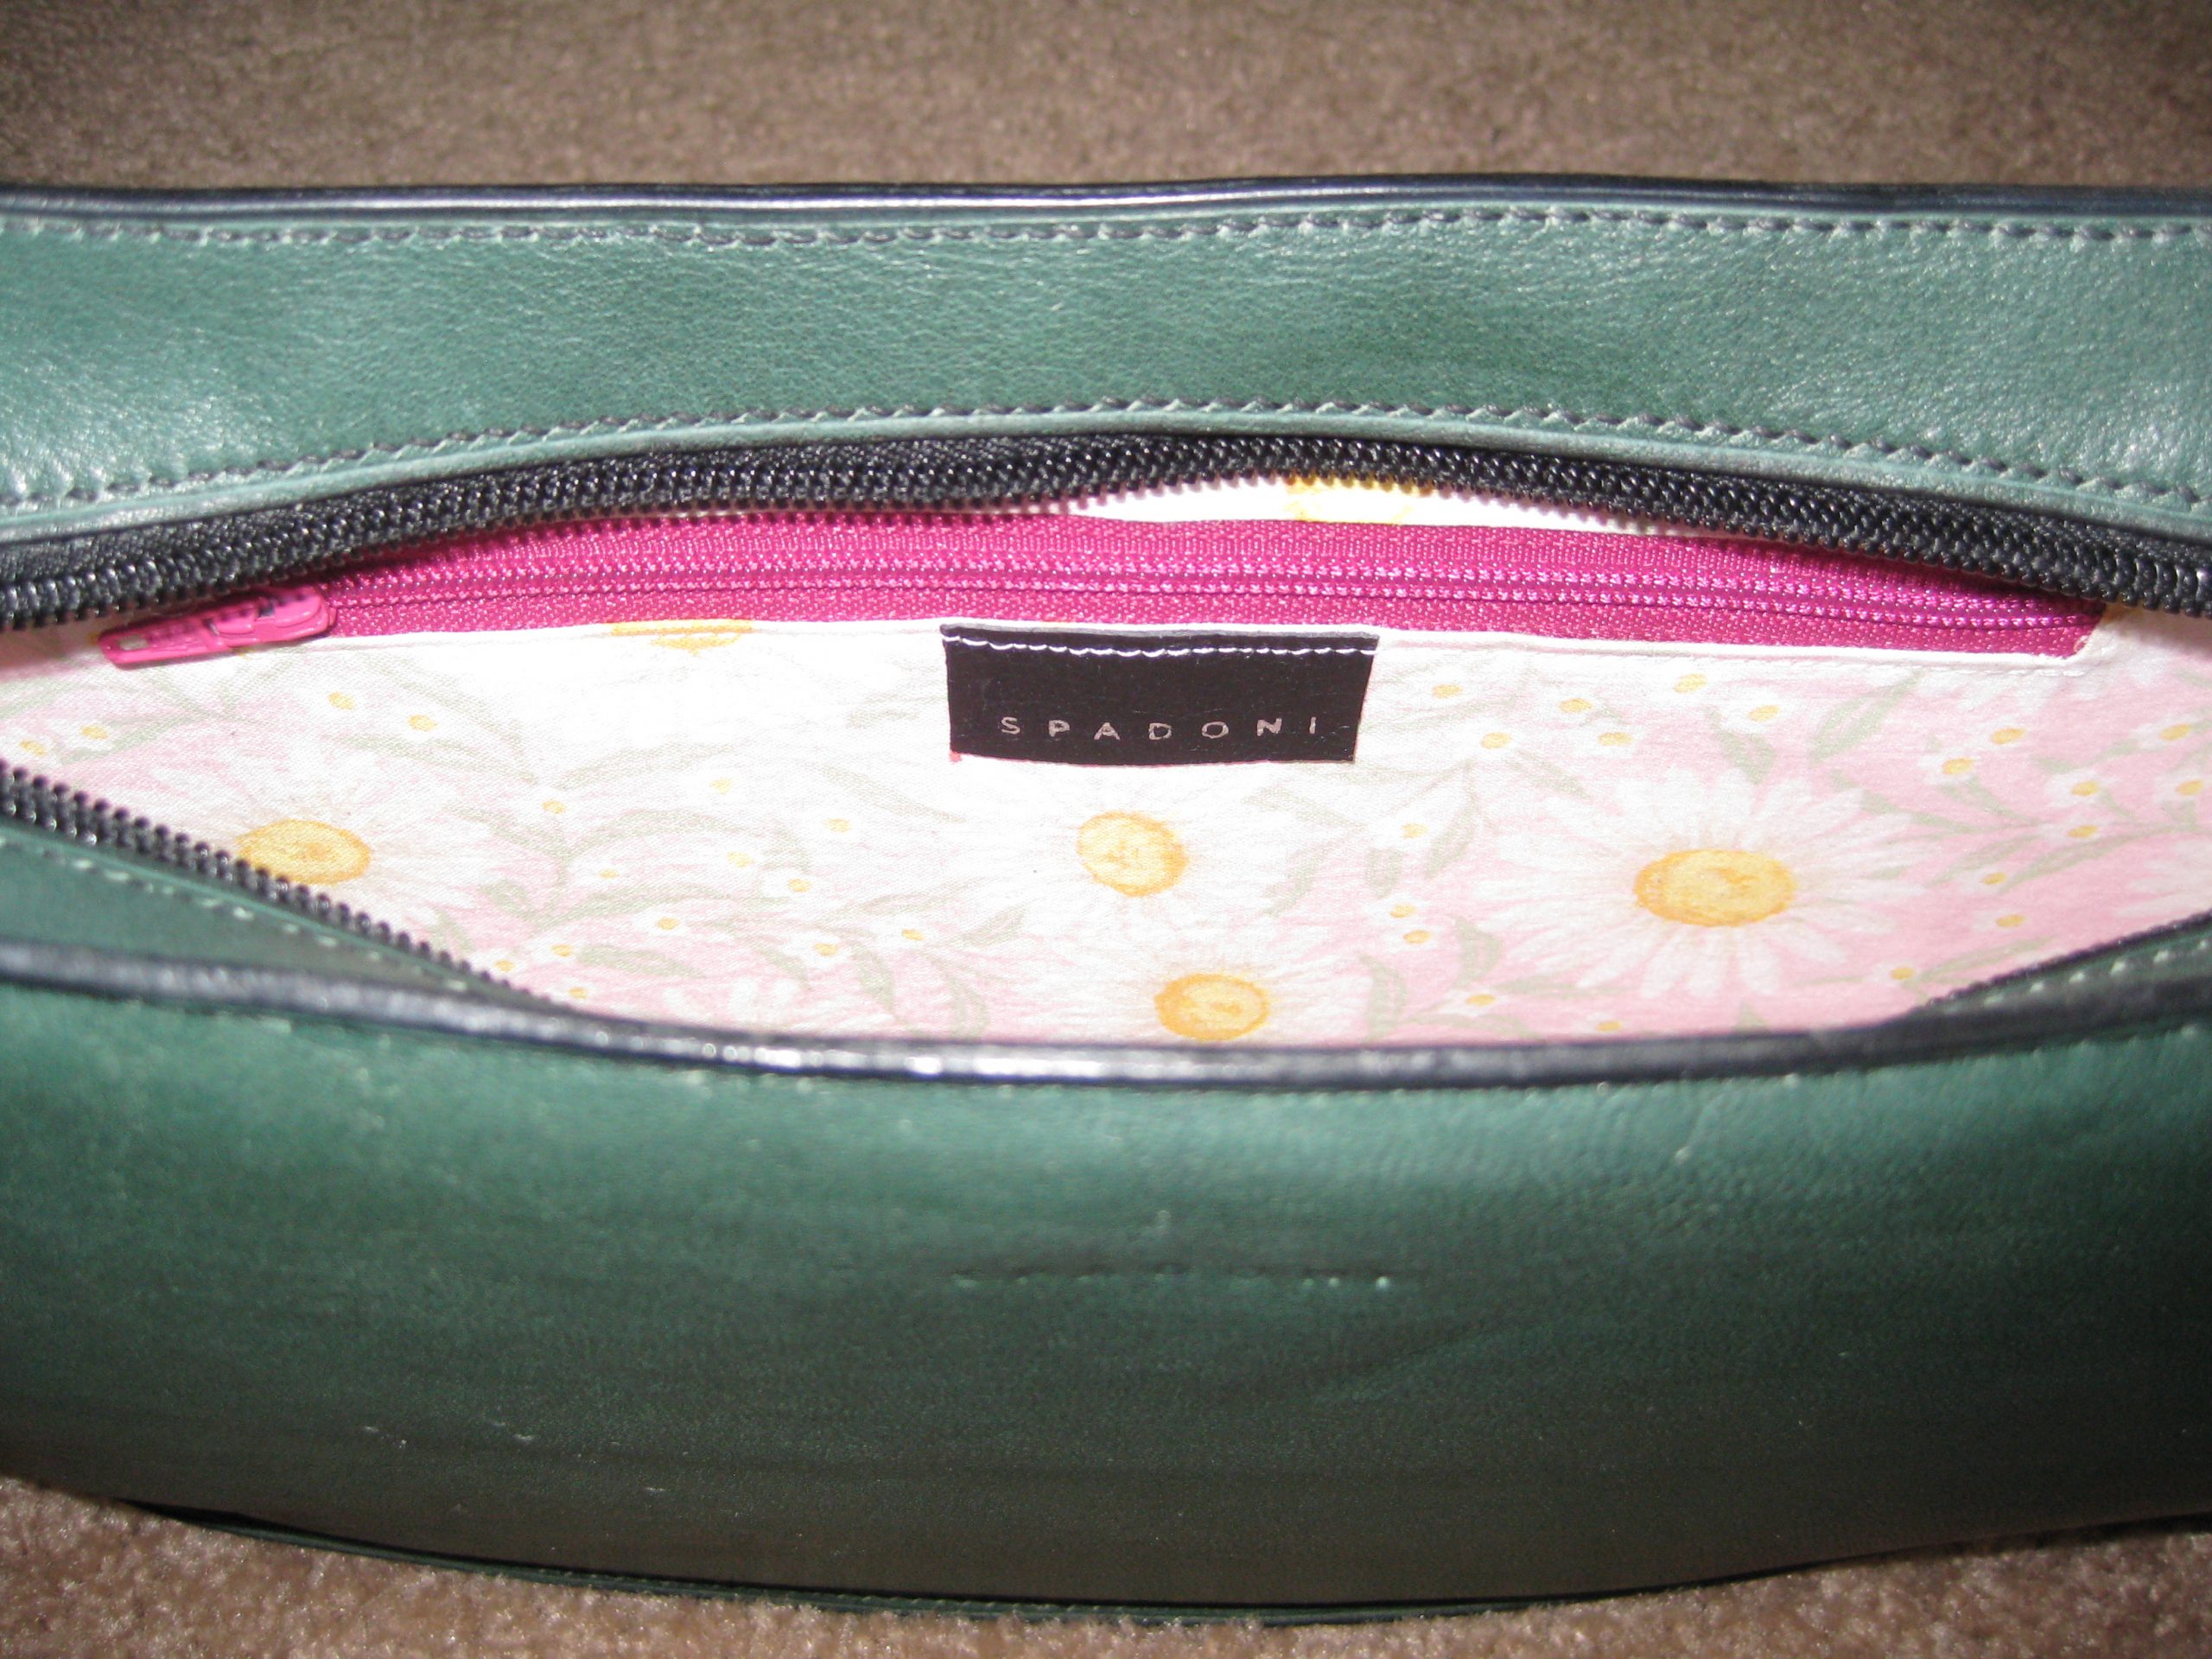
Inside view of the bag.
The interior is recycled leather (I use the terms upcycled and recycled to describe items I reused) – in this instance, the interior or “lining leather” was once a pair of leather pants.
Zippered opening.
As with the original Cana, this bag is all hand stitched with linen thread, the edges are colored with leather edge paint and burnished.
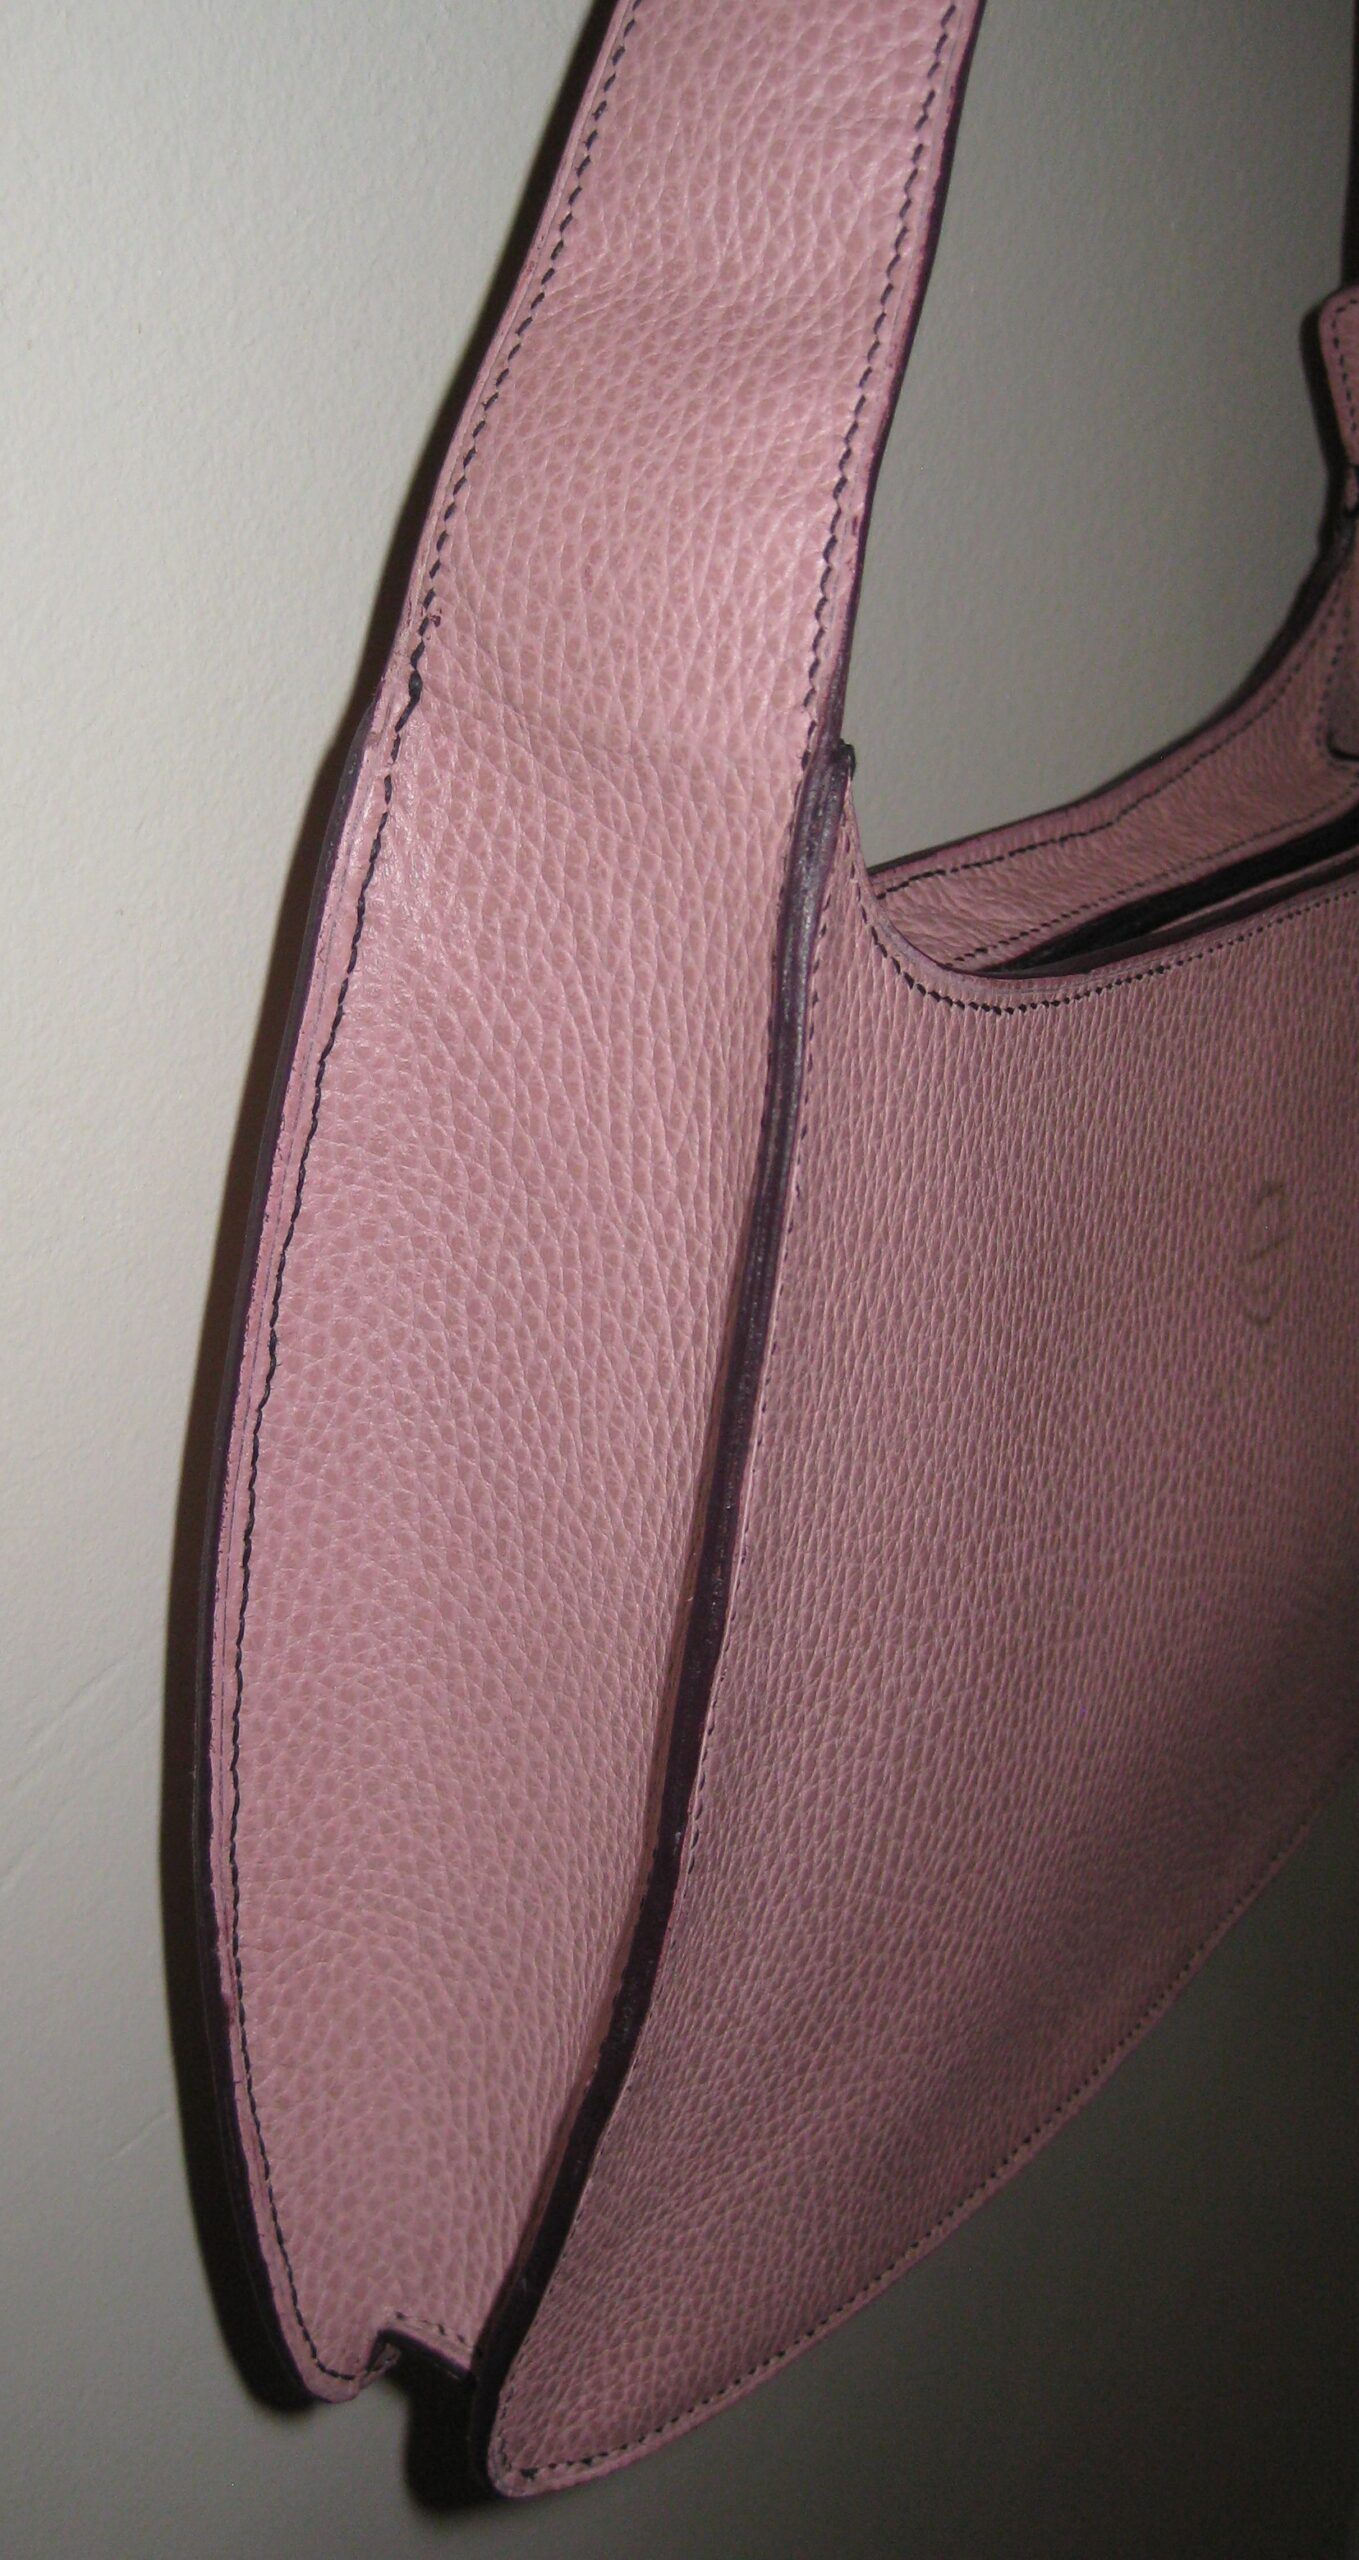
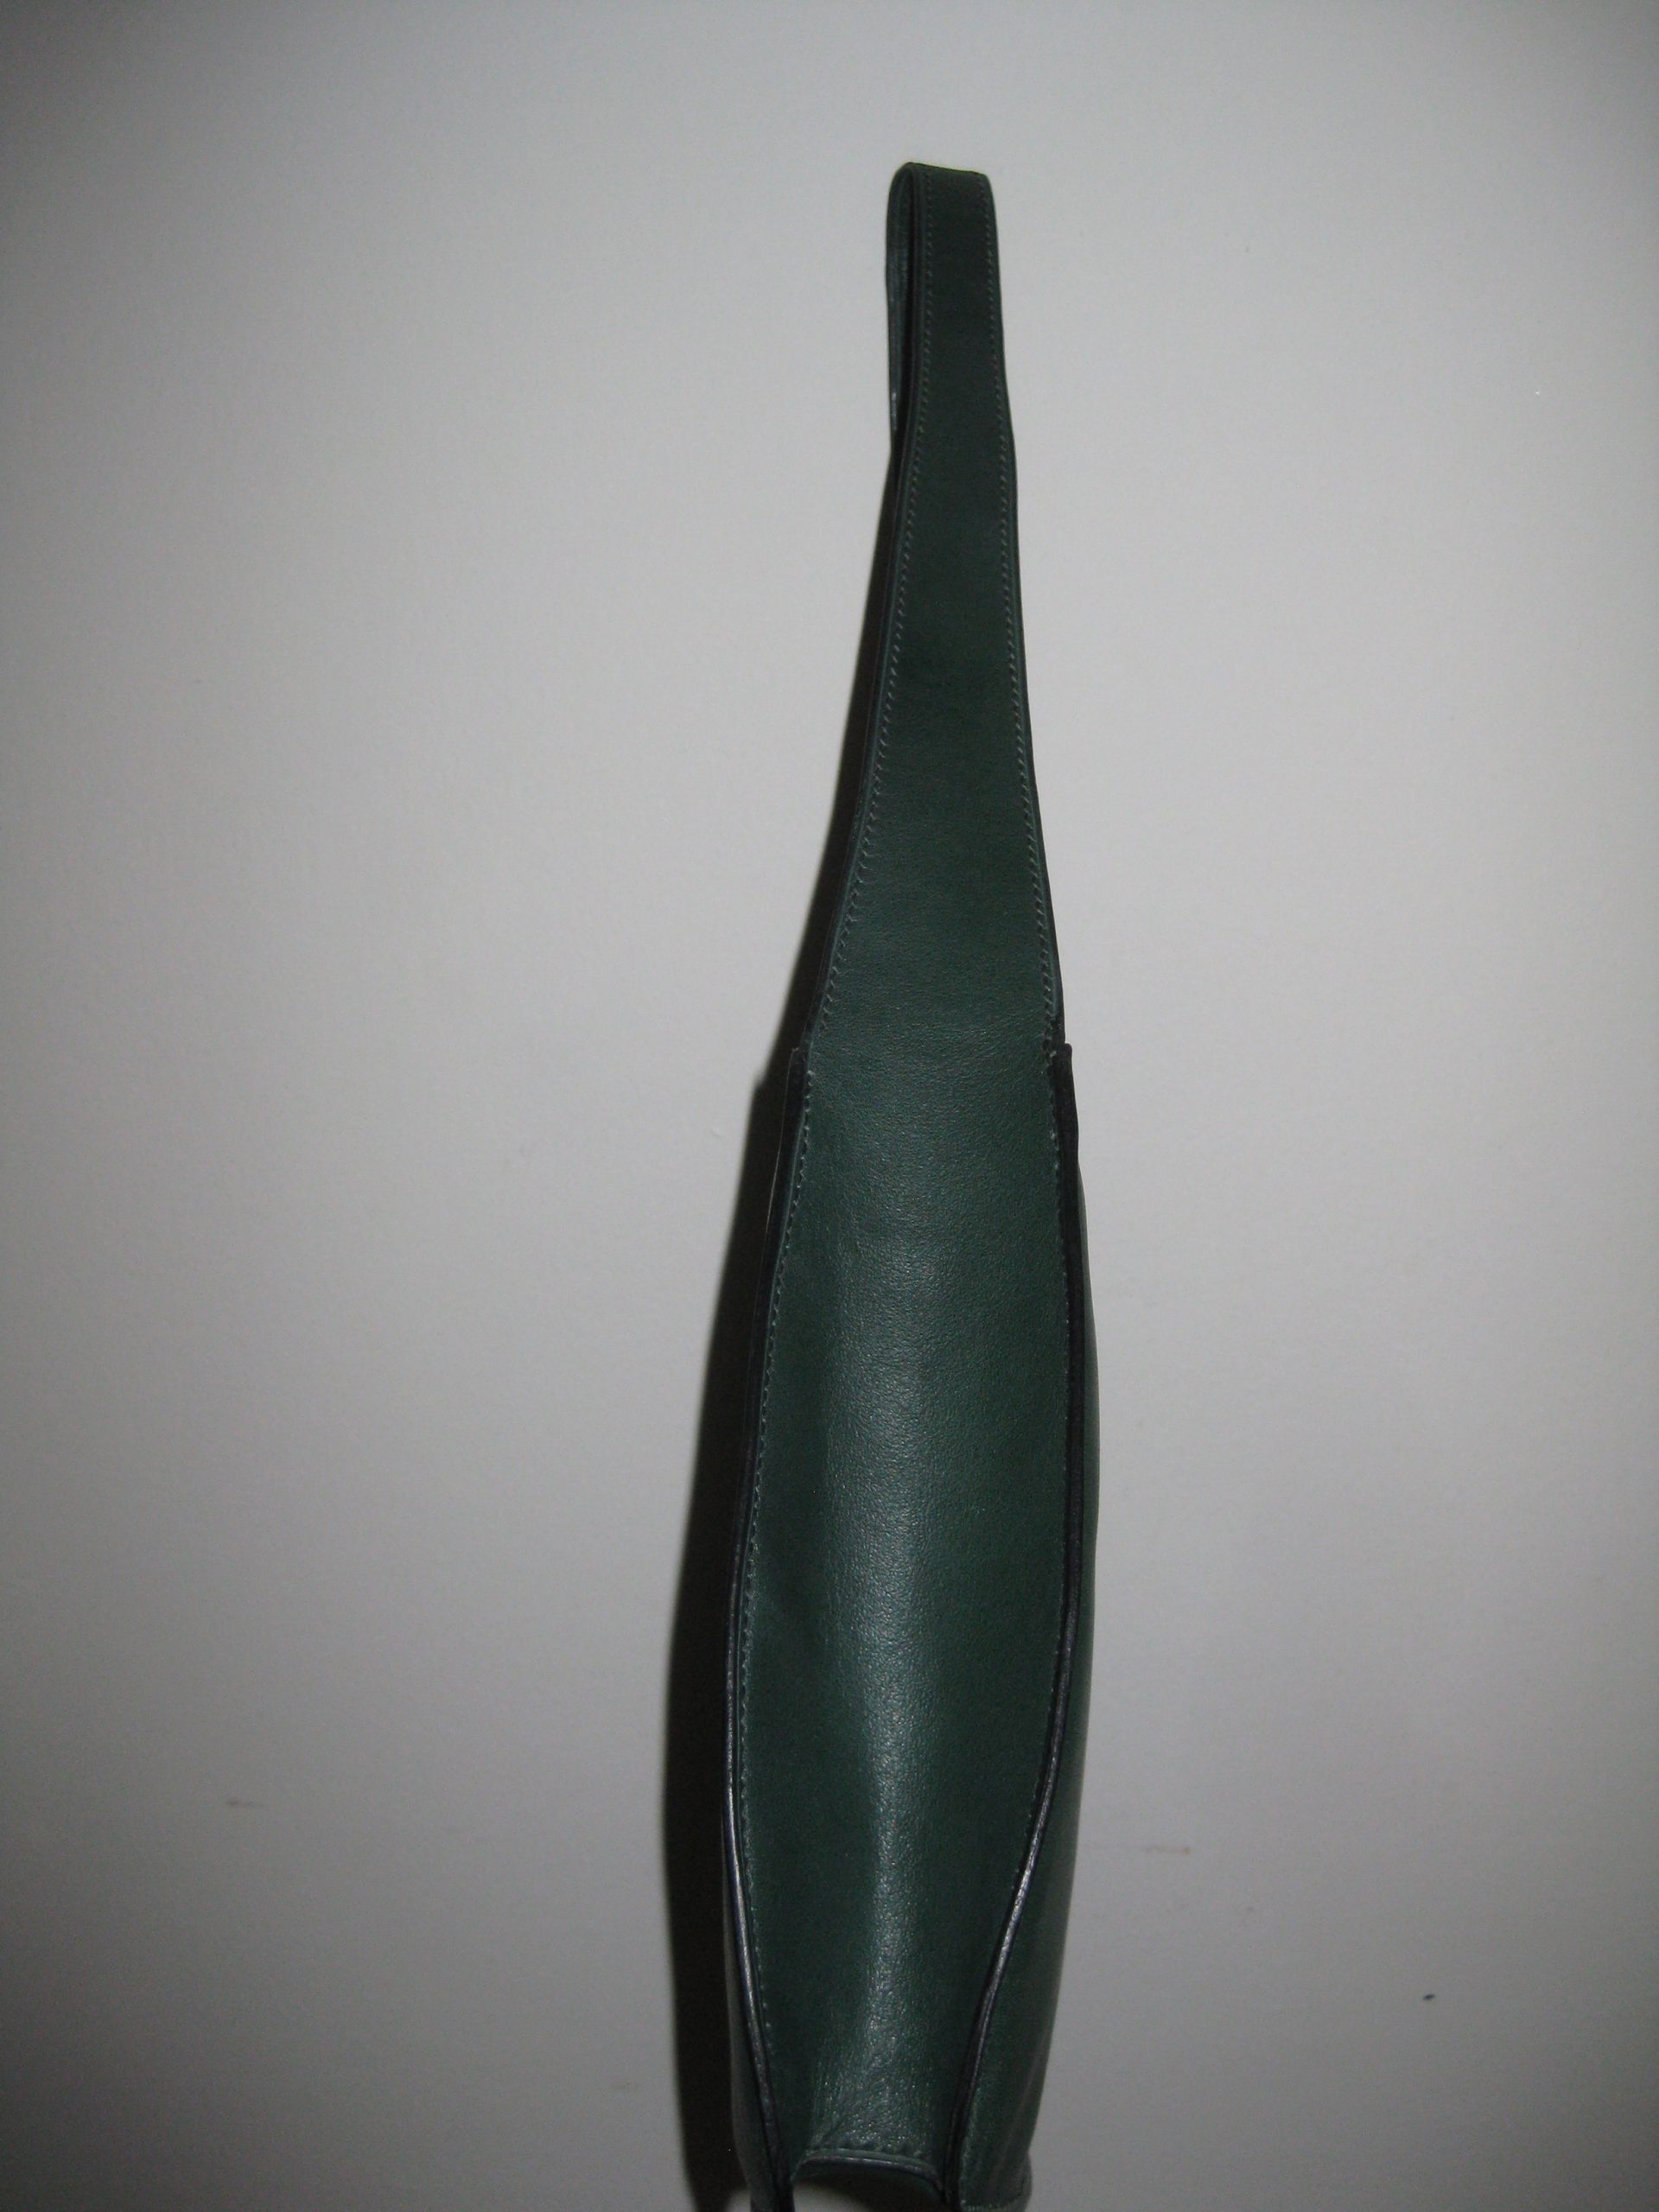
Side view.
Practice, practice, practice – I need to continue working on my stitching skills.
This was an experiment…a reverse engineered handbag fashioned from recycled leather…a couch!
The name of this bag is a play on words…kanape’s; it means sofa in Greek.This bag has a nylon zipper, is hand stitched, and all edges are hand finished.Side view.The Cana inside back with a zippered pocket. The inside is surprisingly roomy too.
The interior fabric was leftover from a dress and the zipper recycled from a skirt. I bonded clear vinyl to the back side of the fabric and used water repellent spray on the printed side. What an exciting way to recycle! 🙂
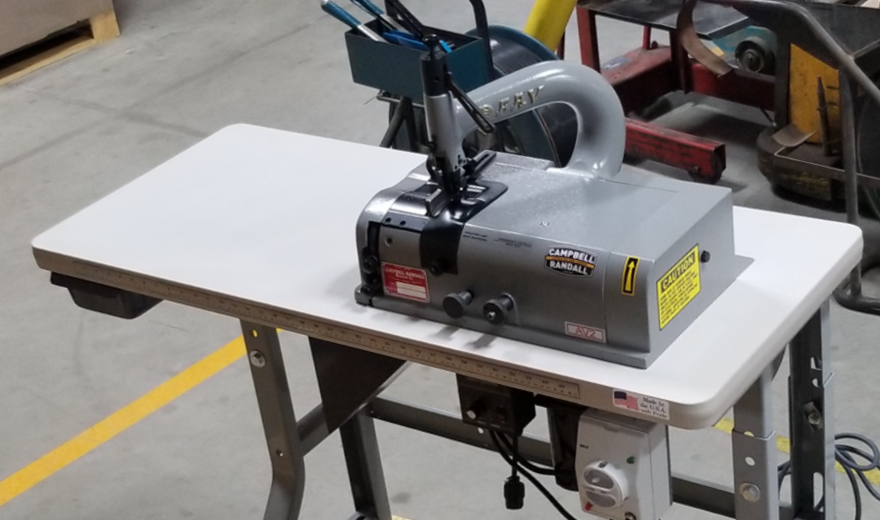
This little beauty is a skiver and can be used to split leather too. A shout out to Dan at Campbell Randall and his team for crating this baby up so she arrived ready to go. 🙂